Add a touch of charming whimsy to your next party or celebration with this quick and easy DIY scalloped bunting project! Forget expensive store-bought decorations; creating your own festive bunting is surprisingly simple and allows for complete customization to match your personal style and color scheme. Whether you're planning a birthday bash, a summer picnic, or simply want to brighten up your home, this delightful craft is perfect for all skill levels. You'll be amazed at how quickly you can transform ordinary fabric scraps into a cheerful and eye-catching garland.
This tutorial will guide you through each step of creating your own beautiful scalloped bunting, from selecting your fabrics and tools to finishing touches that add a professional flair. Get ready to unleash your creativity and discover how easy it is to make a stunning statement piece for any occasion. Let's get started with the step-by-step instructions below!
Preparation and Safety Guidelines
- Fabric (various colors and prints)
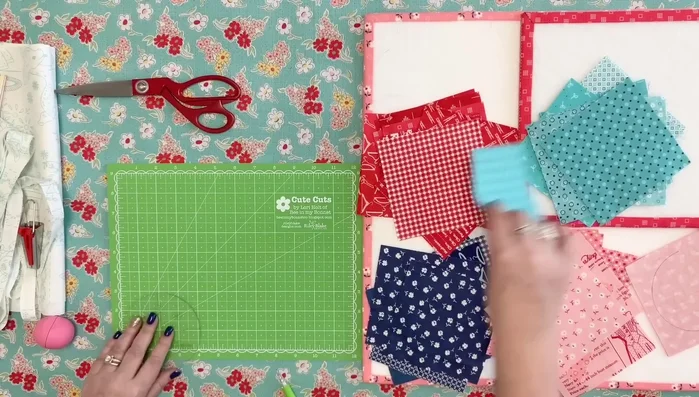
- 4-inch circle ruler
- Scissors
- Sewing machine
- 3/4 inch bias tape maker (optional, but recommended)
- Iron
- Spray bottle
- Water and starch
- Pins (optional)
- Seam guide or ruler
- Open-toed sewing machine foot (recommended)
- Always supervise children when using scissors or hot glue guns.
- Use caution when working with sharp scissors and needles to avoid injury.
- Ensure your work surface is clean and well-lit to prevent accidents.
Step-by-Step Instructions
Prepare Fabrics
- Cut 48 five-inch squares (24 pairs) from various fabrics. You'll need 6 prints in 4 different colors.

Prepare Fabrics Mark Scallops
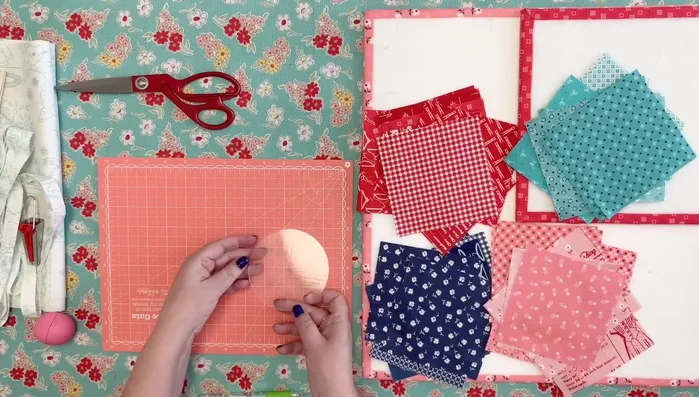
- Use a 4-inch circle ruler to trace the bottom half of a circle onto the wrong side of one square from each pair.
- Place the marked square with its matching square, right sides together. Mark a stitching line along the traced half-circle using a pencil or other marking tool.
Mark Scallops Make Bias Tape
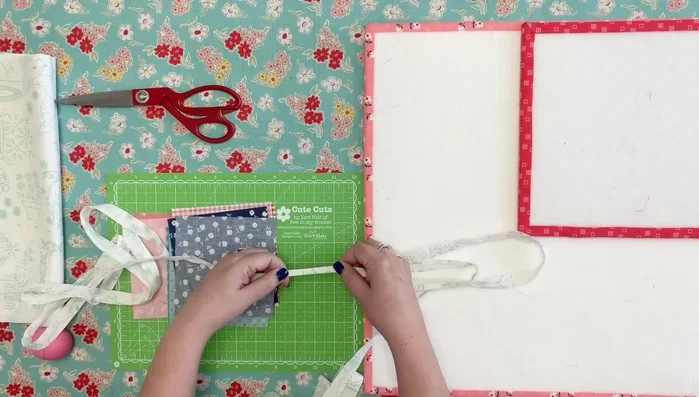
- Cut a 108-inch long fabric strip (about 1 1/8 inches wide). Moisten with a starch solution. Run through a bias tape maker to create a finished binding strip for the bunting.
Make Bias Tape Sew Scallop Pairs
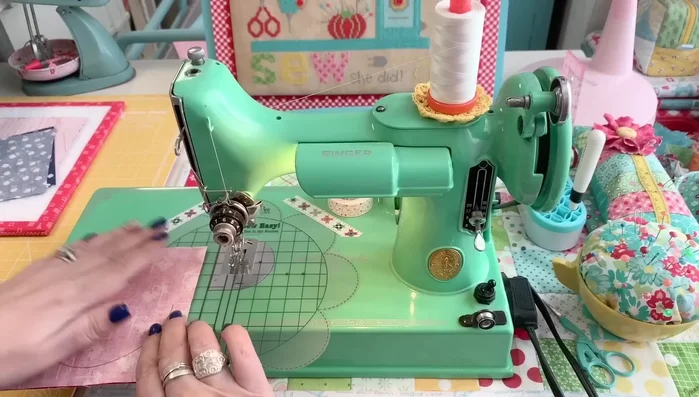
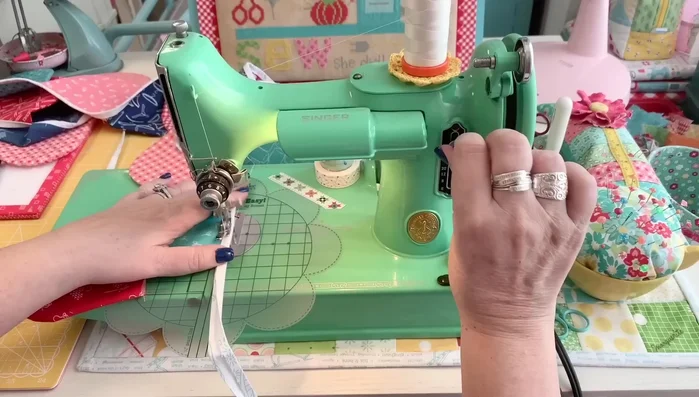
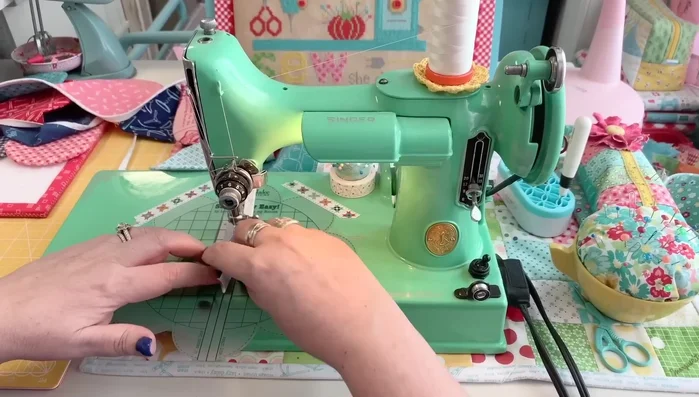
- Sew each pair of fabric squares together along the marked half-circle, using a 1/2 inch seam allowance. Use an open-toe foot for better visibility.
Sew Scallop Pairs Finish Scallops
- Trim the seam allowance to 1/4 inch. Turn the sewn scallops right side out, using a turning tool if needed, and press.
Finish Scallops Assemble Bunting
- Attach the scallops to the bias tape strip, one by one, ensuring the raw edges are enclosed. Backstitch at the beginning and end of each scallop.
Assemble Bunting Finish Bunting
- Fold under the raw edges of the bias tape and sew them down.
Finish Bunting


Read more: DIY Super Cute Whale Shower Curtain: A Step-by-Step Tutorial
Tips
- Using an open-toed sewing machine foot allows for better visibility while stitching curved lines, resulting in neater seams.
- Pre-moisten the fabric strip for the bias tape with a starch solution to make it easier to feed through the tape maker and create a crisper finish.
- Backstitch at the beginning and end of each scallop and when adding scallops to the bias tape strip to ensure durability and prevent unraveling.