The magic of Christmas is often found in the little details, and what better way to infuse your home with festive cheer than by crafting a charming DIY Santa door decoration? This delightful project is perfect for adding a touch of whimsical personality to your front door, welcoming guests with a burst of holiday spirit. Forget expensive, mass-produced decorations; this simple yet effective craft allows you to personalize your Christmas decor, creating a unique piece that reflects your style and adds a heartwarming handmade touch to your holiday celebrations. It’s a fun project for all ages and requires minimal supplies, making it an ideal activity for families or a relaxing solo endeavor during the busy holiday season.
Get ready to unleash your creativity and transform a plain door into a festive wonderland! This guide will walk you through a simple, step-by-step process for creating your own adorable Santa door decoration, complete with detailed instructions and helpful tips. Let's get started and bring some Santa-sized joy to your home this Christmas!
Preparation and Safety Guidelines
- Felt (red, glitter), Toy eyes, Wadding, Black ribbon, Habotai (or red cotton/polar fleece), Scissors
- Adult supervision is required, especially when using sharp objects like scissors or hot glue guns.
- Ensure all materials are out of reach of young children to prevent accidental ingestion or injury.
- Use caution when working with flammable materials like glitter or certain paints. Work in a well-ventilated area.
Step-by-Step Instructions
Gather Materials
- Felt for Santa's hat and a square for the body, toy eyes, wadding, black ribbon, and your chosen base fabric (Habotai, red cotton, or polar fleece).
Cut Felt Shapes
- Cut out Santa's hat and body shapes from felt. Use felt squares for the hat.
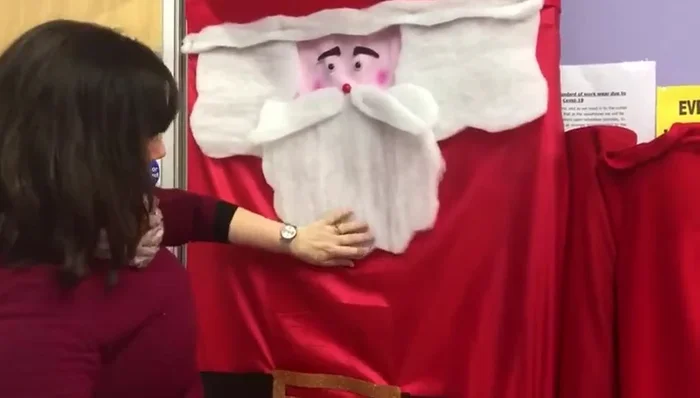
Assemble Santa's Face
- Attach toy eyes and a nose (35 pence a packet for eyes, 25 pence for the nose).
Create Facial Hair
- Create Santa's mustache and beard using felt and wadding.
Cut Mail Slot (Optional)
- Cut out a space for your letters/postcards on the felt body.
- If you want your letters to be visible through the door, cut out a slot for a mailbox.

Cut Mail Slot (Optional) Decorate with Glitter Felt
- Decorate with glitter felt squares. Choose colors to match your existing decor.
Decorate with Glitter Felt Attach to Base Fabric
- Attach the felt pieces to the base fabric (Habotai is recommended for its lightweight and quick-drying properties).
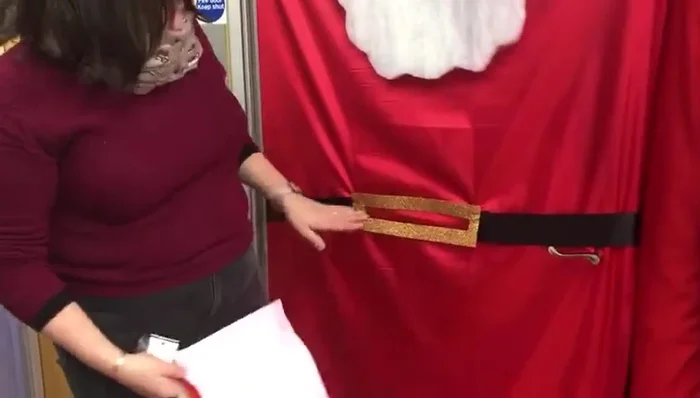
Attach to Base Fabric Add Finishing Touches
- Use black ribbon to finish the decoration and add a festive touch.
Add Finishing Touches


Read more: DIY Super Cute Whale Shower Curtain: A Step-by-Step Tutorial
Tips
- Habotai fabric is a good choice for the base because it's lightweight and dries quickly if it gets wet.
- Red cotton or polar fleece are also suitable alternatives for the base fabric, as they won’t fray when cut.
- Consider adding some sparkle to your Santa with red felt or glitter.