Ever dreamt of channeling your inner Sailor Scout with iconic, perfectly crafted bows? Forget expensive, pre-made accessories! This guide will show you how to create your own Sailor Moon-inspired bows, quickly and easily, using materials readily available at most craft stores. No complex sewing or intricate designs needed – just a few simple steps to transform plain ribbon into the unmistakable symbol of magical girl power. These bows are perfect for adding a touch of anime flair to your everyday outfits, cosplay costumes, or even as adorable embellishments for gifts.
Ready to unleash your inner crafter and create these stunning accessories? Let's dive into the step-by-step process to make the easiest and fastest DIY Sailor Moon bows you'll ever find. We’ll cover everything from choosing the right ribbon to the final touch that makes your bow truly shine, ensuring a fun and rewarding crafting experience for everyone, regardless of skill level.
Preparation and Safety Guidelines
- fabric
- interfacing
- pinking shears
- needle
- thread
- safety pins
- string
- Always supervise children when using sharp objects like scissors or hot glue guns.
- Be mindful of fabric types; some fabrics fray easily and may require pre-treating or using a zig-zag stitch.
- Allow hot glue to cool completely before handling to prevent burns.
Step-by-Step Instructions
Prepare the Main Bow Pieces
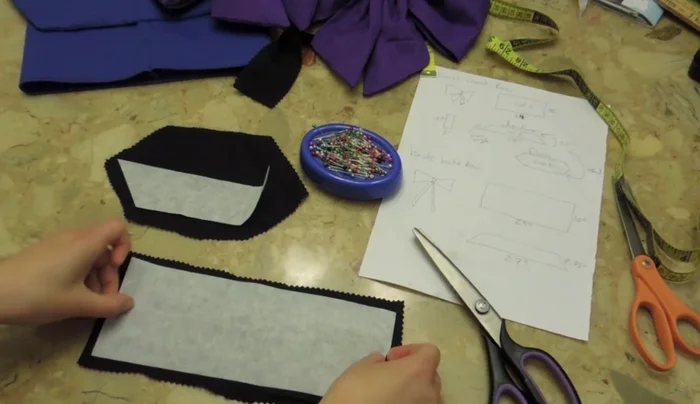
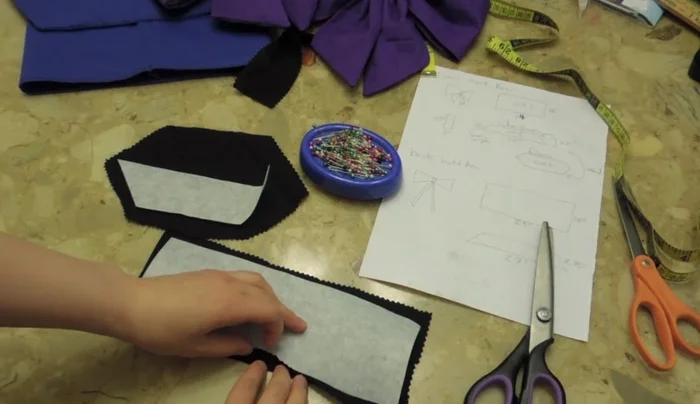
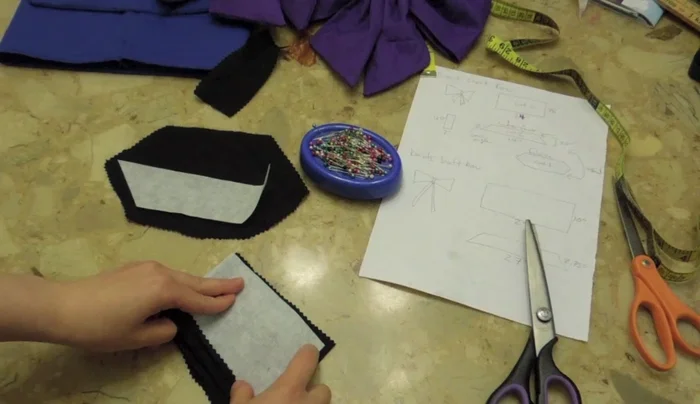
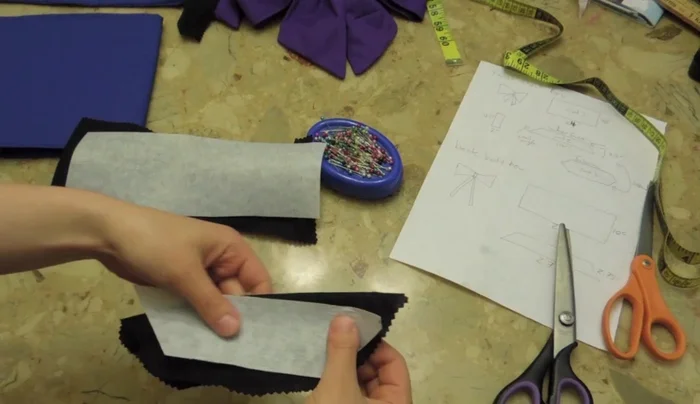
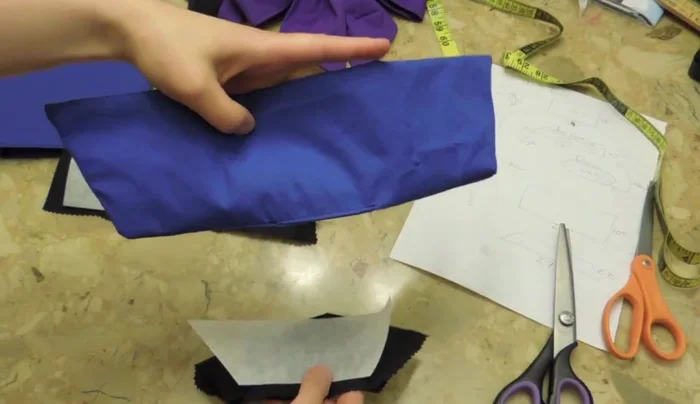
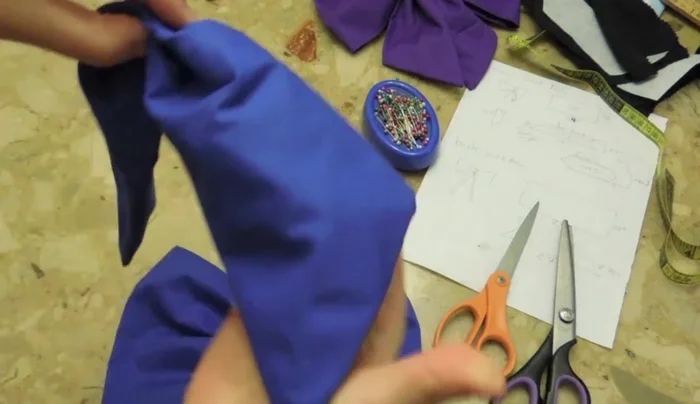
- Cut out two main pieces of fabric and interfacing. The fabric should be slightly larger than the interfacing. Use pinking shears to prevent fraying.
- Fold the fabric over the interfacing and sew along one edge. Repeat for the second main piece.
- Turn the sewn pieces inside out to create tubes. This forms the main body of the bow.

Prepare the Main Bow Pieces Prepare the Secondary Bow Piece
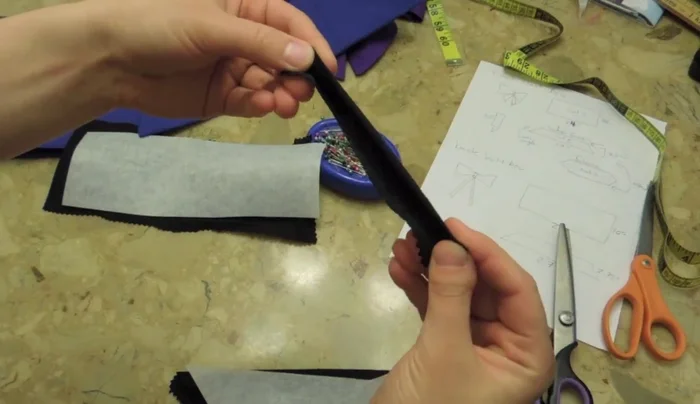
- Cut a secondary piece of fabric and interfacing. This piece can vary in length and shape, depending on the desired look. The interfacing is crucial for bow structure.
- Fold the secondary piece in half and sew along one edge, leaving a small opening to turn it inside out.
- Turn the secondary piece inside out and sew the opening closed.
Prepare the Secondary Bow Piece Prepare the Bow Center
- Cut a small, rectangular piece of fabric for the bow center. Fold this in half, then in half again.
Prepare the Bow Center Assemble the Bow
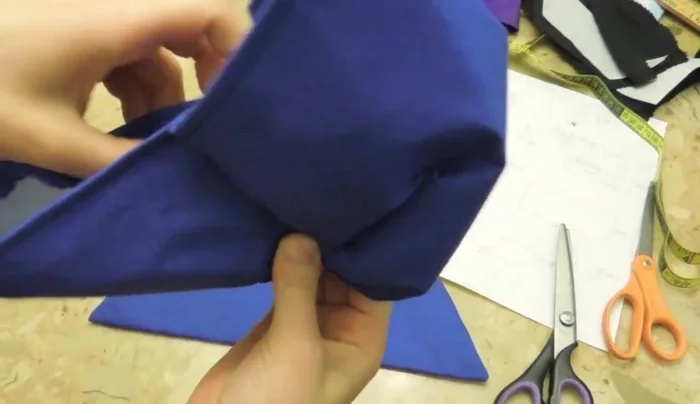
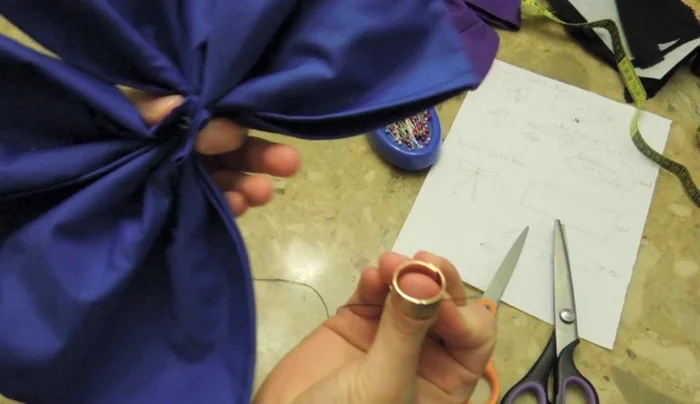
- Gather the main bow pieces together. Fold the edges inward to hide the seams.
- Tie a string tightly around the center of the gathered bow to secure it.
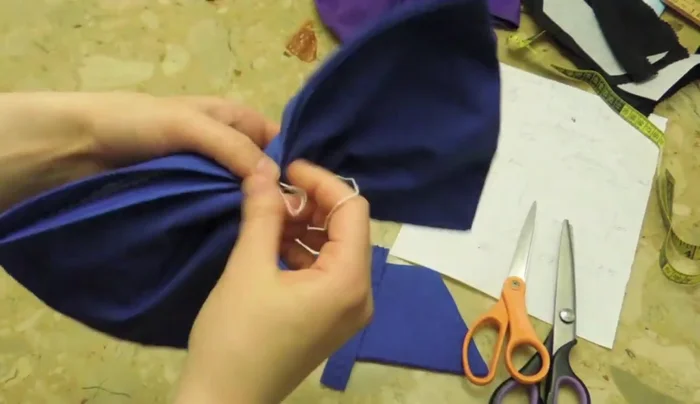
- Attach the smaller, folded fabric piece to the center of the bow.
Assemble the Bow Finish and Secure the Bow
- Hand-sew the small fabric piece to the back of the bow to secure it further. Leave some extra thread to attach safety pins.
Finish and Secure the Bow
Read more: Raglan Sleeve Sewing Tutorial: A Step-by-Step Guide
Tips
- Use pinking shears to prevent fraying.
- Interfacing is essential for a structured, stiff bow.
- Fold edges inward to hide seams for a clean finish.