Need a skirt in a flash? Forget expensive boutiques and endless browsing – this DIY rushed skirt tutorial will have you rocking a stylish new garment in minutes! Whether you're facing a last-minute event, need a quick costume change, or simply crave a satisfyingly speedy crafting project, this guide is your solution. We'll be using readily available materials and minimal sewing skills to create a chic and surprisingly versatile skirt that you'll be proud to wear. No more stressing over complicated patterns or time-consuming techniques; this project prioritizes speed and simplicity without sacrificing style.
This rushed skirt is perfect for beginners and seasoned crafters alike, offering a fantastic opportunity to unleash your creativity with minimal effort. Forget the frustrating hours spent on complex projects; this tutorial focuses on achieving a fantastic result with maximum efficiency. Ready to get started and transform a simple fabric into a wearable masterpiece? Let's dive into the step-by-step instructions!
Preparation and Safety Guidelines
- Fabric (1.5 yards)
- Scissors
- Measuring tape
- Pins
- Sewing machine
- Iron
- Broomstick or Safety Pin
- Zipper
- Always use sharp scissors to prevent fabric from fraying and to ensure clean cuts. Dull scissors can lead to uneven edges and increase the risk of injury.
- Be mindful of your fingers when using pins and needles. Keep your fingers clear of the needle's path, and use a pincushion to store pins when not in use.
- If using a sewing machine, make sure it's properly threaded and the needle is appropriate for your fabric. Always keep your fingers away from the needle while the machine is running.
Step-by-Step Instructions
Fabric Preparation and Pattern Creation
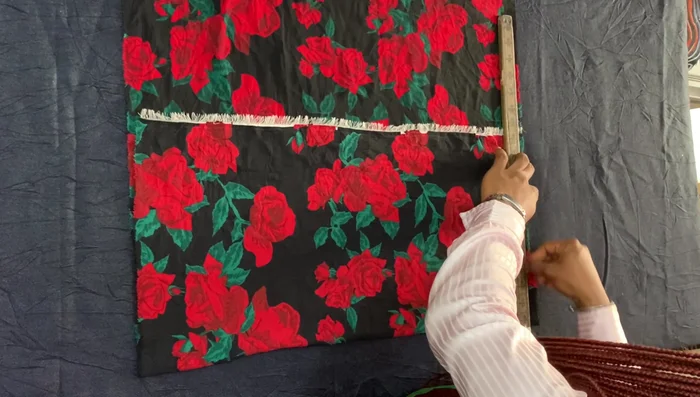
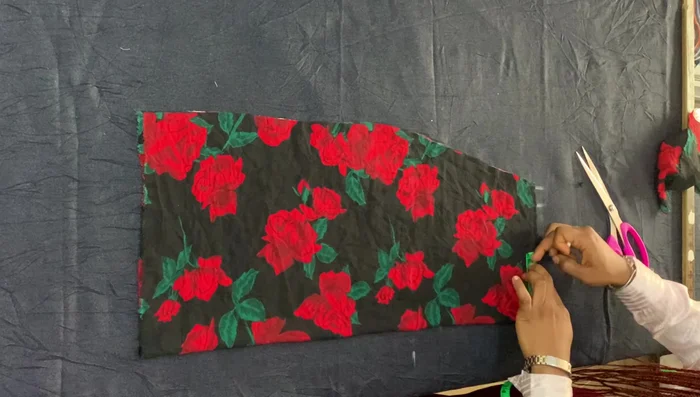
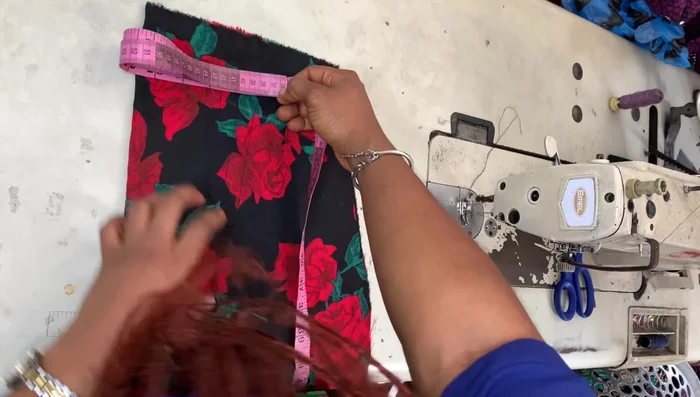
- Fold fabric in half.
- Draw baseline at the top and mark 8 inches downwards for the hipline. Confirm skirt length (25 inches).
- Divide hip measurements by 4, mark on hipline, add 1-inch allowance. Repeat for waistline on baseline.
- Draw straight lines connecting marked points, leaving a straight bottom edge for gathering.

Fabric Preparation and Pattern Creation Cutting Fabric Pieces
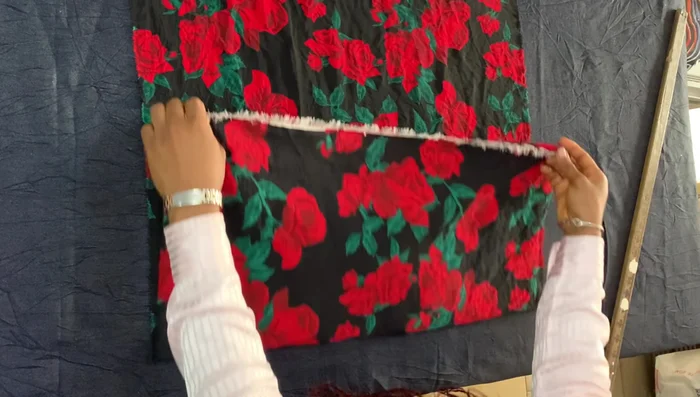
- Cut out front piece. Fold fabric again to cut back piece, mirroring the front with zipper allowance.
Cutting Fabric Pieces Marking Center Front and Cutting Rope
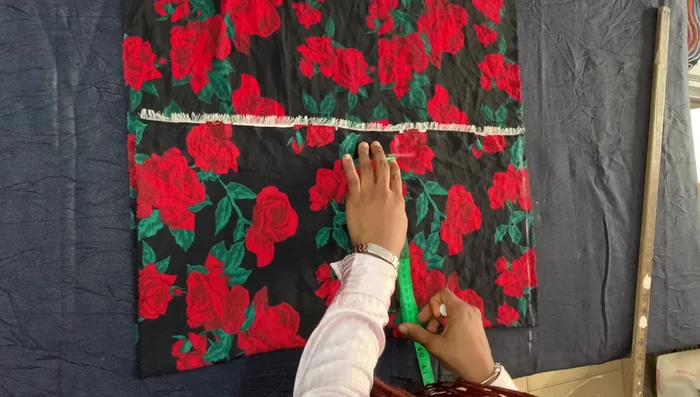
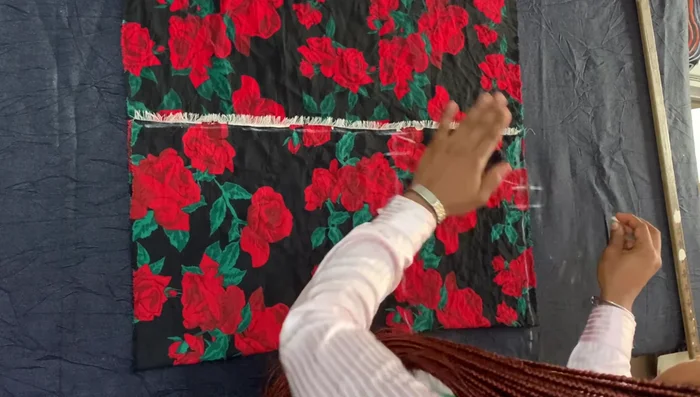
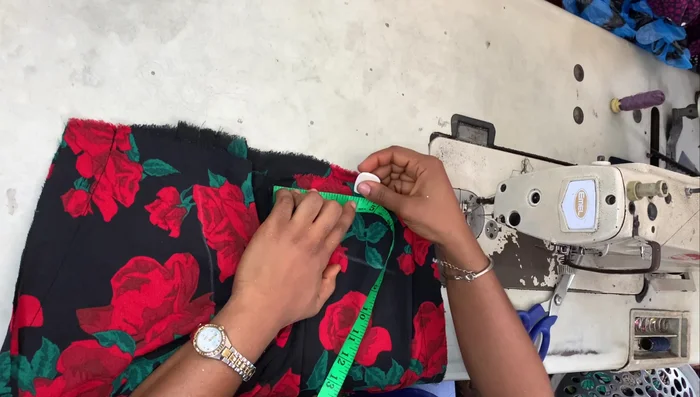
- Fold front piece in half, measure and mark a center line from waistline to hem.
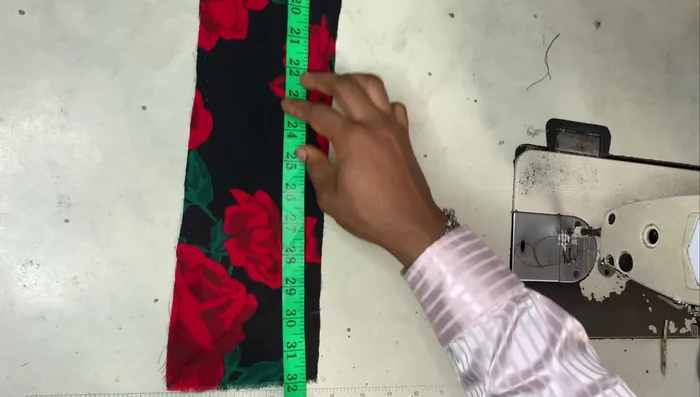
- 1.5 inches wide and twice the skirt length (50 inches).
Marking Center Front and Cutting Rope Cutting Waistband and Casing
- Cut waistband fabric (4.5 inches wide, 32 inches long) and casing fabric (2 inches wide, 34 inches long).
Cutting Waistband and Casing Sewing Back Pieces
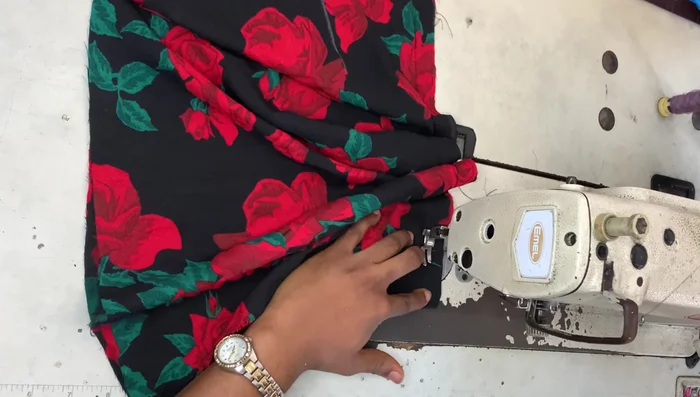
- Sew back pieces together at the zipper allowance.
Sewing Back Pieces Attaching Casing
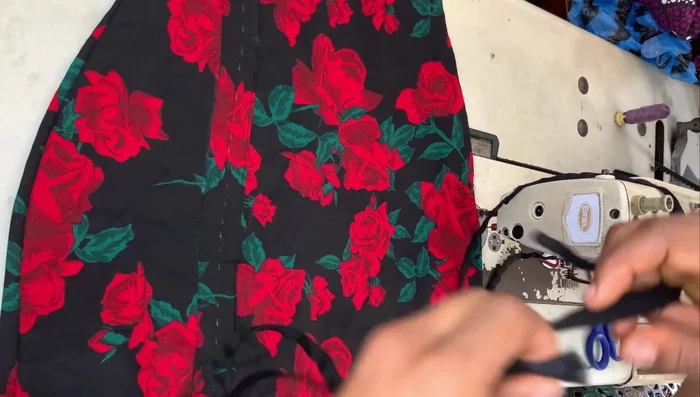
- Fold and iron casing fabric, pin and sew to the front skirt piece along the marked center line.
Attaching Casing Shaping and Sewing Skirt Sides
- Fold front piece in half, mark the shape of the skirt at the waist and hip, connecting the points with straight lines (leaving the bottom straight).
- Replicate the markings on the other side. Sew front and back pieces together along the marked lines.
Shaping and Sewing Skirt Sides Creating Back Darts
- Mark and sew darts on the back piece (3.5 inches from zipper, 5 inches long).
Creating Back Darts Preparing the Gathering Ropes
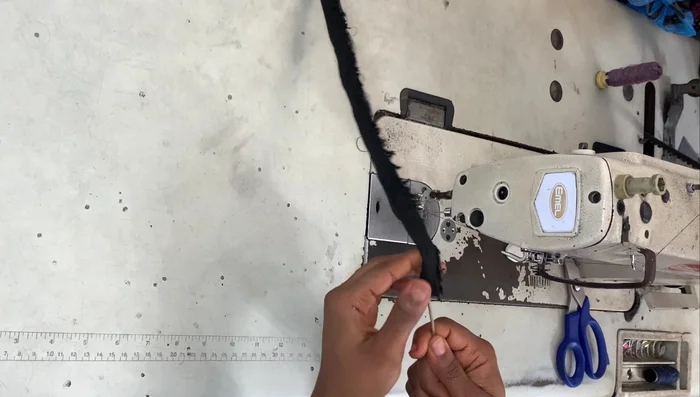
- Fold ropes in half and sew along the length to close one end.
- Turn ropes inside out using a broomstick or safety pin.
Preparing the Gathering Ropes Inserting Gathering Ropes
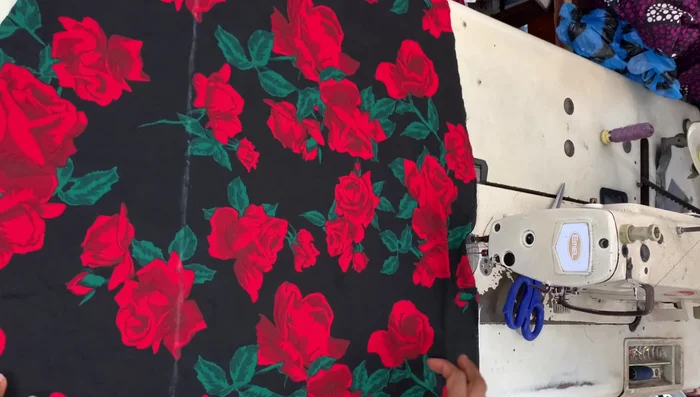
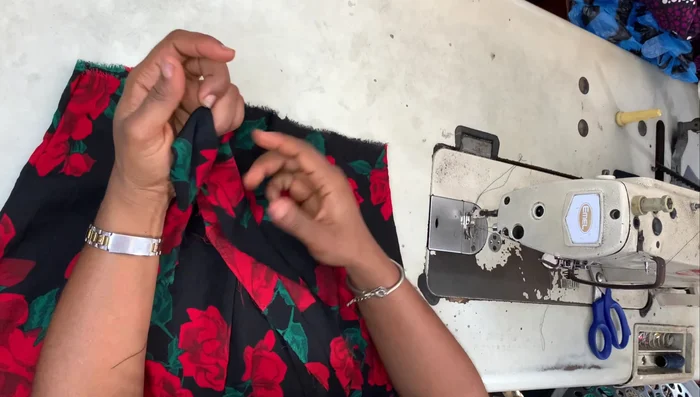
- Insert one rope into each casing, ensuring the closed end is facing outwards. Guide ropes to the top using broomstick and tuck ends.
Inserting Gathering Ropes Attaching Waistband and Finishing
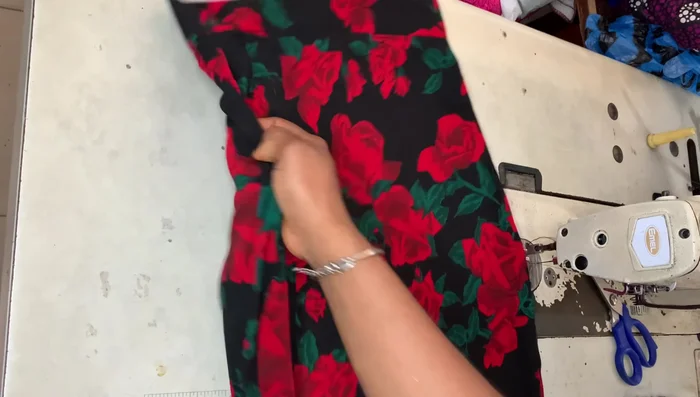
- Fold and iron waistband, sew to the skirt’s waistline with a half-inch seam allowance.
- Insert zipper. Hem the skirt.
Attaching Waistband and Finishing


Read more: Raglan Sleeve Sewing Tutorial: A Step-by-Step Guide
Tips
- Leave the bottom edge of the skirt straight for easy gathering; don’t make it pencil-shaped.
- Make the ropes twice the length of the skirt for sufficient gathering.
- Keep the rope secure while tucking it into the casing to prevent it from slipping back.