Embrace your inner fashionista and create a breathtaking ruffled hem dress, all from the comfort of your own home! This stunning garment, far from being a daunting task, is surprisingly simple to sew, even for beginners. The delicate ruffles add a touch of effortless elegance, perfect for a summer picnic, a romantic evening, or any occasion where you want to make a statement without sacrificing comfort. Imagine the compliments you'll receive, knowing you crafted this beautiful piece yourself. The unique charm of a DIY project allows for complete personalization – choose your favorite fabric, adjust the ruffle size to your liking, and let your creativity flow.
Forget expensive boutiques and complicated patterns; this DIY ruffled hem dress project is your ticket to affordable chic. This guide will walk you through each step, from choosing the right fabric to finishing the perfect hem, providing clear instructions and helpful tips along the way. Ready to transform a simple dress pattern into a truly remarkable creation? Let's get started with the step-by-step process!
Preparation and Safety Guidelines
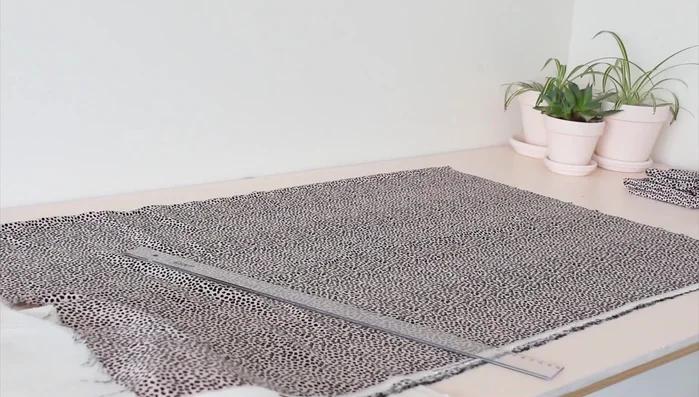
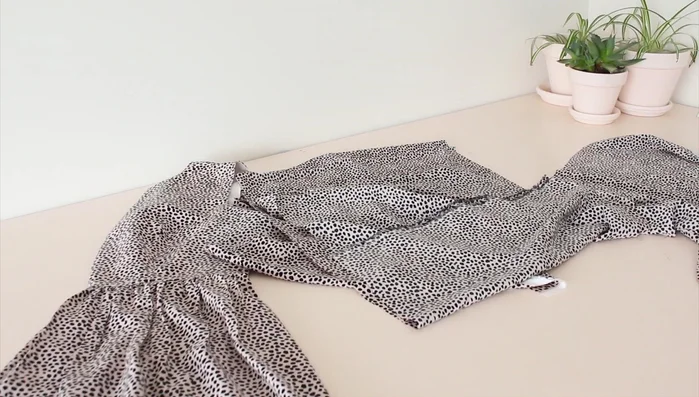
- 3 meters of fabric (1.3-1.5 meters wide)
- 0.5 meter of lining fabric
- Thread
- Scissors
- Measuring tape
- Sewing machine (serger optional)
- Iron
- Always use sharp sewing machine needles and pins to prevent fabric snags and injuries. Dull needles can cause the fabric to break or tear, making the sewing process more difficult and potentially dangerous.
- Be mindful of your fingers when operating the sewing machine. Keep fingers away from the needle and presser foot to avoid accidental pricks or cuts. Use a seam ripper carefully to avoid damaging the fabric or injuring yourself.
- If working with fabric scissors, ensure the blades are sharp to avoid straining your hand or causing uneven cuts in the fabric. Always cut away from your body.
Step-by-Step Instructions
Prepare Pattern and Fabric
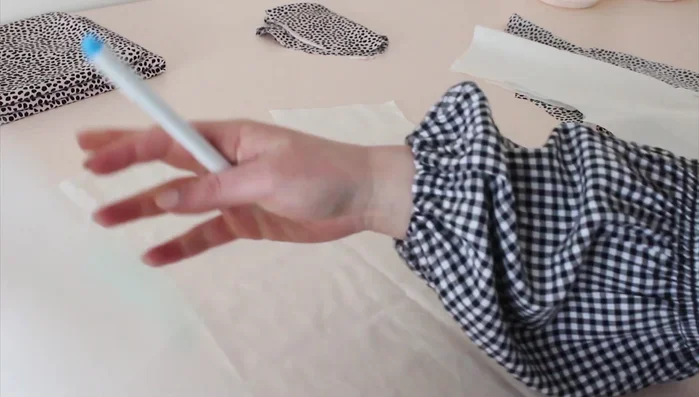
- Download the free dress pattern (link in description).
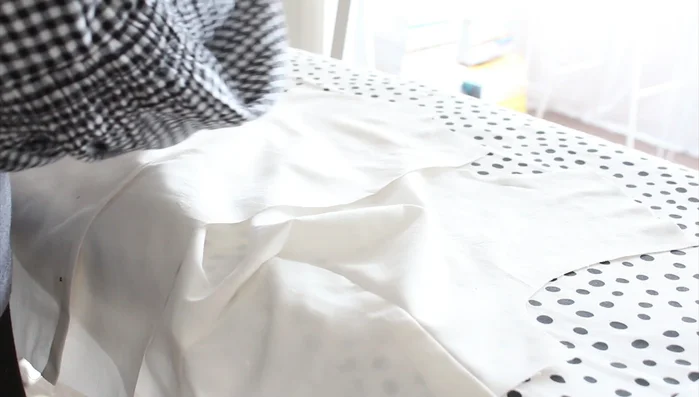
- Cut out pattern pieces from your main fabric and lining fabric.
- Measure and cut skirt pieces (65cm long for main skirt, 44cm long for ruffle, cut twice).

Prepare Pattern and Fabric Construct Bodice
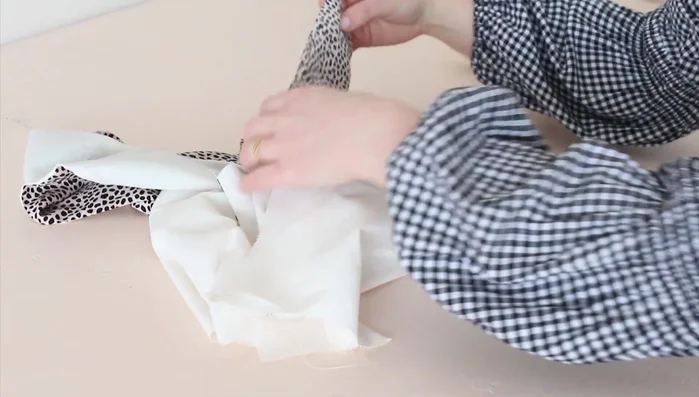
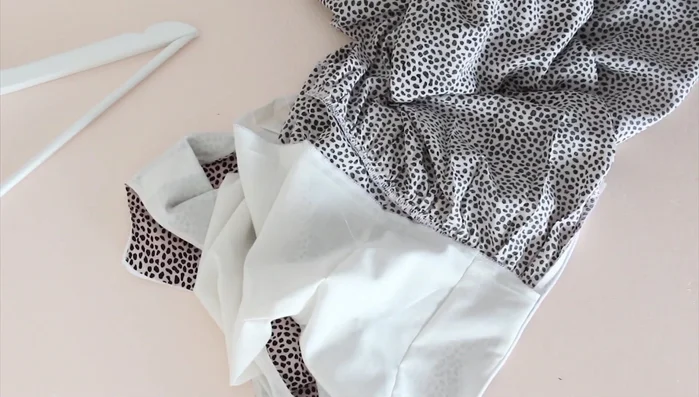
- Create darts on bodice front and back pieces (both main fabric and lining).
- Stitch the darts, tie off threads, and iron flat.
- Stitch shoulder seams of bodice (main fabric and lining separately).
- Place lining inside bodice, pin at neck and armhole, stitch together and trim excess.
Construct Bodice - Fold bodice in half, matching underarm seams; stitch side seams and press flat.
Construct Bodice Attach Skirt to Bodice
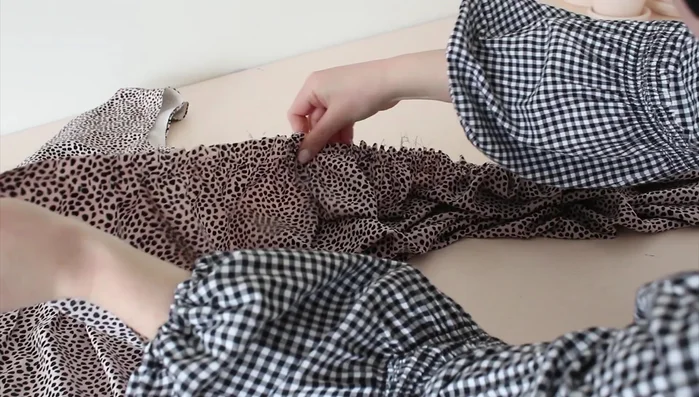
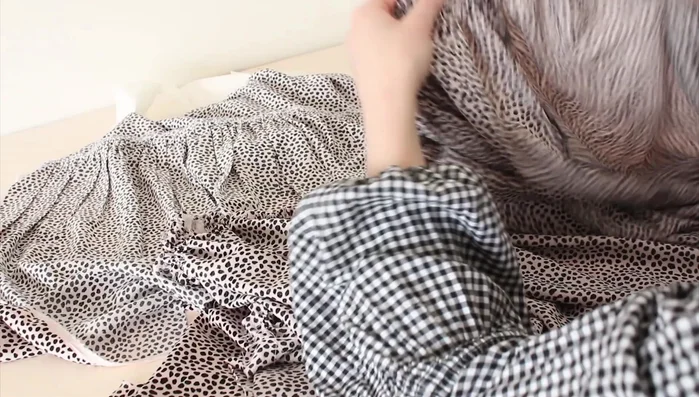
- Gather the main skirt piece using two lines of long stitches.
- Attach skirt to bodice, matching quarter points.
- Neaten the raw edge (serger or zigzag stitch).
Attach Skirt to Bodice Create and Attach Ruffle Hem
- Cut one ruffle rectangle in half (for back of hem).
- Stitch back hem pieces to the front hem piece.
- Gather the ruffle hem using two lines of long stitches.
- Attach the gathered ruffle to the bottom of the skirt.
Create and Attach Ruffle Hem Add Zipper and Finishing Touches
- Attach zipper to the back of the dress.
- Hem the dress.
- Hand stitch the bodice lining to the dress.
Add Zipper and Finishing Touches


Read more: Raglan Sleeve Sewing Tutorial: A Step-by-Step Guide
Tips
- Consider the fabric's design when choosing a dress style (simple style works well with busy fabric).
- Using a serger to neaten raw edges is optional, but recommended for a professional finish.
- Hand-stitching the lining provides a beautiful, professional finish.