Ever dreamed of twirling in a dreamy, ethereal dress? Imagine a garment that's as light as a cloud, as whimsical as a fairy tale, and surprisingly easy to create yourself. This DIY Ruffle Tulle Cloud Bottom Dress is the perfect project for crafting enthusiasts of all levels, offering a unique blend of elegance and playful charm. Forget expensive designer pieces; with a little patience and the right instructions, you can craft your own breathtaking tulle creation, perfectly tailored to your style and preferences. This guide provides all the necessary details to bring your vision to life.
Prepare to be enchanted as we delve into a step-by-step process that will transform simple tulle fabric into a stunning, wearable masterpiece. From choosing the right materials to mastering the art of ruffle creation and assembling the final product, we'll guide you through every stage, ensuring a successful and satisfying DIY experience. Let's begin creating your own cloud-like dream dress!
Preparation and Safety Guidelines
- Rotary cutter
- Electric scissors
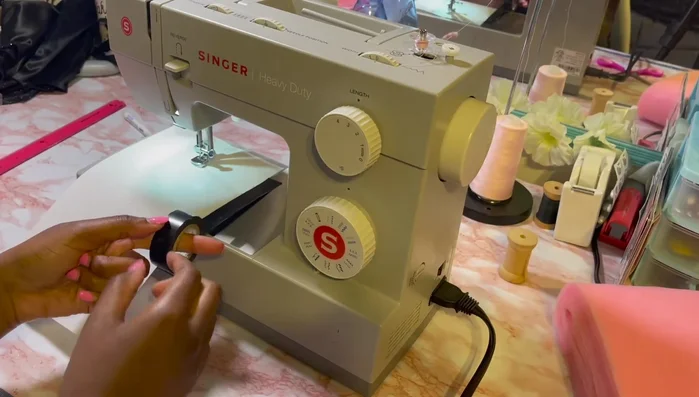
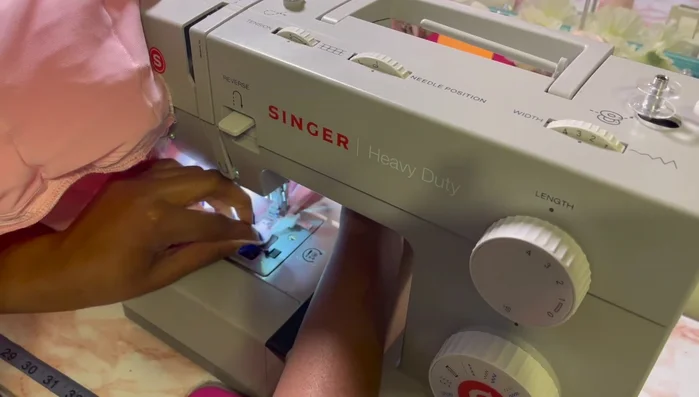
- Sewing machine
- Serger
- Measuring tape
- Ruler
- Chalk
- Pins
- Karen M Customs circle skirt templates
- 54-inch bolt (or multiple 6-inch wide bolts) of tulle
- Use sharp scissors carefully to avoid cuts. Always point scissors away from yourself and others when not cutting.
- Be mindful of long tulle strands and keep them away from faces and moving machinery (like sewing machines) to prevent entanglement or accidental injury.
- If using a hot glue gun, exercise extreme caution. Keep it away from flammable materials and allow glue to cool slightly before touching.
Step-by-Step Instructions
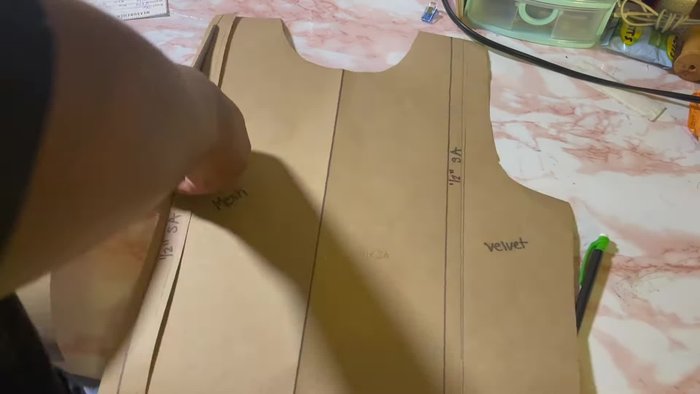
Create the Dress Base
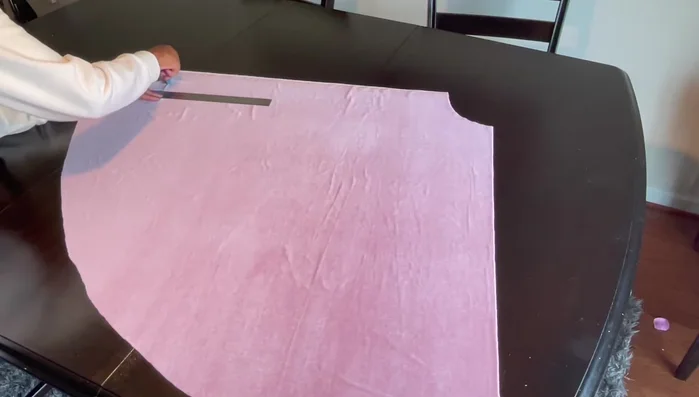
- Create the base dress.
- Cut out the back piece, front pieces, and mesh piece using a rotary cutter.

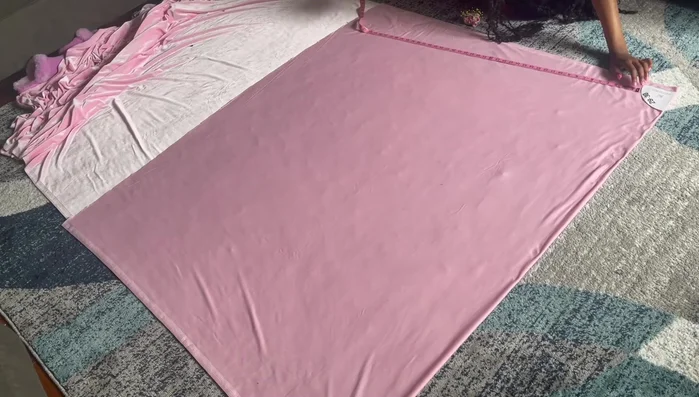
Create the Dress Base Create the Tulle Train
- Make the train using Karen M Customs circle skirt templates. Measure and cut a 35-inch circle skirt.
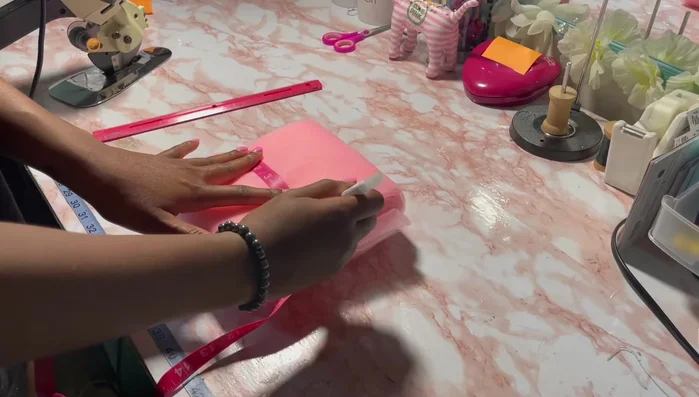
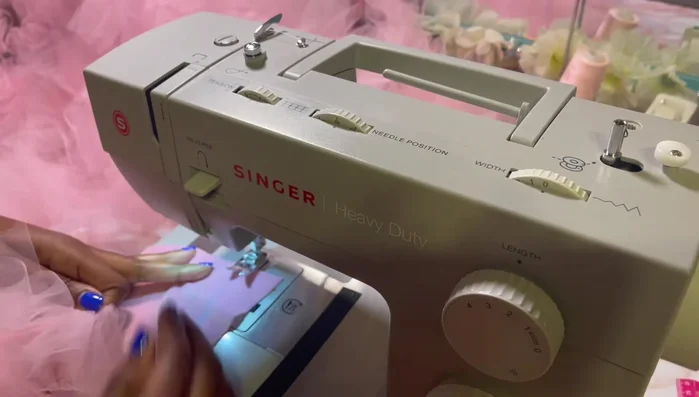
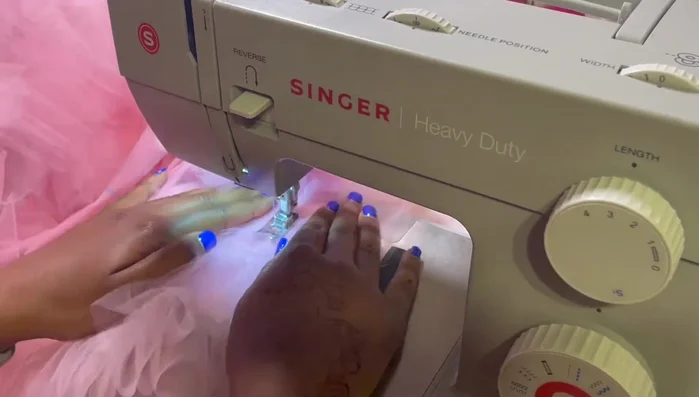
- Cut tulle into 6-inch wide strips.
- Create a sewing guide on your machine using tape. Pleat the tulle strips by hand. Sew the pleated tulle strips together, creating one continuous strip.
Create the Tulle Train Attach Ruffles to the Train
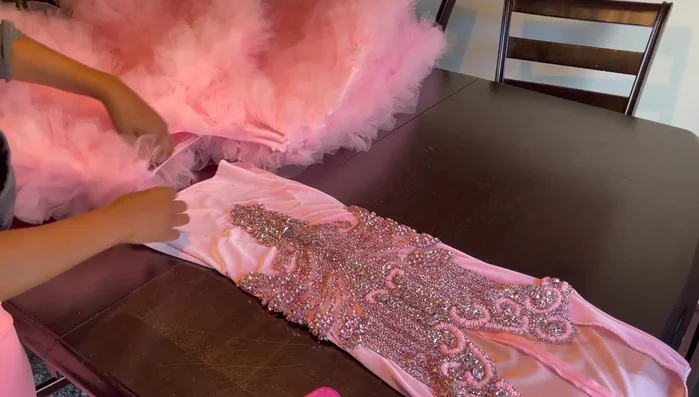
- Mark the ruffle placement on the back piece of the skirt, 1 inch from the bottom and 3 inches apart. Follow the curve of the skirt.
- Attach the tulle ruffles to the skirt. Place the ruffles on the marked lines and sew along the center of the ruffles, directly above your initial stitching.
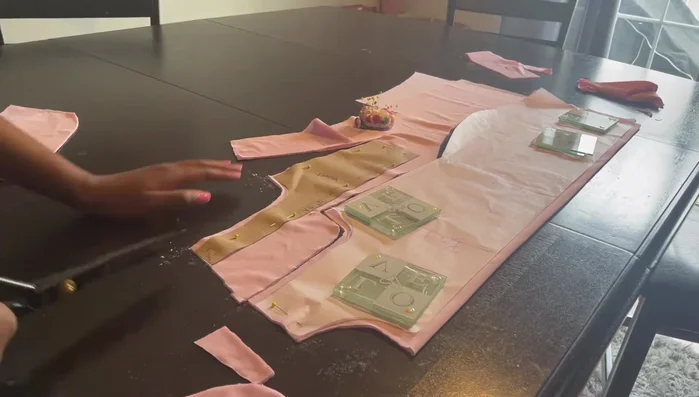
Attach Ruffles to the Train Assemble the Skirt
- Sew the back pieces together, sandwiching the tulle ruffles between the layers. Use a zigzag stitch and sew a straight stitch over the top.
Assemble the Skirt Attach Train to Dress
- Attach the circle skirt to the dress. Match the back and side seams, pin, and sew using a zigzag stitch, then serge the seam.
- Hand sew a row of ruffles on top of the skirt seam.
Attach Train to Dress
Read more: Raglan Sleeve Sewing Tutorial: A Step-by-Step Guide
Tips
- Use a guide to ensure even spacing when sewing the ruffles.
- Listen to music or watch TV while pleating the tulle to make it less tedious.
- Keep the ruffles facing out when sewing to avoid bunching inside the machine.
- Use a zigzag stitch when attaching the ruffles and circle skirt to prevent the fabric from stretching.