Have you ever gazed longingly at your Roomba, marveling at its tireless cleaning prowess, and wished you could somehow capture its quirky charm in a more cuddly form? Well, wish no more! This ultimate guide will walk you through creating your very own adorable Roomba plushie, transforming that whirring cleaning machine into a delightful companion perfect for snuggling on the sofa or displaying proudly on your shelf. Forget expensive, mass-produced toys – unleash your inner crafter and prepare to experience the satisfying joy of bringing this beloved robotic friend to life in soft, huggable form.
Get ready to dive into a world of felt, stuffing, and stitching as we embark on this fun and easy project! This guide offers a comprehensive, step-by-step process, complete with pictures and helpful tips, to ensure even beginners can create their own personalized Roomba plushie. Prepare to be amazed at how simple it is to transform your crafting skills into a unique and cherished creation. Let's get started!
Preparation and Safety Guidelines
- Minky fabrics (dark gray, black, white, light bluish gray, silver, red, yellow, blue)
- Matching thread
- Pillow stuffing
- Sewing pins
- Sewing needle
- Sewing machine (optional)
- Pattern (printed or drawn)
- Adult supervision is required throughout the entire crafting process, especially when using sharp objects like needles or scissors.
- Ensure all small parts, such as buttons or embellishments, are securely attached to prevent choking hazards, particularly if the plushie is intended for young children.
- Use non-toxic materials for stuffing and decoration to avoid any potential health risks.
Step-by-Step Instructions
Create Roomba Base
- Create the Roomba base using parts one and three from the pattern. Cut two of part one and one of the long part three. Sew the long strip to one circle, close the circle, then attach the second circle, leaving an opening for turning.

Create Roomba Base Stuff and Close Roomba Base
- Turn the base inside out and stuff it with pillow stuffing. Sew the opening closed using a ladder stitch.
Stuff and Close Roomba Base Create and Attach Bumper
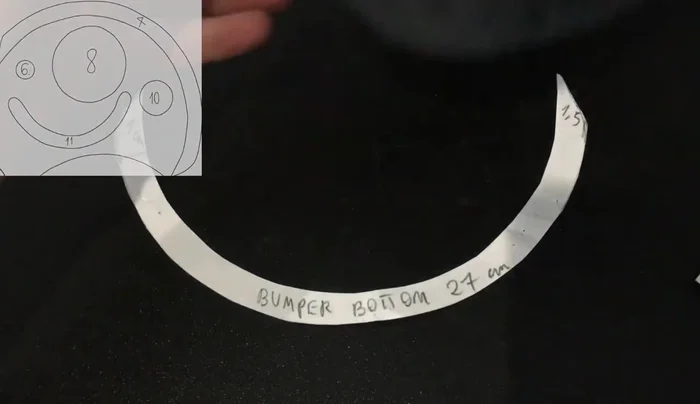
- Make the bumper using parts two, four, and five. Sew the long strip (part two) to the front of the bumper (part four), adding embroidery if desired. Attach part four to the base.
Create and Attach Bumper Create and Decorate Faceplate
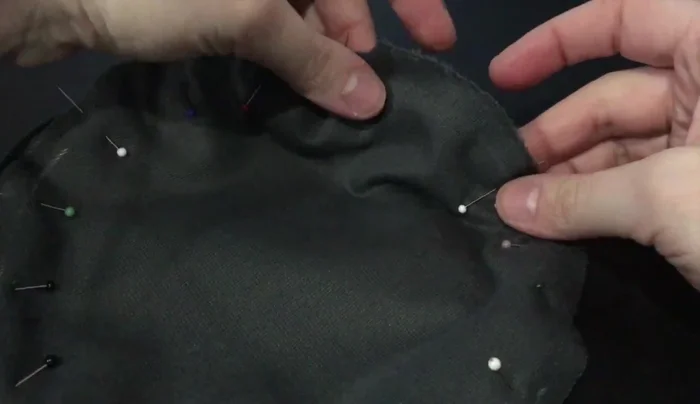
- Create the faceplate using part seven. Pin the excess fabric to the inside and stitch around the edge. Attach the interface panel (parts 8 & 9), center buttons (parts 6 & 10), scheduling buttons (part 12), and handle (part 11). Add embroidery for detail.
Create and Decorate Faceplate Attach Faceplate and Add Details
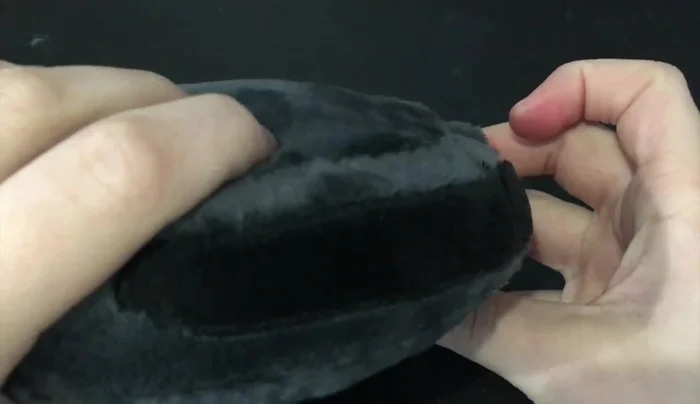
- Attach the faceplate to the Roomba base. Create the bin release button using part six and add the charging hole (another part six circle in black fabric).
Create and Attach Side Brushes
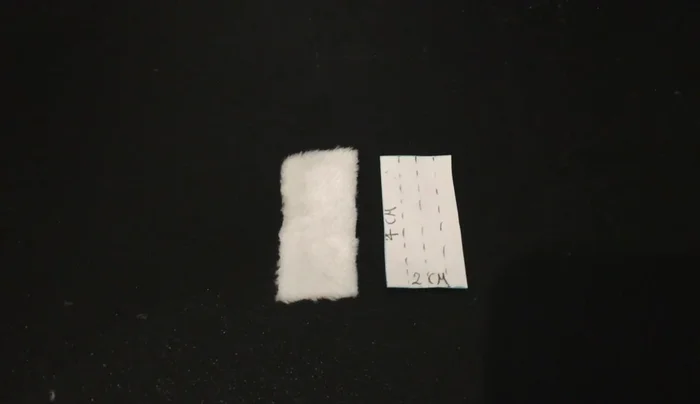
- Make the side brush using three copies of part 13. Fold each piece, sew a small stitch on one end and in the middle, and then sew shut from the middle to the sewn end. Carefully cut the loose fabric into bristles. Attach the brushes to the underside of the Roomba, adding part 6 in yellow fabric for the center.
Create and Attach Side Brushes Create Main Cleaning Head
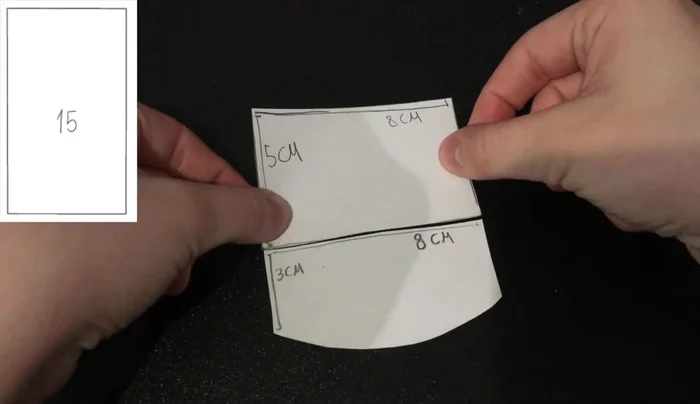
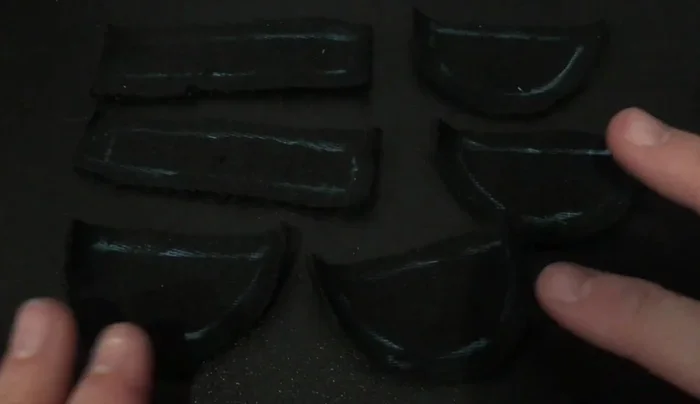
- Create the main cleaning head using parts 14, 15, 16, and 17. Sew the dustbin and cleaning head base together. Make the rollers using part 16 (two) and part 17 (four), attaching them to the cleaning head. Stuff and close.
Create Main Cleaning Head Create and Attach Wheels
- Make the wheels using parts 18 and 19 (four of 18, two of 19). Attach 18 and 19, flip inside out, stuff, and close. Attach to the main cleaning head.
Create and Attach Wheels Create and Attach Caster Wheel
- Make the caster wheel using parts 10 (black) and 20 (white). Attach the black circle in the middle, stuff and close, then attach the white rectangle. Make the charging contacts using two more part 20s (light gray) and attach to the caster wheel.
Create and Attach Caster Wheel

Read more: DIY Fluffy Duck Plushie Tutorial: A Step-by-Step Guide
Tips
- Feel free to change the colors of the fabrics to your liking!
- Adding embroidery can make your Roomba plushie extra special!
- Don't make the bristles on the side brush too thin, or the fabric might tear.