Transform your windows and add a touch of classic elegance with a DIY Roman shade! Forget expensive custom-made blinds; creating your own Roman shade is a surprisingly simple and rewarding project, perfect for beginners. This tutorial will guide you through the entire process, from selecting your fabric and measuring your window to the final touches that will make your new shade a stunning focal point in any room. You'll be amazed at how much you can achieve with a few basic tools and a little patience.
This beginner-friendly guide breaks down the process into easy-to-follow steps, using clear instructions and helpful visuals. We'll cover everything you need to know, from choosing the right materials to mastering the crucial sewing techniques. Ready to get started on creating a beautiful and functional Roman shade? Let's dive into the step-by-step instructions below!
Preparation and Safety Guidelines
- 1x2 lumber
- four 1/4 inch dowels (oak)
- brackets (L-shaped for above window, long wood screws for inside)
- two eye hooks
- screws
- plastic shade rings
- nylon string or macrame cord
- two yards of decorator's fabric
- sewing machine
- cotton thread
- needle
- electric staple gun
- iron
- ironing board
- Always use sharp scissors or a rotary cutter when cutting fabric to ensure clean, accurate cuts and prevent injury.
- Handle the fabric carefully to avoid snags or tears. Pre-wash and iron your fabric before starting to prevent shrinkage and wrinkles in the finished shade.
- Use caution when working with your chosen hardware, such as the cord and rings. Keep long cords out of reach of children and pets.
Step-by-Step Instructions
Measure and Plan
- Measure window height and width. Decide on mounting location (inside or outside window frame).

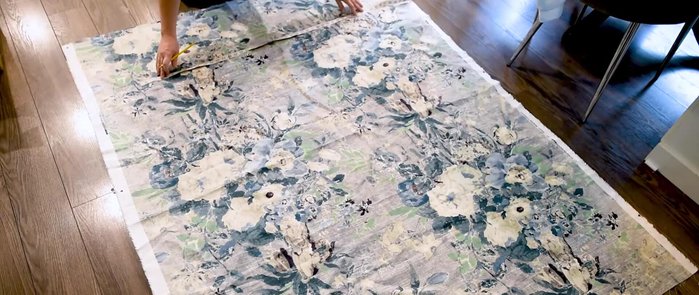
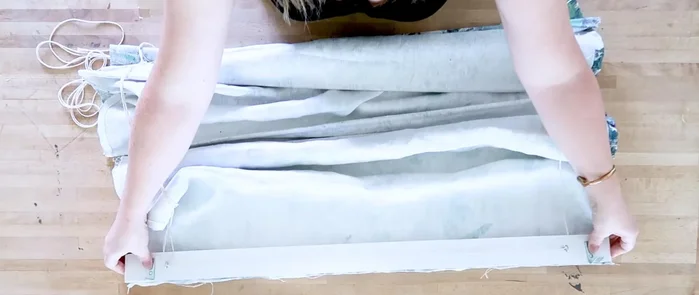
Measure and Plan Cut and Hem Fabric
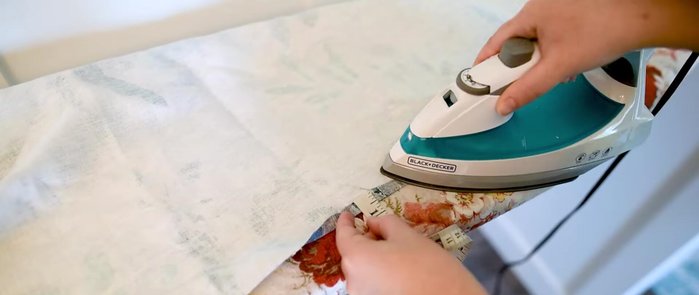
- Cut fabric 2 inches wider than desired shade width and 7 inches longer than desired shade height.
- Press and sew 1-inch hems on the sides and bottom of the fabric, leaving the bottom hem open for dowel insertion.
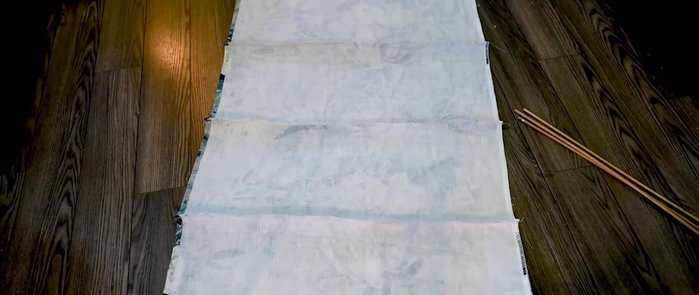
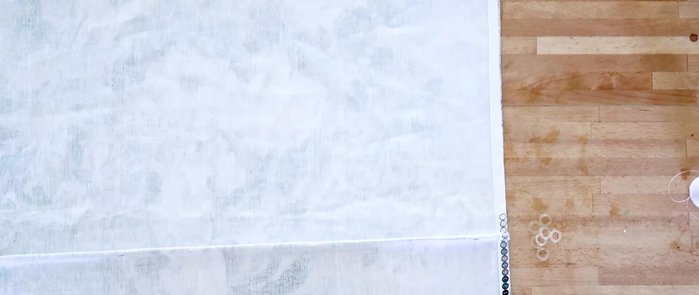
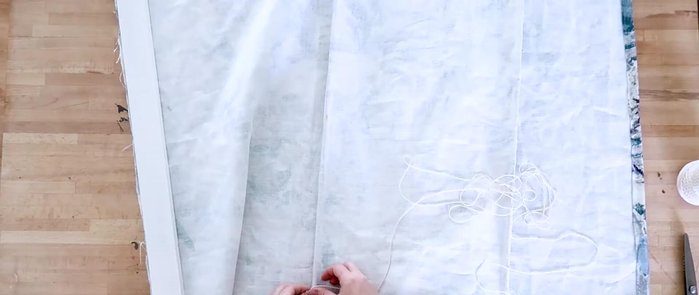
Cut and Hem Fabric Create Dowel Casings
- Mark dowel casing locations (divide remaining fabric height after subtracting 3 inches by 4). Sew casings.
- Insert dowels into casings and bottom hem.
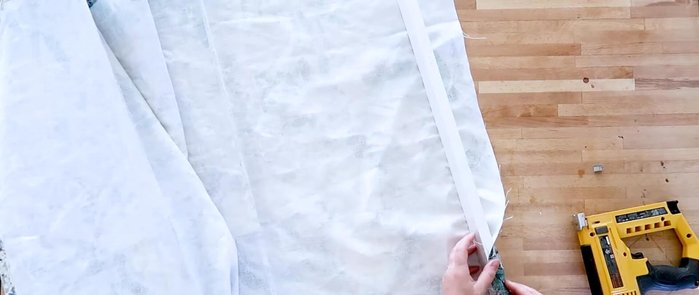
Create Dowel Casings Attach Fabric to Wood
- Paint or leave raw the wooden piece. Staple fabric to wood.
Attach Fabric to Wood Prepare Hanging Hardware
- Attach brackets (if using) to wooden piece. Screw eye hooks to wooden piece.
Prepare Hanging Hardware Attach Rings
- Hand-sew plastic shade rings onto the fabric, 3 inches from each edge and in the middle of each casing.
Attach Rings Install Cords
- Tie strings to bottom rings, thread them through rings and eye hooks, leaving extra string at the end.
Install Cords Mount Shade
- Mount the shade using brackets or screws, and install a hook at the bottom to hold the extra string.

Read more: DIY Super Cute Whale Shower Curtain: A Step-by-Step Tutorial
Tips
- This project is suitable for beginners as it only requires sewing straight lines.
- Consider mounting location (inside or outside window frame) when measuring.
- This is not ideal for windows accessible to small children due to the strings. Consider stringless options.
- Backstitch at the beginning and end of seams to secure them.
- Use strong knots when tying strings to prevent them from coming loose.