Tired of flimsy, uncomfortable bag handles that constantly slip off your shoulder? Upgrading your bags with durable, stylish, and custom-made handles is easier than you think! This beginner-friendly guide will walk you through the process of creating your own rolled bag handles, transforming your favorite totes, purses, or even luggage into comfortable and personalized accessories. Forget paying exorbitant prices for designer handles – you’ll be amazed at how easy and cost-effective it is to create professional-looking results.
This DIY project is perfect for crafting enthusiasts of all skill levels, requiring only basic materials and simple tools. Whether you're looking to replace worn-out handles or add a unique touch to a new bag, this guide will equip you with the knowledge and confidence to create beautiful, long-lasting rolled handles. Ready to get started? Let's dive into the step-by-step process outlined below.
Preparation and Safety Guidelines
- Fabric of your choice
- Fabric glue (Liquid Stitch or contact cement recommended)
- Always use sharp, clean scissors or a rotary cutter to prevent frayed edges and ensure clean cuts. Dull tools increase the risk of injury.
- Handle materials should be strong and durable enough to support the weight of your bag. Avoid using flimsy or easily-torn fabrics.
- Securely stitch or glue all seams and joins to prevent the handles from separating under stress. Reinforce stress points with extra stitching or interfacing.
Step-by-Step Instructions
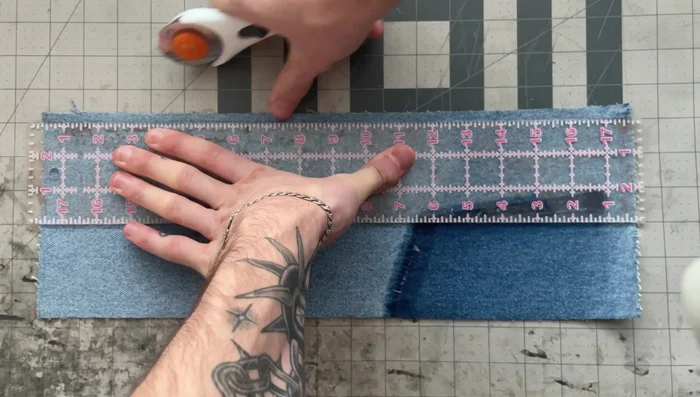
Cut and Prepare Fabric
- Double the desired handle width, then double it again. For example, a 1-inch wide handle requires a 4-inch wide fabric piece. The length is customizable (17 inches used in example).
- Mark ½ inch from the edge on the wrong side of the fabric. Apply glue within this area and fold the edges up to the lines, creating a ¼-inch fold.

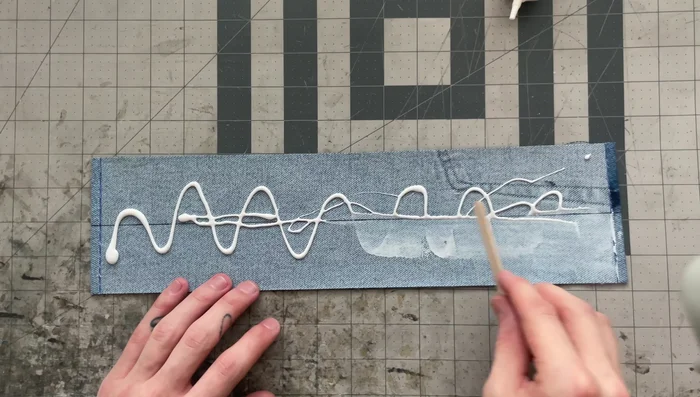
Cut and Prepare Fabric Fold and Glue the Fabric Strip
- Mark the middle of the strip. Apply glue and fold one edge into the middle, ensuring the ends match. Fold the other side in to meet the first, pressing down well.
- Apply glue to the wrong side and fold the strip in half again, ensuring all edges line up perfectly.
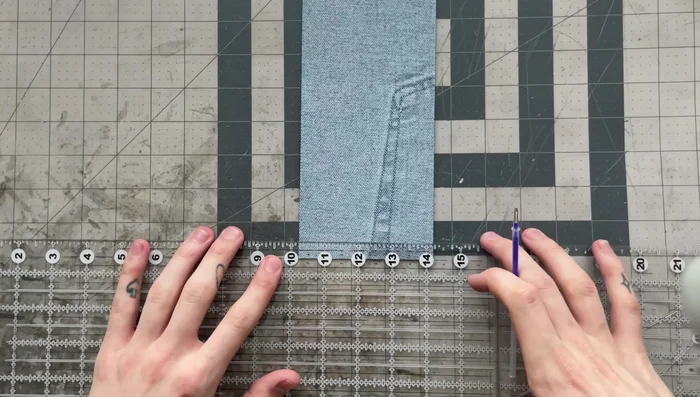
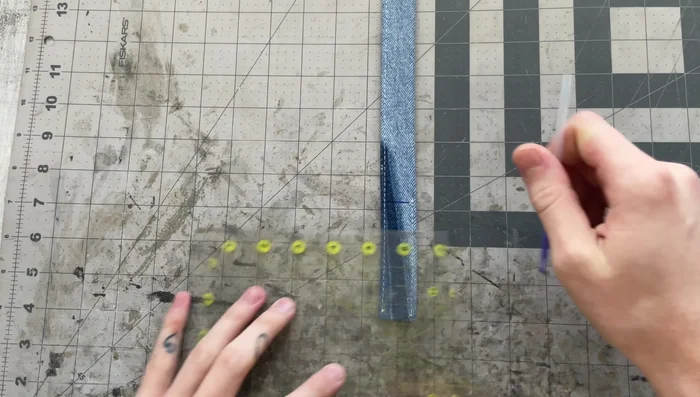
Fold and Glue the Fabric Strip Design and Mark the Handle
- Decide how the handle will attach (directly to the bag, to a ring, etc.) This affects the placement of the sew line and pinch point.
- On the right side, mark ⅛ inch from the edge on both sides. Mark the desired sew line and pinch point (example: sew line 2 ½ inches from the edge, pinch point ¾ inch above).
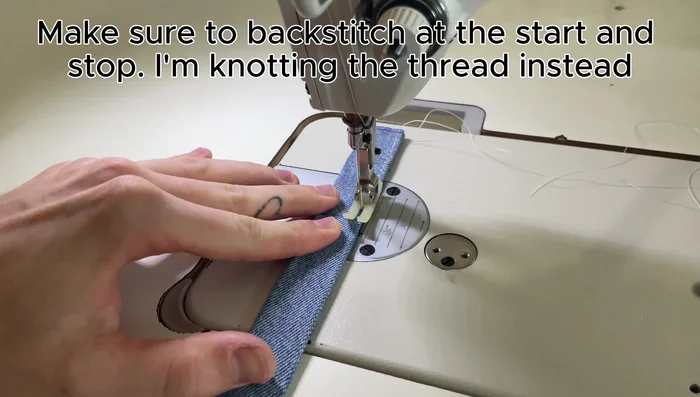
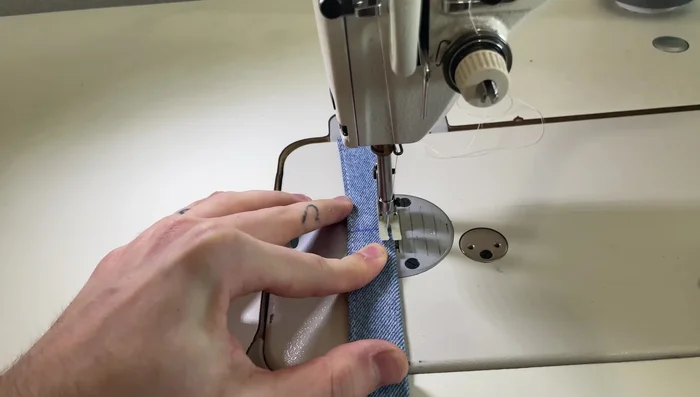
Design and Mark the Handle Sew the Handle
- Starting at the ⅛ inch mark, sew an ⅛ inch from the edge, ensuring stitches hit the marked lines. Continue to the other ⅛ inch mark.
- Sew the outer areas of the closed side, starting and ending at the ⅛ inch marks, stopping one stitch before/past the marked lines to create a clean finish.
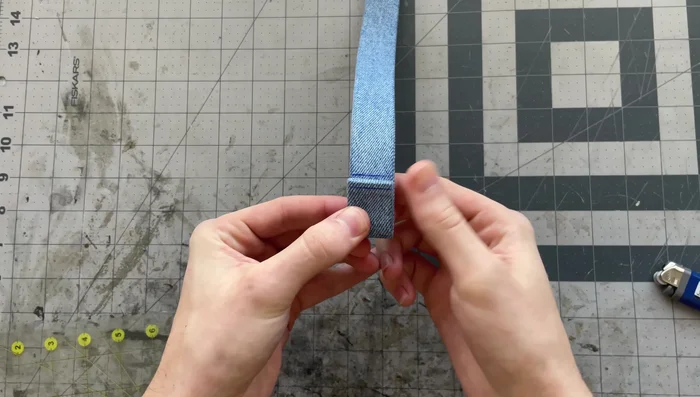
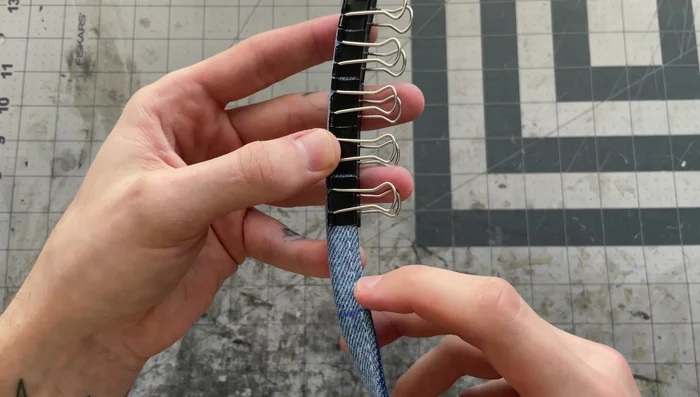
Sew the Handle Finish the Handle
- Apply glue to the area between the pinch point lines. Fold the fabric in half, ensuring both sides line up perfectly, and press down well.
- Stitch from one pinch point to the other on the side with existing stitching, using the same stitch length as before to align with existing holes.
Finish the Handle

Read more: DIY Quilted Makeup Pouch Tutorial: The Easiest and Fastest Method
Tips
- Using glue makes the process more precise and durable.
- Contact cement is beneficial for the pinch point but regular fabric glue works too.
- Letting the handle sit in a rubber band can help shape it.