Tired of staring at the same old pillowcase? Want to add a splash of vibrant, handmade charm to your bedroom decor without breaking the bank? Then this easy DIY tutorial is perfect for you! We'll show you how to transform your leftover quilt scraps into a stunning, reversible pillow cover, adding a unique and personalized touch to your home. This project is ideal for quilters of all skill levels, from beginners just learning to sew to seasoned experts looking for a quick and satisfying project. The best part? You probably already have everything you need!
Using just a few simple supplies and some basic sewing skills, you can create a beautiful, double-sided pillow cover that perfectly showcases your quilting prowess. Get ready to unleash your creativity and breathe new life into those cherished fabric scraps. Ready to start stitching? Let's dive into the step-by-step instructions!
Preparation and Safety Guidelines
- Pillow form
- Rotary cutter
- Cutting mat
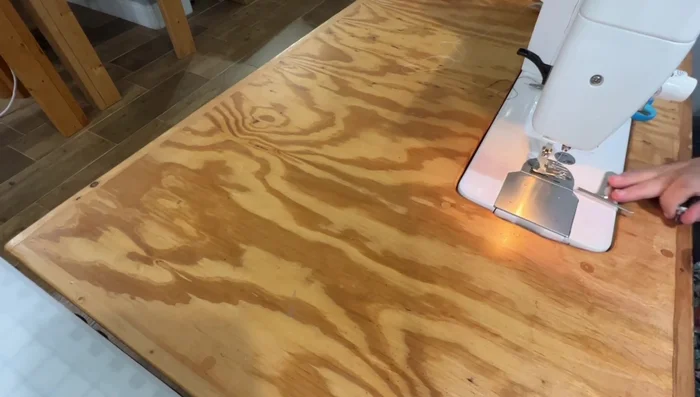
- Sewing machine
- Iron
- Pins
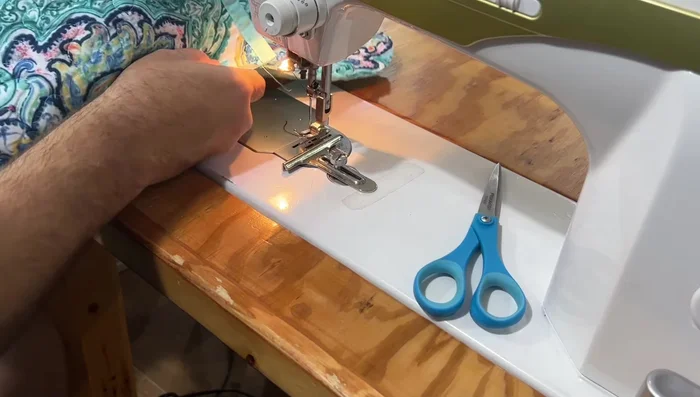
- Scissors
- Always use a sharp rotary cutter and cutting mat to prevent injuries when cutting fabric. Never attempt to cut fabric freehand with scissors while on an unstable surface.
- Ensure your sewing machine needle is appropriate for the fabric weight you are using. Using the wrong needle can lead to broken needles or damaged fabric.
- Handle your sewing machine with care. Keep your fingers clear of the needle and moving parts at all times. Unplug the machine when not in use or when making adjustments.
Step-by-Step Instructions
Prepare Materials
- Gather your pillow form, quilt scraps, and binding fabric.
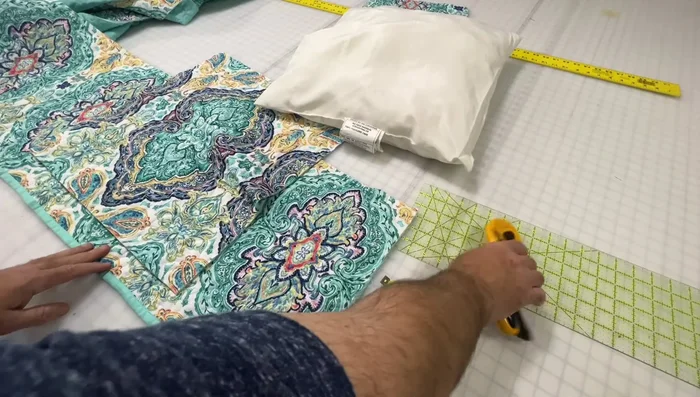
Cut Main Fabric & Closure Pieces
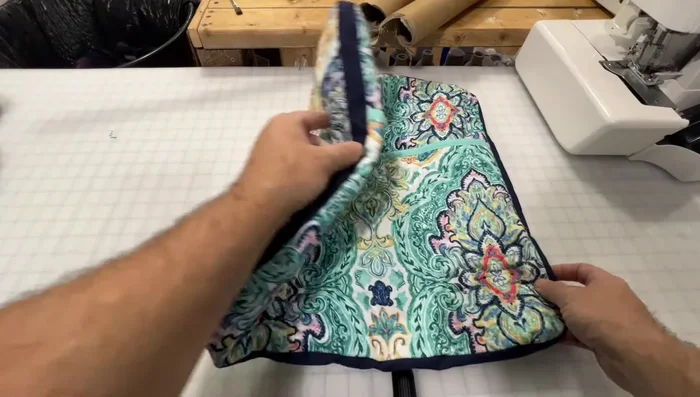
- Cut an 18.5 x 18.5 inch square from your quilt, centering a design element.
- Cut two pie-shaped pieces from the quilt to create the envelope closure. Ensure the designs align when folded.

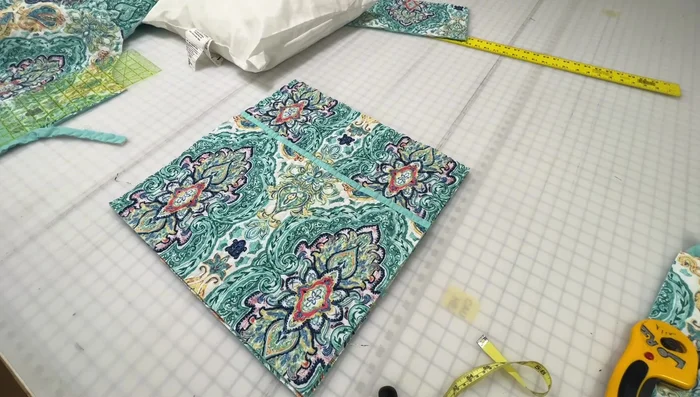
Cut Main Fabric & Closure Pieces Sew and Prepare Closure
- Sew the two pie-shaped pieces together along one edge. Trim to the same size.
- Round the corners of all fabric pieces using a template (like a cup or coin).
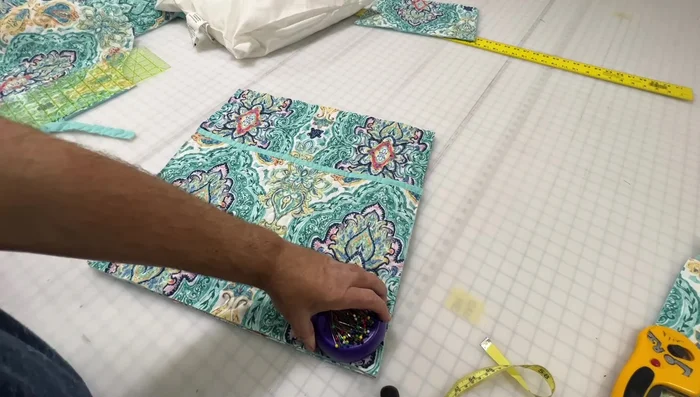
- Mark the center point on each side of the square and the closure pieces.
Sew and Prepare Closure Prepare Binding
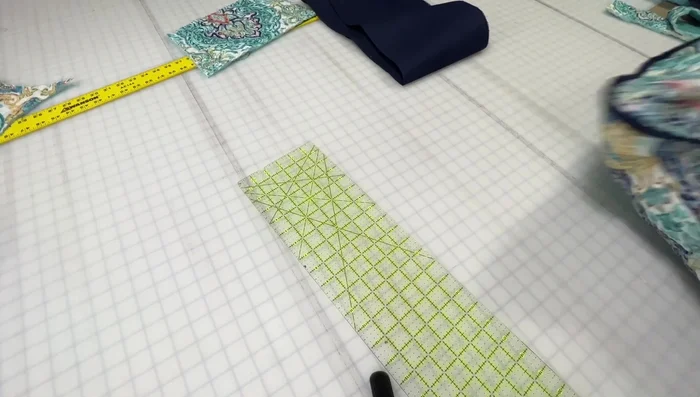
- Cut two 2-inch wide strips of fabric long enough to go around the pillow.
- Sew the two strips together to form one continuous strip.
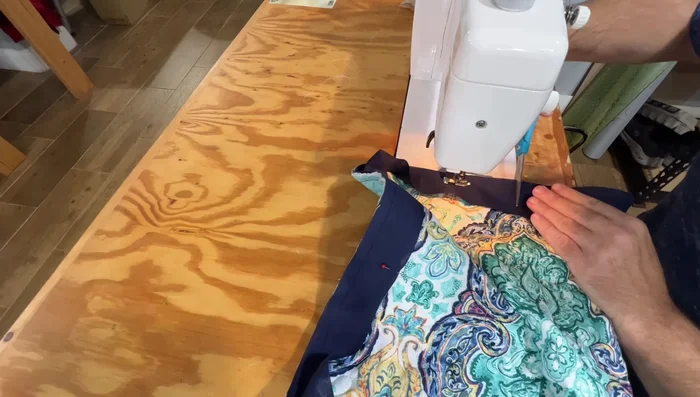
Attach Binding to Front
- Sew the binding strip to the edge of the main fabric square using a 1/2-inch seam allowance. Use a sewing machine guide for even stitching. Maneuver the fabric around curves, keeping the top fabric straight and manipulating the fabric underneath.
Attach Back & Trim
- Trim the excess binding after sewing. Create a 1/4 inch seam allowance.
- Attach the second layer of the envelope closure, aligning center points and sewing with a 1/4-inch seam allowance.
Attach Back & Trim Turn, Press & Finish
- Turn the pillow cover right side out. Iron flat to set seams.
- Stitch in the ditch around the perimeter of the pillow cover to finish the edges.
Turn, Press & Finish Insert Pillow Form
- Insert the pillow form into the finished pillow cover.
Insert Pillow Form


Read more: King Size Quilt Tutorial: Efficient Chain Piecing Method
Tips
- Use bias-cut fabric for easier sewing, particularly around curves.
- Use a sewing machine guide for consistent seam allowance.
- Take your time with the corners. Ease the fabric gently as you sew to avoid puckering.
- Iron the finished pillow cover to create crisp edges and a professional finish.