The holiday season is upon us, a time filled with delicious aromas and cherished gatherings. And what better way to present your freshly baked bread than in a charming, homemade bread basket liner? This year, skip the disposable paper liners and embrace the spirit of crafting with our tutorial on creating a reversible bread basket liner – perfect for adding a festive touch to your holiday table. Imagine the compliments you'll receive as you proudly display your warm, crusty loaves nestled within a beautifully crafted, reusable liner. This project is surprisingly simple, even for beginner sewists, and allows for endless customization to match your holiday decor.
Forget searching for the perfect store-bought liner; create your own unique piece that reflects your personal style. With just a few simple supplies and a little bit of time, you can whip up this reversible masterpiece, perfect for adding that extra touch of elegance to your holiday spread. Ready to get started? Let's dive into the easy step-by-step instructions to make your own reversible bread basket liner!
Preparation and Safety Guidelines
- threaded sewing machine
- zipper foot
- iron
- ironing board or pad
- two different fabric designs
- double fold bias tape (1/2 inch or 1 inch)
- fabric clips
- pins
- marking pen or pencil
- tailor's chalk
- scissors
- tape measure
- basket
- Always use fabric suitable for food contact. Avoid fabrics treated with chemicals or dyes that might leach into food. Look for fabrics certified for food safety, such as 100% cotton.
- Ensure your liner is completely dry before placing it in the bread basket. Damp fabrics can encourage mold growth.
- Wash your liner frequently, especially if it's been in contact with sticky or moist foods. Follow care instructions for your chosen fabric to prevent shrinking or damage.
Step-by-Step Instructions
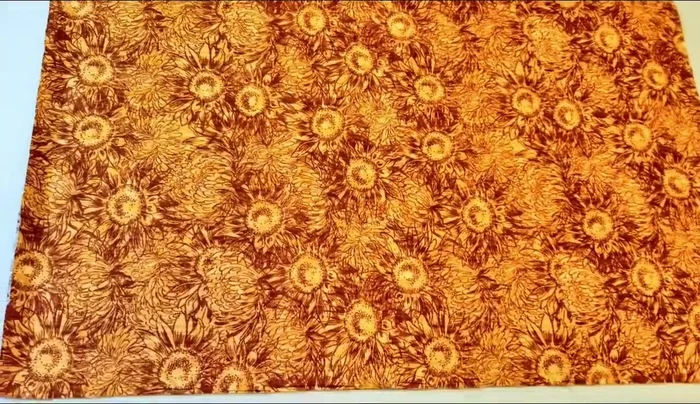
Prepare Fabric
- Pre-wash fabric (cotton will shrink).

Prepare Fabric Measure and Cut Fabric
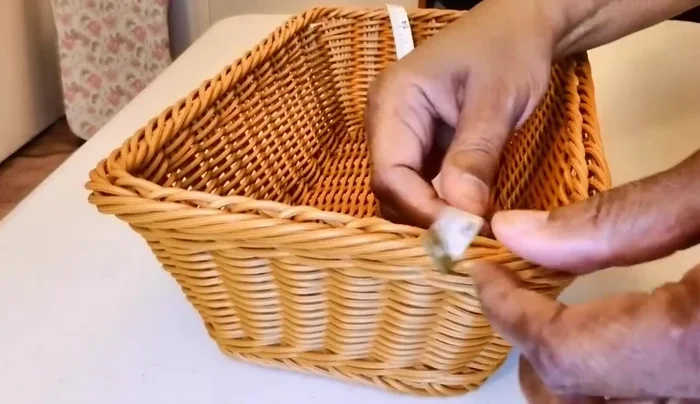
- Measure basket, adding 3 inches to length and width for hanging.
- Cut both fabrics to match basket dimensions.
Measure and Cut Fabric Shape Fabric Edges
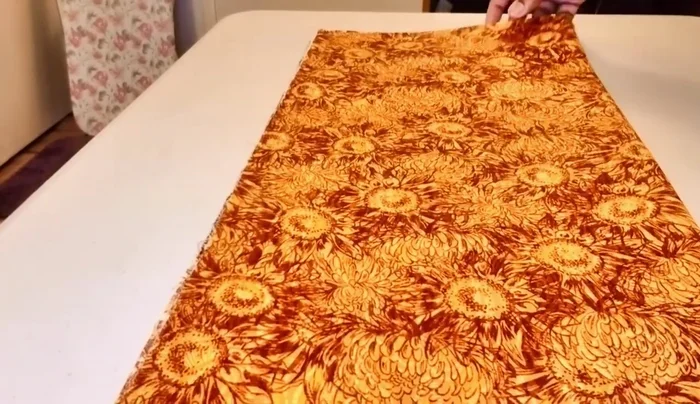
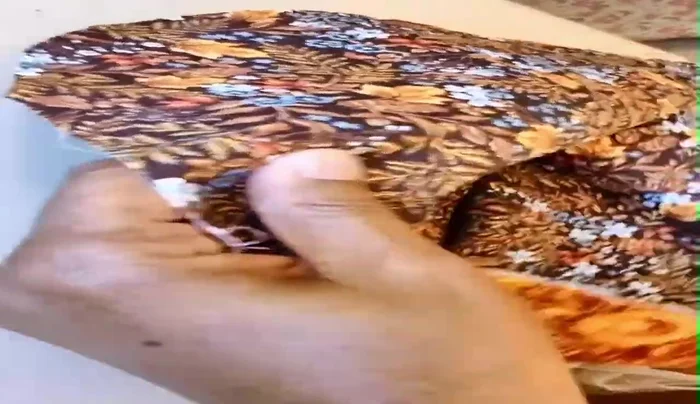
- Fold fabrics in half lengthwise, then in half again. Use a bowl to trace a curved edge, trimming squared edges to create a rounded edge.
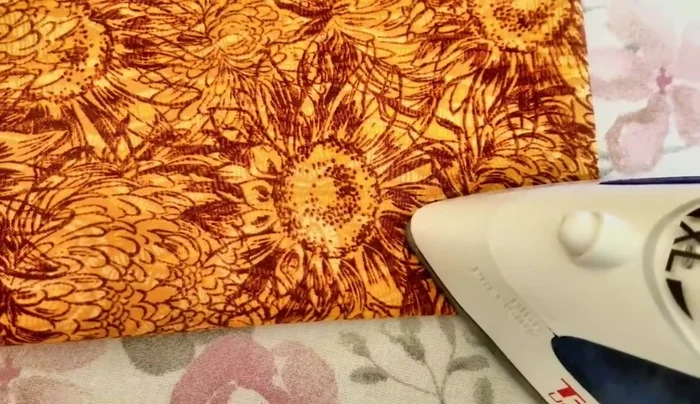
- Press the bottom fold to mark the center.
Shape Fabric Edges Position and Adjust Fabric
- Lay fabrics over the basket, centering the crease, and press down to the bottom.
- Check for length/short adjustments and cut tiny slits (1/4 inch) in the corners.
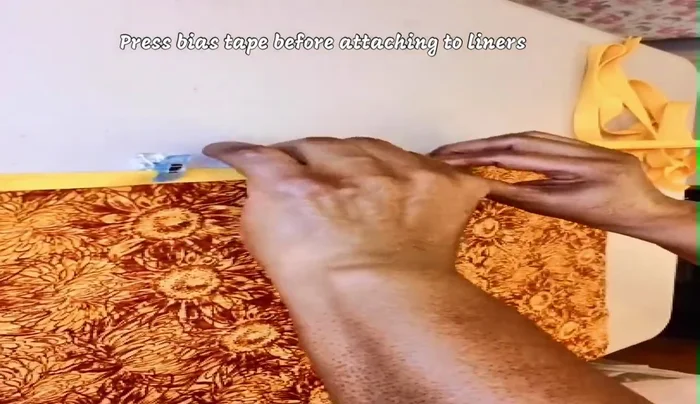
Position and Adjust Fabric Attach Bias Tape
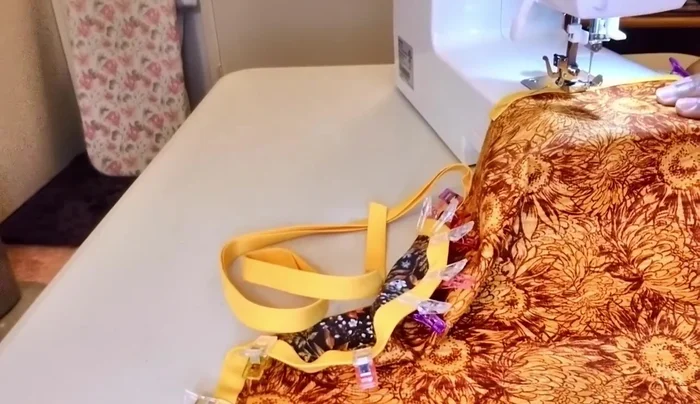
- Attach and pin bias tape around the edges.
- Stitch bias tape, starting 4 inches from the end, close to the tape’s edge.
- When approaching the other end, stitch a bit before removing from machine. Cut bias tape 1/4 inch past the end.
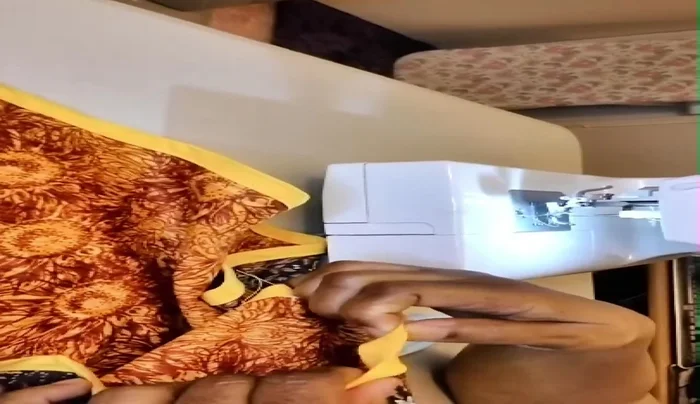
Attach Bias Tape Join Bias Tape Ends
- Unpin first end, open bias tape, turn one end face down, fold fabric in half, line up ends, pin, and stitch together (1/4 inch).
- Open, fold bias tape back, and finish stitching.
Join Bias Tape Ends Finishing Touches
- Trim loose threads.
- Open liner over basket, find center, and press down, ensuring even sides.
Finishing Touches


Read more: DIY Super Cute Whale Shower Curtain: A Step-by-Step Tutorial
Tips
- Pre-washing the fabric prevents shrinkage.
- Be careful not to make slits in the corners too long.
- Make sure the bias tape is inserted correctly while stitching.