Tired of the mountain of wasteful wrapping paper piling up after the holidays? This year, embrace sustainability and create beautiful, reusable Christmas gift bags that you can cherish year after year. Forget the stress of tangled ribbons and frustratingly small rolls of paper – crafting your own gift bags is easier than you think, and far more rewarding! This simple tutorial provides a step-by-step guide to making three different sized bags, perfectly tailored for gifts of all shapes and sizes, from small trinkets to larger presents.
Forget the expense and environmental impact of disposable wrapping; these charming fabric bags will add a personal touch to your gift-giving, saving you money and reducing your carbon footprint. Let's dive into this fun and eco-friendly project! Follow the easy instructions below to learn how to sew your own stunning, reusable Christmas gift bags in three convenient sizes.
Preparation and Safety Guidelines
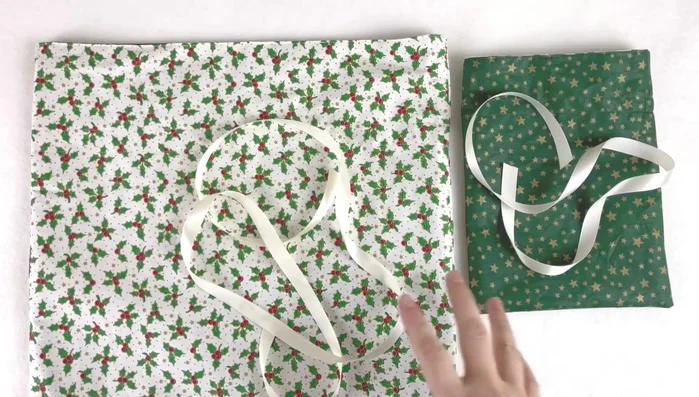
- Two contrasting fabrics
- Ribbon
- Always supervise children when using scissors or sewing machines. Keep sharp objects out of reach.
- Use fabric-safe markers or stamps; regular markers might bleed through the fabric and onto gifts.
- Ensure fabric is pre-washed to prevent shrinkage after the bags are made and gifts are placed inside.
Step-by-Step Instructions
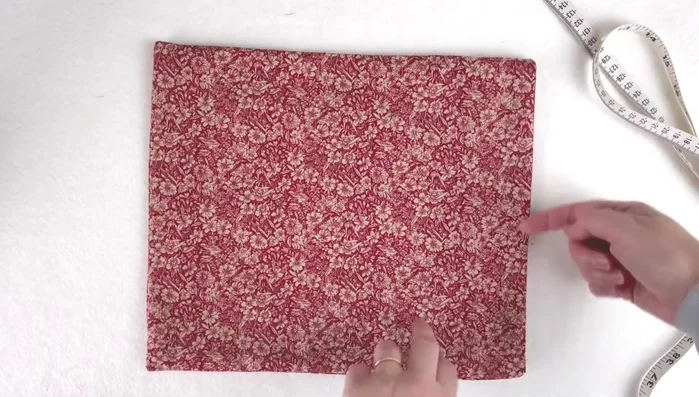
Cut Fabric
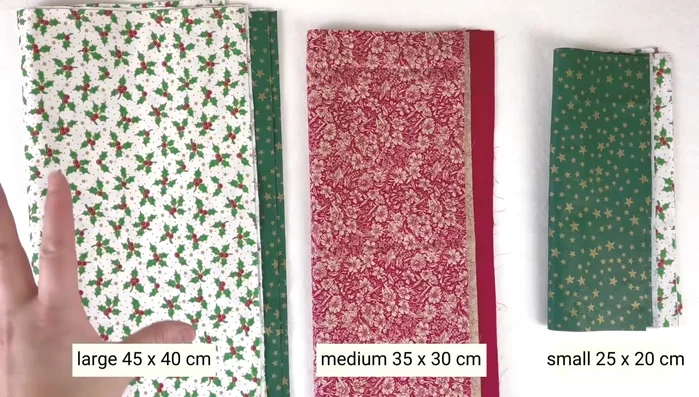
- Cut two pieces each of outer and inner fabric in three sizes (45x40cm, 35x30cm, 25x20cm). Ensure pattern direction is consistent.

Cut Fabric Sew Top Seams
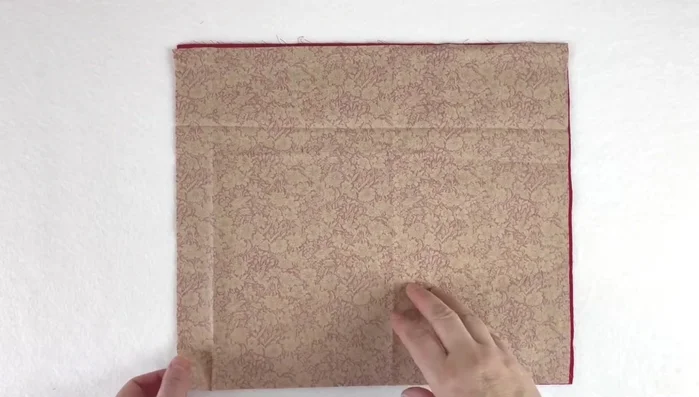
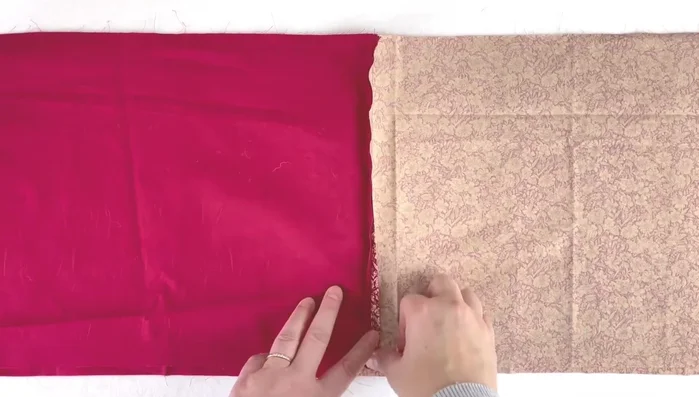
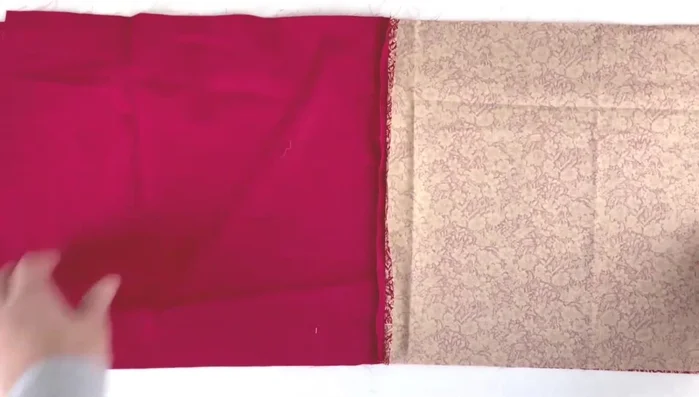
- Pin and sew the top seam of one outer and one inner fabric piece, right sides together. Repeat for the other two pieces.
Sew Top Seams Flatten Seams
- Flatten the seams to the wrong side using your fingers or an iron.
Flatten Seams Assemble and Sew Bag
- Place two fabric pieces (one outer, one inner) right sides together, matching seams. Pin all four sides.
- Sew around all four sides, leaving a 10cm gap in the lining for turning.
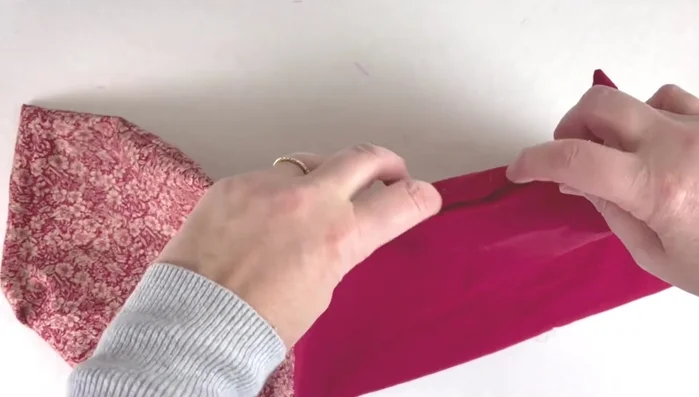
Assemble and Sew Bag Turn and Shape Bag
- Turn the bag inside out through the lining gap. Poke out the corners of both the outer and inner fabrics.
Turn and Shape Bag Close Lining Gap
- Fold under the lining gap's seam allowance and topstitch close to the edge.
Close Lining Gap Insert and Press Lining
- Turn the lining inside the bag. Match up the seams neatly and press.
Insert and Press Lining Stitch Drawstring Channels
- Sew three lines of stitching around the bag: one close to the edge, one 5cm from the edge, and one 7cm from the edge (adjust distances for small and large bags).
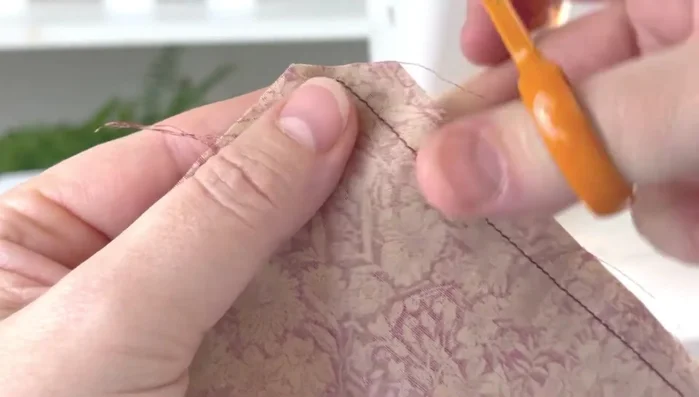
Stitch Drawstring Channels Create Drawstring Channel
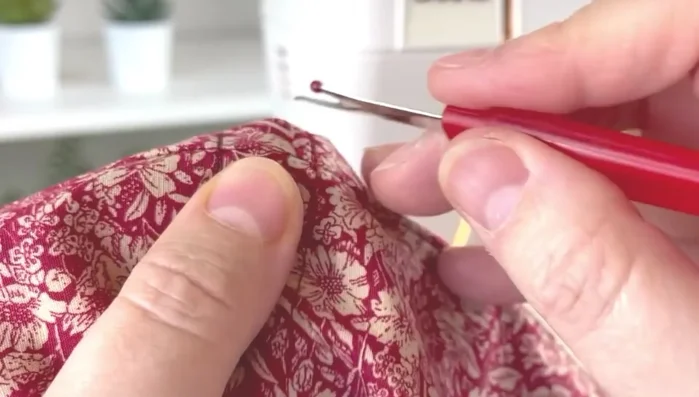
- Carefully undo the stitches between the two inner stitching lines to create a channel for the ribbon.
Create Drawstring Channel Thread Drawstring
- Thread ribbon through the channel, using a safety pin or other threading tool.
Thread Drawstring Tie Drawstring
- Tie the ribbon ends to create a drawstring closure.
Tie Drawstring


Read more: DIY Quilted Makeup Pouch Tutorial: The Easiest and Fastest Method
Tips
- Half a meter of fabric will yield multiple bags.
- Match seams for a neater finish.
- Reinforce stitching by going back and forth several times when creating channels. This prevents the stitches from easily coming undone later.
- Use a safety pin or other tool to easily thread the ribbon through the channel.