Tired of overflowing closets and unwanted neckties gathering dust? Transform those forgotten fashion accessories into a fun and unique toy with this simple DIY project! This guide shows you how to repurpose an old tie into a charming rattlesnake toy, perfect for toddlers and a fantastic way to practice eco-friendly crafting. The vibrant colors and playful design of the finished rattlesnake will capture your child's imagination, providing hours of entertainment. It’s surprisingly easy to make, requiring minimal materials and only a few simple steps.
This project is a wonderful opportunity to inject creativity into your recycling efforts, diverting waste from landfills while creating something both useful and adorable. Forget expensive store-bought toys; let's get started on making your own adorable, eco-friendly rattlesnake! Ready to learn how to bring this fun, repurposed project to life? Let's dive into the step-by-step instructions.
Preparation and Safety Guidelines
- Repurposed tie
- Braiding cord
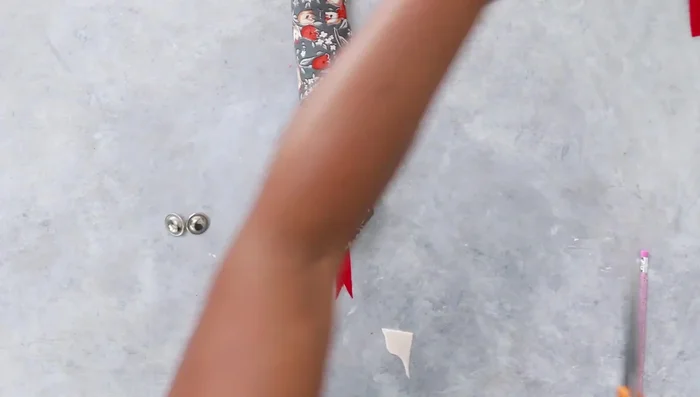
- Jingle bells
- Buttons
- Felt
- Pencil (unsharpened)
- Scissors
- Straight pins
- Batting
- Hot glue gun
- Adult supervision is required at all times when the child is playing with the rattle. Small parts can pose a choking hazard.
- Ensure all knots and ties are securely fastened to prevent unraveling and potential strangulation hazards. Regularly check the toy for wear and tear.
- Use only clean, non-toxic ties. Avoid ties with sharp edges or metal embellishments that could injure the child.
Step-by-Step Instructions
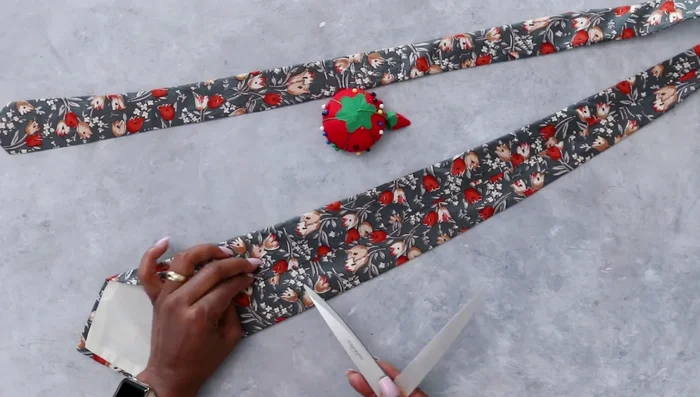
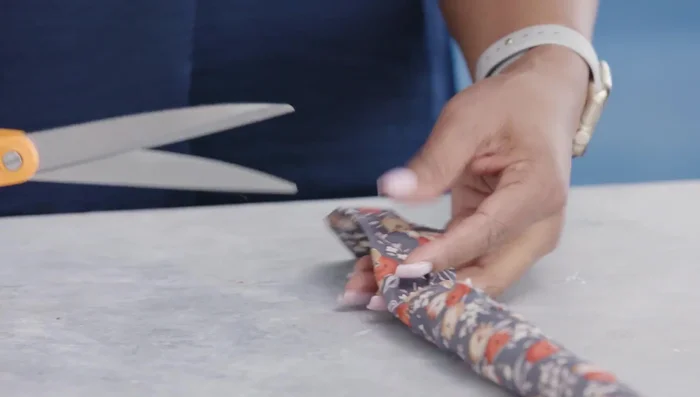
Prepare the Tie
- Remove labels and excess tie material to achieve desired snake head width.

Prepare the Tie Shape the Snake Body
- Wrap the tie around to form the snake body and secure with straight pins.
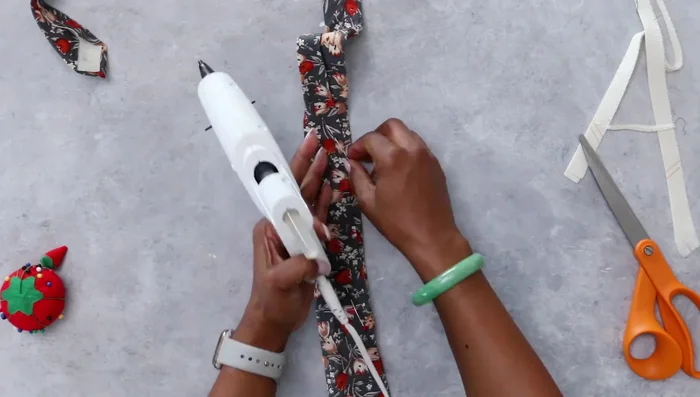
Glue and Prepare for Stuffing
- Glue the tie together using a hot glue gun, leaving the bottom flap open for stuffing.
- Remove the basting stitch from the narrow end of the tie to aid stuffing.
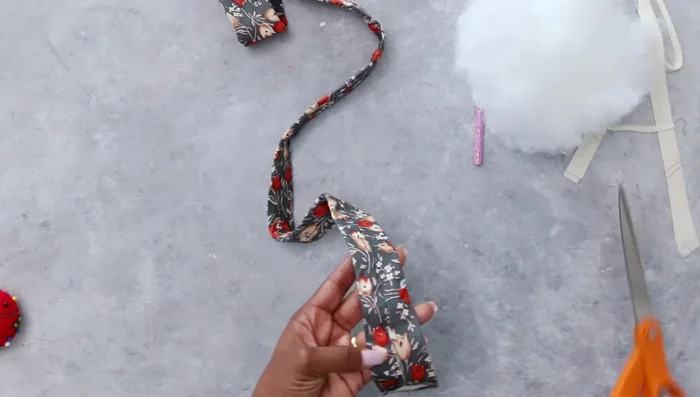
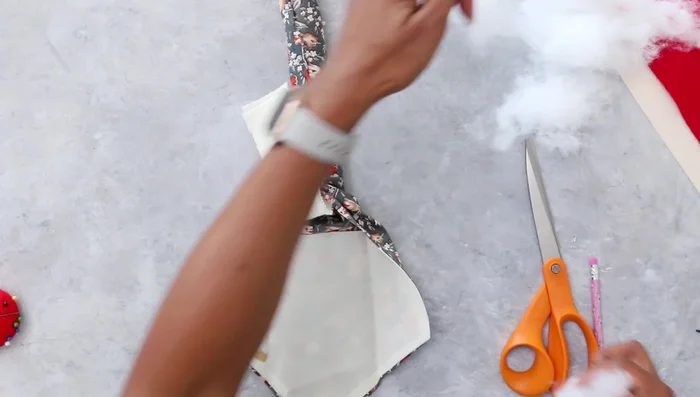
Glue and Prepare for Stuffing Stuff the Snake Body
- Stuff the snake body with batting using an unsharpened pencil to push and distribute the filling.
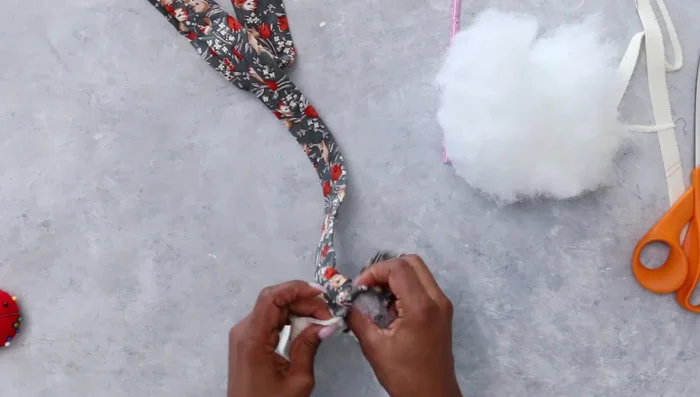
Stuff the Snake Body Create and Secure the Rattle
- Add jingle bells wrapped in batting to create the rattle sound and secure with hot glue.
- Close and secure the end of the snake body with hot glue and a folded edge.
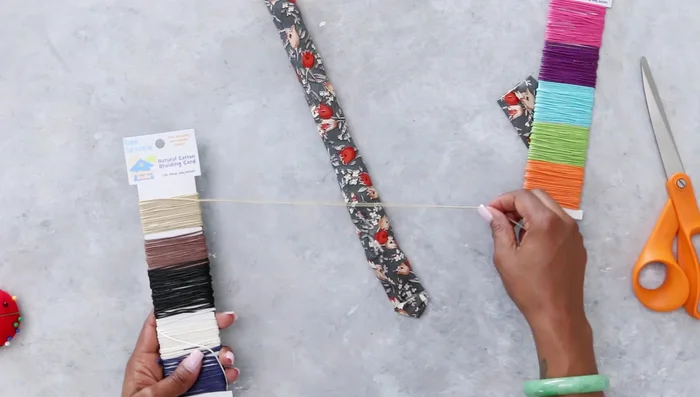
Create and Secure the Rattle Add Tail Texture
- Wrap braiding cords around the tail end, securing with hot glue for texture and detail.
Add Tail Texture Stuff and Close the Head
- Stuff the snake's head with batting, avoiding overstuffing. Close and secure the opening.
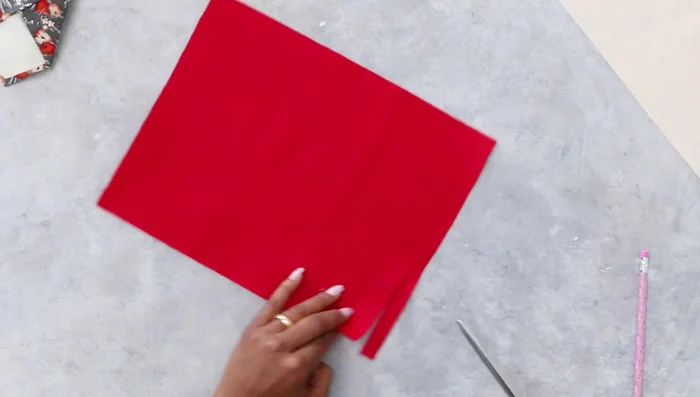
Stuff and Close the Head Add the Tongue
- Cut and glue a red felt tongue.
Add the Tongue Add the Eyes
- Glue or stitch on felt eyes. Stitching is recommended for child safety.
Add the Eyes

Read more: DIY Fluffy Duck Plushie Tutorial: A Step-by-Step Guide
Tips
- Use an unsharpened pencil with an eraser to efficiently stuff the snake.
- For small children, stitch the eyes securely to prevent safety hazards.