Tired of stained, worn-out dining chairs ruining the aesthetic of your otherwise perfect dining room? Don't despair! Giving your chairs a fresh look doesn't require expensive reupholstering or a complete furniture overhaul. With a little creativity and some basic sewing skills, you can transform your dining chairs with stylish, removable covers that are easily cleaned and swapped out to match your mood or the season. Imagine the possibilities: a vibrant floral print for spring, a rich velvet for winter, or even a playful pattern for the kids' birthday party. The best part? These covers are surprisingly easy to make.
This guide provides a comprehensive, step-by-step approach to crafting your own DIY removable dining chair covers, from choosing the right fabric to the final stitching. Whether you're a seasoned sewer or a complete beginner, you'll find this project achievable and rewarding, leading to stunningly upgraded dining chairs without breaking the bank. Let's get started!
Preparation and Safety Guidelines
- Fabric
- Pattern Material
- Scissors
- Sharpie Marker
- Ruler
- Foam (compressed polyester)
- Sewing Machine
- Thread (monofilament or nylon)
- Velcro
- Decorative Piping or Fringe
- Hot Knife (or alternative)
- Double-sided tape
- Grease pencil or #2 pencil
- Always pre-wash your fabric before sewing to prevent shrinkage and color bleeding that could ruin your finished covers.
- Use sharp scissors and pins to avoid accidents and ensure clean cuts and accurate placement of fabric pieces.
- Carefully measure your chairs before cutting your fabric to ensure a proper fit. Add extra seam allowance to account for potential errors.
Step-by-Step Instructions
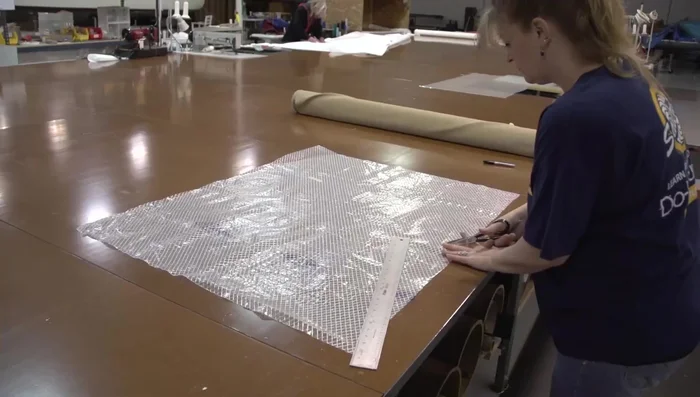
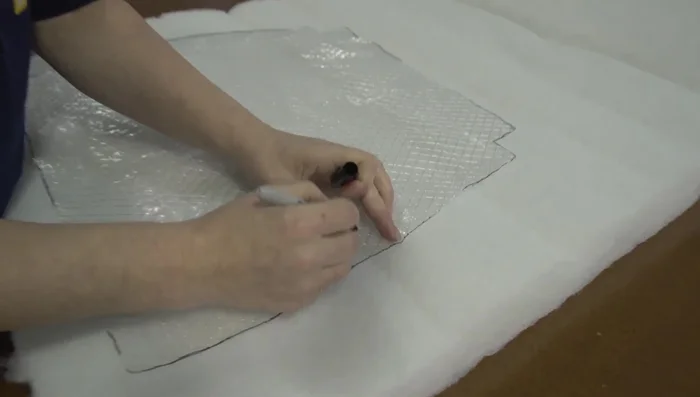
Create Seat Pattern and Foam
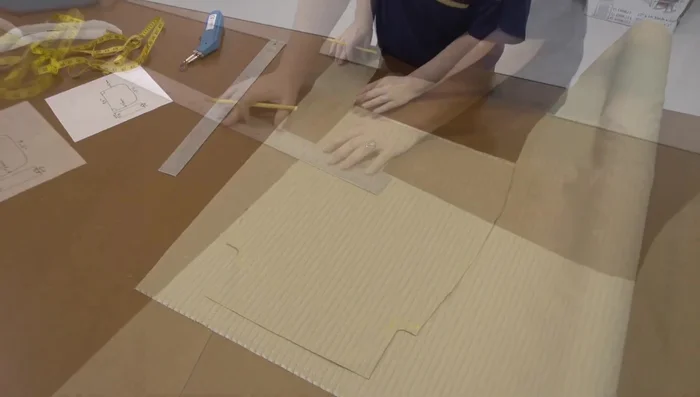
- Measure and cut the pattern for the seat bottom using pattern material, adding extra for seam allowance.
- Cut foam to the size of the seat bottom, adding extra for a more attractive look.

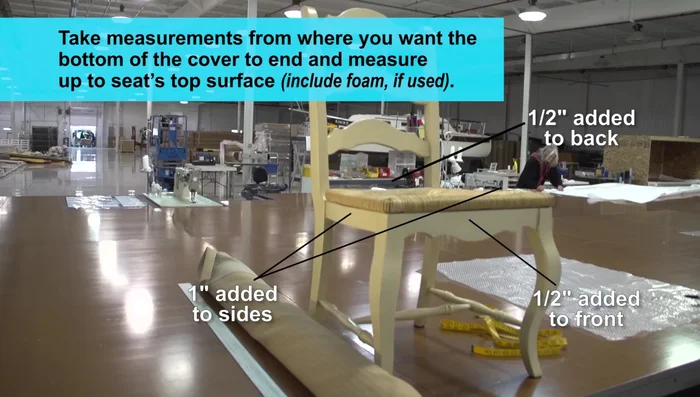
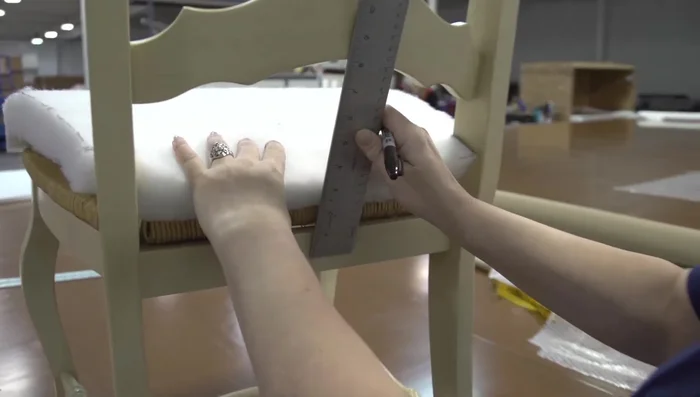
Create Seat Pattern and Foam Take Cover Measurements
- Measure the height from the desired bottom of the cover to the seat's top, including foam thickness if applicable.
- Add seam allowance (1/2 inch or more) to measurements.
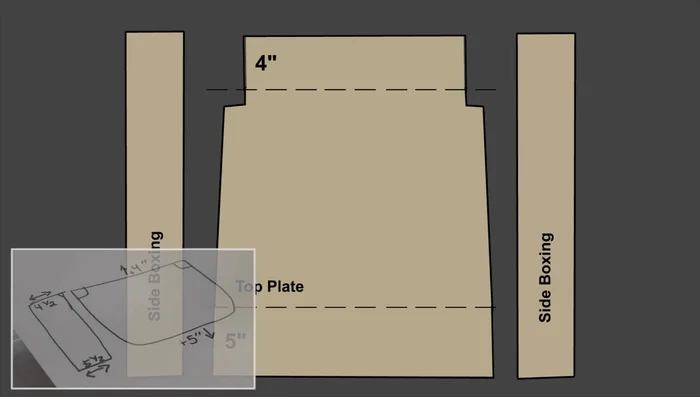
Take Cover Measurements Cut Top Fabric Piece
- Cut the top fabric piece according to measurements, extending it for back and front.
Cut Top Fabric Piece Prepare and Attach Side Boxing
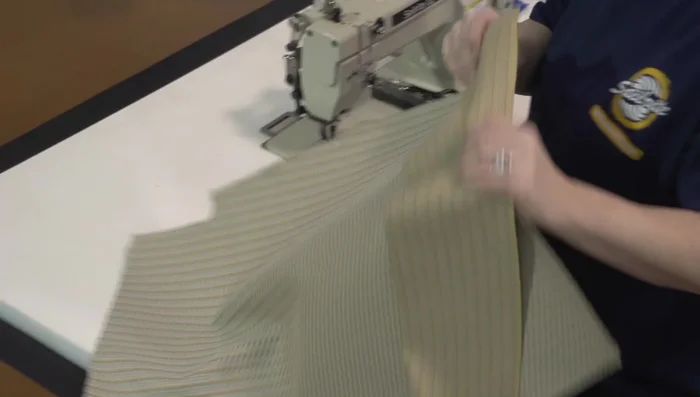
- Cut boxing strips to the maximum width, and cut one end to a smaller width later.
- Sew boxing strips to the top fabric piece. Use a hot knife to prevent unraveling.
Prepare and Attach Side Boxing Create Hems and Notches
- Create hems along the edges of the top fabric piece. Consider adding notches for seat back protrusion.
Create Hems and Notches Add Decorative Piping/Fringe
- Mark the place for the decorative piping or fringe and sew it.
Add Velcro Closure
- Sew on velcro strips for closure. Cut extra piping/fringe with a hot knife.
Add Velcro Closure Attach Back Tabs and Velcro
- Sew tabs to the back of the cover and attach velcro.
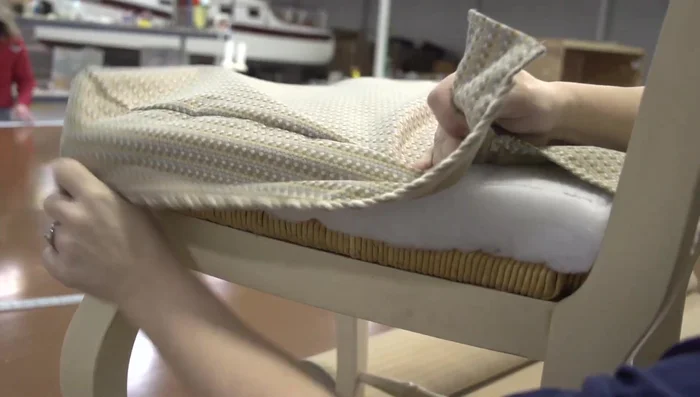
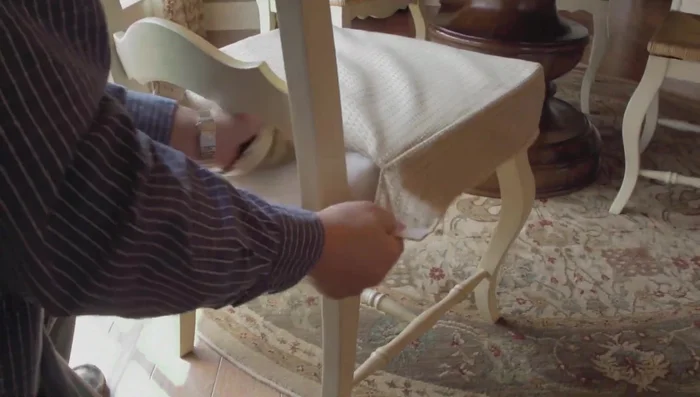
Install Chair Cover
- Install the cover on the chair and secure with velcro.
Install Chair Cover
Read more: DIY Super Cute Whale Shower Curtain: A Step-by-Step Tutorial
Tips
- Use a hot knife or alternative for clean cuts and prevent fraying, especially with synthetic fabrics.
- Use a magnetic guide or masking tape as a fence on your sewing machine to maintain consistent seam allowance.
- Reverse stitching at the beginning and end to lock stitches and ensure durability.
- To sew around corners smoothly, bury the needle, lift the foot, rotate the fabric, lower the foot, and continue sewing.
- Use double-sided tape to temporarily hold hems and fabric pieces together before sewing.