Are you tired of endlessly searching for your remote control, only to find it mysteriously wedged between the cushions or lost in a sea of blankets? Do those frantic, late-night head-smacks against the headboard as you fumble in the dark sound familiar? Then prepare to say goodbye to frustrating remote hunts and hello to the "Bedpost Buddy," your very own DIY remote control holder! This ingenious creation utilizes readily available materials and simple techniques to craft a convenient and stylish solution to your remote-related woes. It’s a project that even the least experienced DIY enthusiast can master.
Forget expensive store-bought solutions – this project is designed to be affordable and personalized. The Bedpost Buddy will not only keep your remote within easy reach, but it also adds a touch of charm to your bedroom décor. Ready to transform your nighttime routine and finally banish those frustrating head-smacks for good? Let's dive into the step-by-step instructions below.
Preparation and Safety Guidelines
- Fabric (11.5 inches wide x 7.5 inches long)
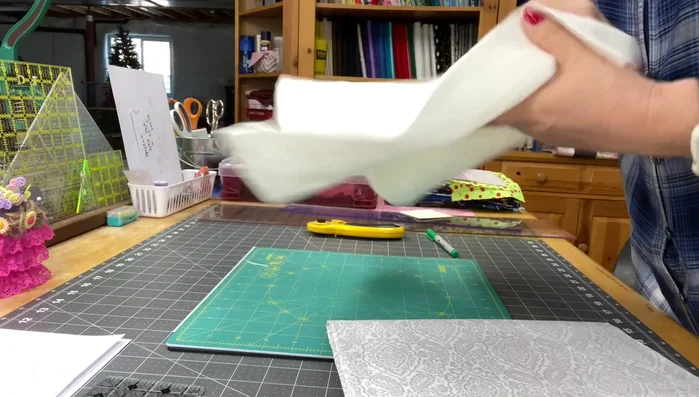
- Scrap batting
- Ruler
- Rotary cutter (optional)
- Iron
- Sewing machine
- Pins or Quilt Clips
- Pencil or fabric marker
- Chopsticks (optional)
- Ensure the bedpost is sturdy enough to support the weight of the remote and holder. A wobbly or weak bedpost could lead to the holder falling and causing injury.
- Always use appropriate fasteners and adhesives for your chosen materials. Improper attachment could result in the holder falling and potentially damaging the remote or causing injury.
- Keep the holder out of reach of young children who might pull on it or attempt to put it in their mouths.
Step-by-Step Instructions
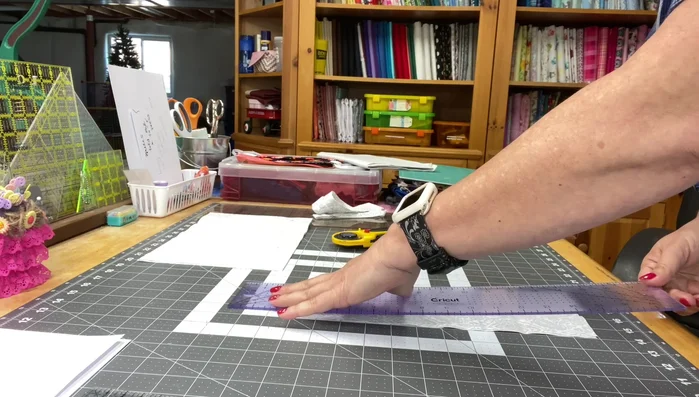
Cut Fabric Pieces
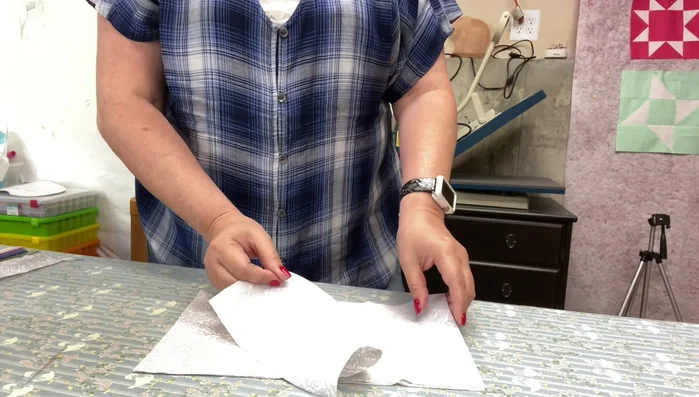
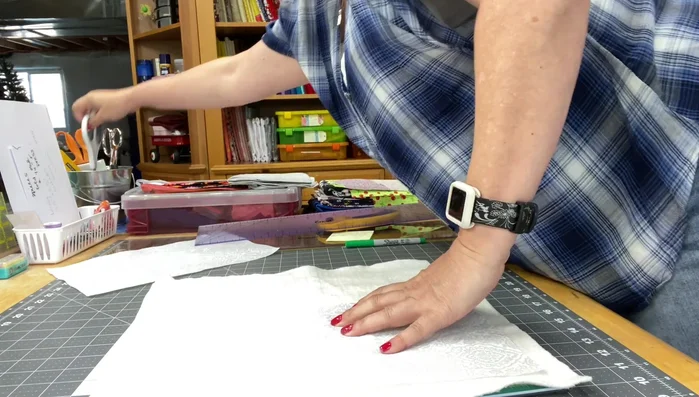
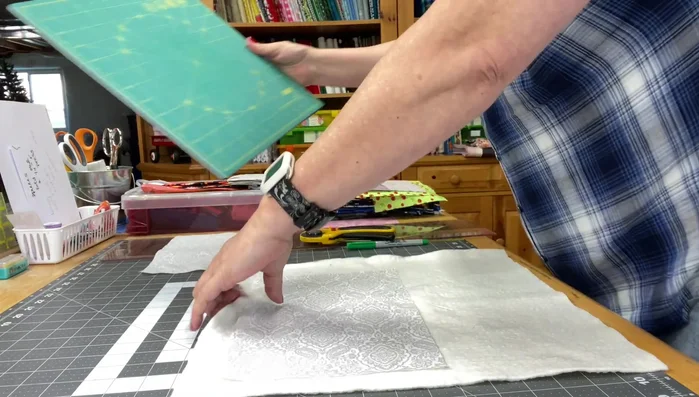
- Cut two 11.5 inches x 7.5 inches pieces of fabric. Add 0.5 inch seam allowance to each side.
- Cut three 3.5 inches wide fabric strips for pockets.

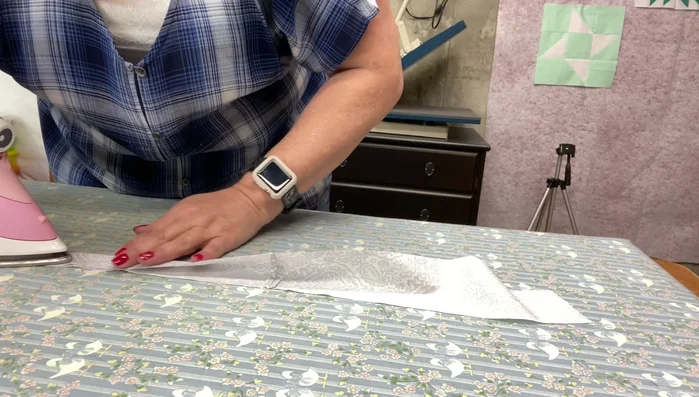
Cut Fabric Pieces Prepare Fabric
- Press (don't iron!) the fabric pieces to remove wrinkles. Pressing prevents stretching.
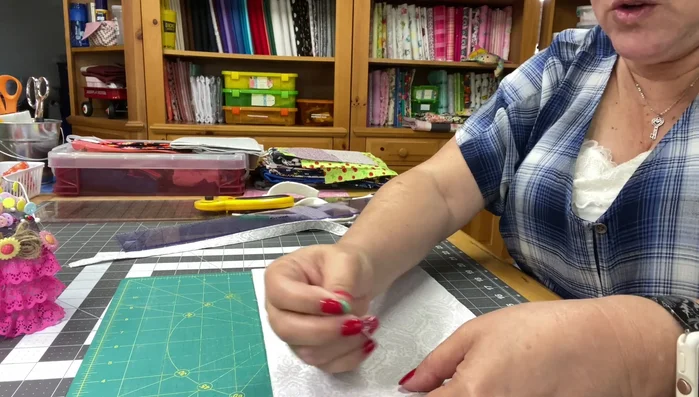
Prepare Fabric Create Pockets
- Fold and press each pocket strip in half lengthwise, then fold it in half again to create a pocket. Stitch along the folded edge to secure.
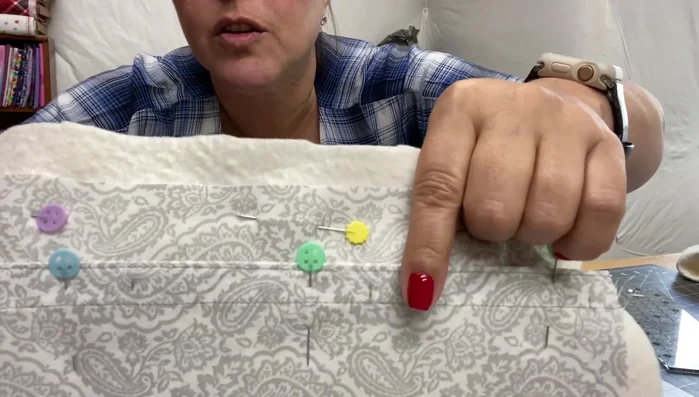
Create Pockets Assemble Layers and Mark Pockets
- Layer one fabric piece (right side up) over batting, then layer the pocket pieces (right side up) on top. Pin in place. Mark 0.5-inch and 3.5-inch points for stitching pockets.
Assemble Layers and Mark Pockets Stitch Pockets
- Stitch down the marked lines to create the pockets.
Trim Batting (Optional)
- Use two fabrics instead of one plus batting for a more sturdy holder).
Trim Batting (Optional) Create Hanging Handle
- Cut and sew a 2.5 inch fabric strip to create the hanging handle. Press the seam open.
- Fold the handle strip in half lengthwise and press. Fold it in half again, press, and stitch to secure.
Create Hanging Handle Assemble Holder and Insert Handle
- Place the second fabric piece (right side facing the first) on top of the layered pieces, aligning edges. Pin or clip in place. Insert the handle into the top edge of the layered fabrics.
Assemble Holder and Insert Handle Sew and Clip
- Sew around the entire perimeter, leaving a 2-3 inch opening for turning. Clip corners.
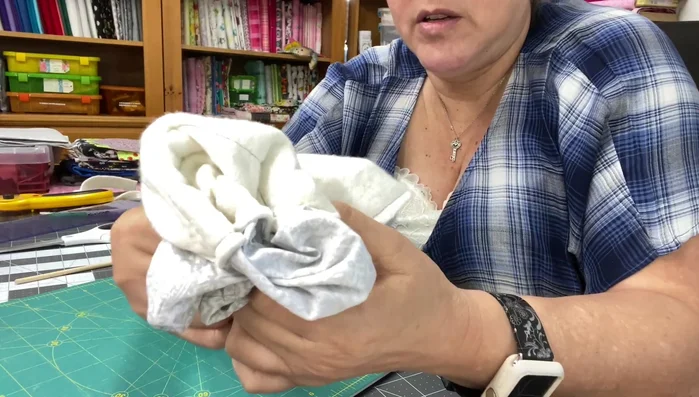
Sew and Clip Turn Right Side Out
- Turn the fabric right side out through the opening. Use chopsticks or similar tool to push out the corners.
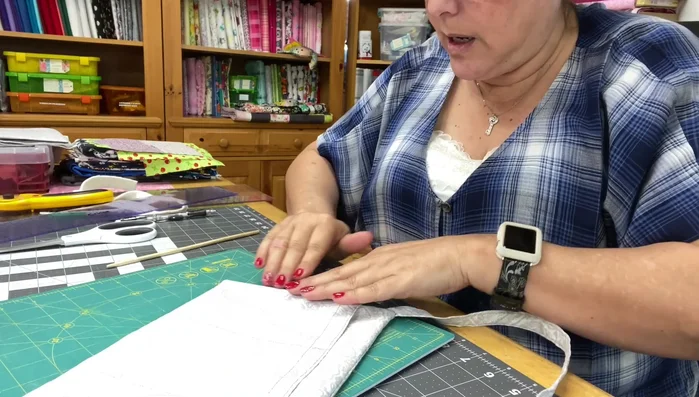
Turn Right Side Out Press, Close Opening, and Finish
- Press the seams and topstitch around the entire perimeter to close the opening and finish the seams.
Press, Close Opening, and Finish

Read more: DIY Super Cute Whale Shower Curtain: A Step-by-Step Tutorial
Tips
- Pressing, not ironing, is crucial to avoid fabric stretching.
- Use pins or clips to hold layers together securely during sewing.
- Leave a small opening for turning the fabric right side out. Clipping corners helps with bulk.
- Use chopsticks or a similar tool to help push out the corners when turning the fabric right side out.