Tired of uncomfortable sports bras that pinch, chafe, or simply cost a fortune? There's a simple, sustainable, and surprisingly stylish solution: upcycling an old tank top into a custom racerback soft support bra! This DIY project not only saves you money but also reduces textile waste, offering a satisfying blend of practicality and eco-consciousness. You'll be amazed at how easy it is to transform an unwanted garment into a comfortable and supportive undergarment perfectly tailored to your needs and body shape.
This guide provides a straightforward approach, using a familiar tank top pattern as a base to create your own comfortable racerback bra. We'll walk you through each step, from choosing the right fabric to adding finishing touches that guarantee a secure and flattering fit. Let’s get started on transforming that old tank top into the perfect DIY racerback soft support bra – follow the step-by-step instructions below!
Preparation and Safety Guidelines
- sewing machine
- power mesh
- outer fabric
- lining fabric
- 1-inch elastic
- bra clasp
- pins
- scissors
- iron
- Ensure your chosen tank top fabric has enough stretch and support for your bust. Using a flimsy fabric will result in an ineffective bra.
- Accurate measurements are crucial. A poorly fitting bra can be uncomfortable and even harmful. Take your time and double-check your measurements before cutting.
- Prioritize comfort and support. If the DIY bra feels uncomfortable or doesn't provide adequate support, do not wear it. A poorly made bra is better left un-worn than risked for health concerns.
Step-by-Step Instructions
Prepare the Pattern and Fabric
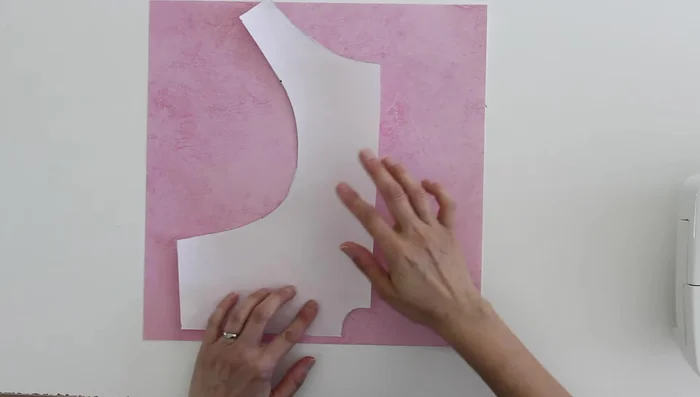
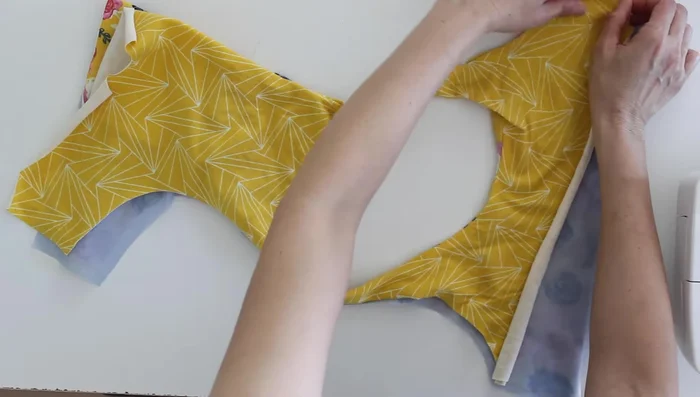
- Trace the bra pattern from a racerback tank top pattern, adding a 1x1 inch curved cutout for the keyhole.
- Cut out the front and back pieces from power mesh, outer fabric, and lining fabric.

Prepare the Pattern and Fabric Attach Power Mesh
- Fuse the power mesh to the wrong side of the outer fabric pieces.
Attach Power Mesh Sew Shoulder Seams
- Stitch the front and back outer fabric pieces together at the shoulder seams using a 1/4 inch seam allowance and a stretch stitch.
- Repeat step 4 with the lining fabric.
Sew Shoulder Seams Sew Neckline
- Place the lining fabric right sides together with the outer fabric, matching up all three layers around the neckline. Stitch around the neckline using a stretch stitch.
Sew Neckline Sew Armholes (Burrito Method)
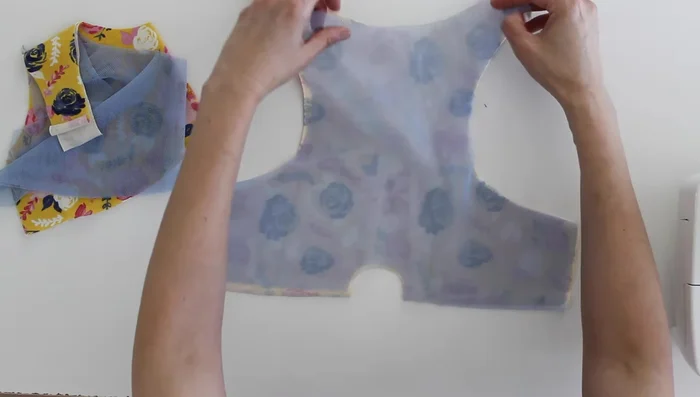
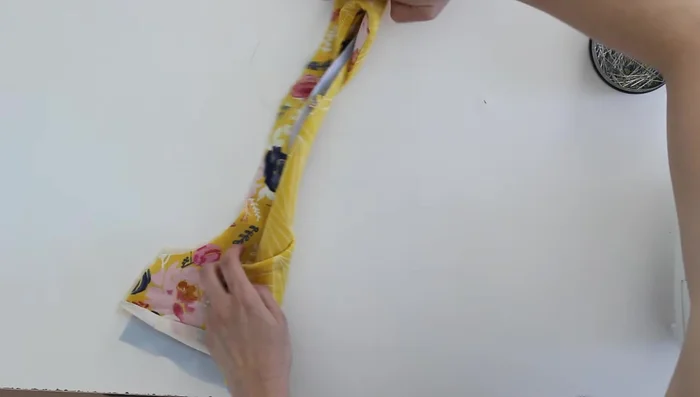
- Turn the fabric right side out, press the neckline, and use the burrito method to sew the armholes.
- Roll up one side of the bra, tucking the lining and extra fabric inside. Match the lining to the shoulder seam and pin the layers together. Repeat on the other side.
- Sew each armhole, ensuring all three layers are neatly enclosed.
- Turn right side out and press.
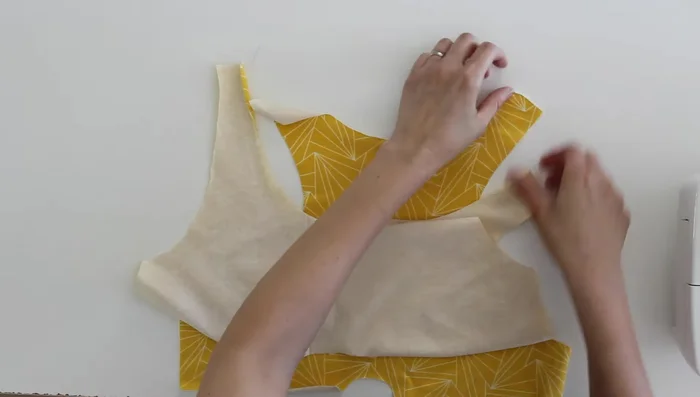
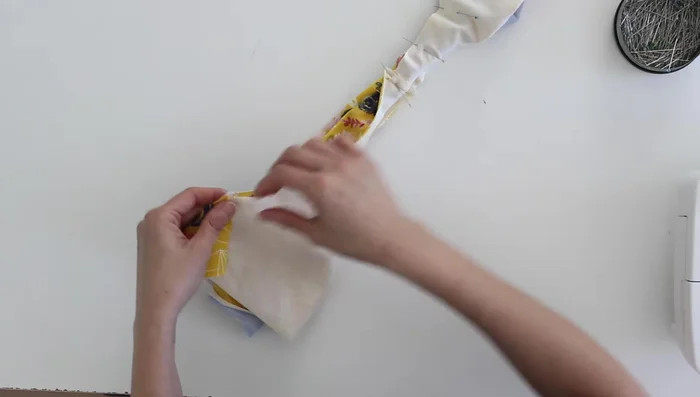
Sew Armholes (Burrito Method) Sew Keyhole (Burrito Method)
- Use the burrito method again to sew the keyhole opening. Roll up the front, tuck the back around to match the keyhole cutouts, and sew.
- Turn right side out and press the keyhole.
Sew Side Seams
- Sew the side seams, matching outer fabric to outer fabric and lining to lining.
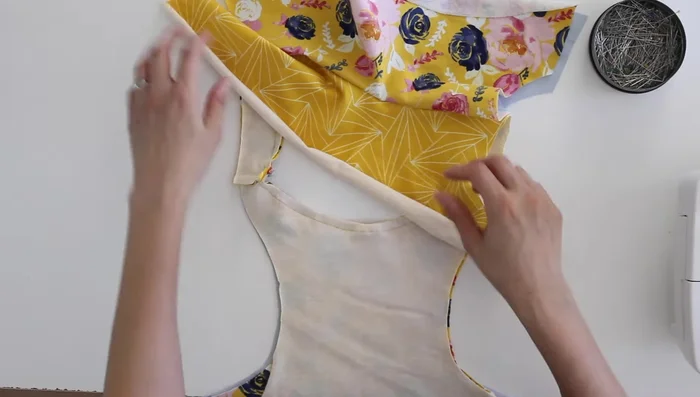
Attach and Sew Band
- Pin the band right sides together, starting at one end of the keyhole and going all the way around. Stitch.
- Turn the band to the lining side, fold the fabric over the elastic, and pin in place, ensuring the seam line is covered. Stitch all the way around.
Attach Clasp
- Add the bra clasp, sandwiching the elastic and fabric within the clasp. Zigzag stitch to secure.

Read more: Raglan Sleeve Sewing Tutorial: A Step-by-Step Guide
Tips
- Use a stretch stitch when sewing the bra to accommodate the stretch of the fabric.
- Take care to ensure all three layers (mesh, lining, and outer fabric) are neatly enclosed during sewing.
- Press all seams carefully for a professional finish.
- Use a zigzag stitch to attach the elastic band securely and create a flat finish.