Tired of boring tote bags? Ready to unleash your creativity and craft a beautiful, personalized carry-all? Then you've come to the right place! This easy-to-follow tutorial will guide you through creating your own stunning quilted tote bag, perfect for carrying groceries, books, or anything your heart desires. We'll walk you through every step, from choosing your favorite fabrics to adding those perfect quilting details that elevate a simple bag into a stylish statement piece. Forget expensive designer bags – let's make something truly unique and special.
This DIY project is perfect for both beginners and experienced sewers, thanks to the clear instructions and readily available downloadable PDF pattern included. The pattern simplifies the process, making it surprisingly quick and straightforward to construct a high-quality, durable tote. Ready to get started and stitch your own masterpiece? Let's dive into the step-by-step instructions!
Preparation and Safety Guidelines
- A4 printer
- Guillotine or scissors
- Fabric (outer and lining)
- Wadding
- Glue stick
- Clear tape
- Sewing machine
- Cotton tape or drawstring
- Iron
- Safety pins (optional)
- Thread
- Ruler or pattern master
- Threading tool or safety pin
- Always use sharp sewing machine needles and pins to prevent fabric from snagging or tearing. Dull needles increase the risk of injury.
- Be mindful of your fingers when using the sewing machine. Keep them away from the needle and moving parts.
- If using a rotary cutter, always use a cutting mat underneath to protect your work surface and prevent accidental cuts.
Step-by-Step Instructions
Prepare the Pattern
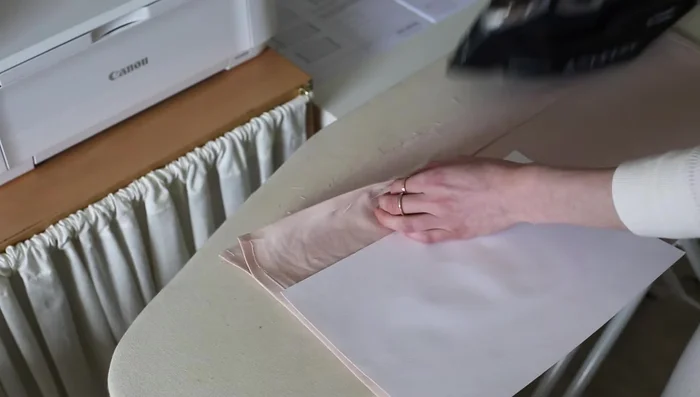
- Print out the digital PDF pattern at home ensuring your printer is set to 100% scale and not double-sided.
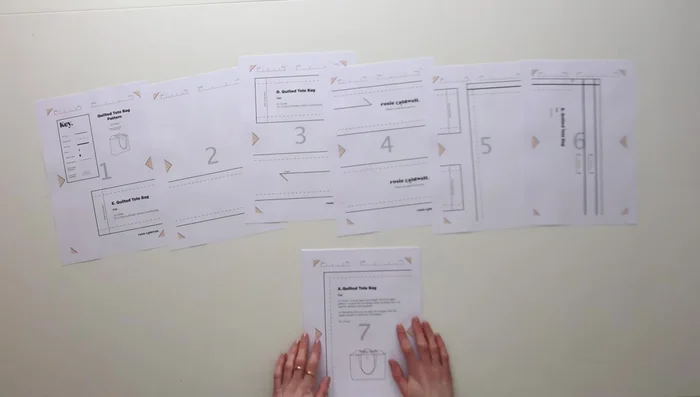
- Construct the pattern by trimming and assembling the printed pages, ensuring registration marks align. Use a glue stick and clear tape to secure the seams.

Prepare the Pattern Prepare Outer Fabric
- Cut out two pattern piece A from your chosen outer fabric, wadding, and lining fabric, adding at least two centimeters to allow for shrinkage.
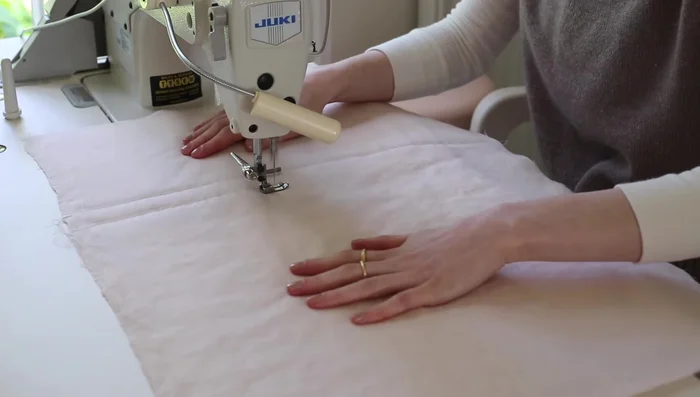
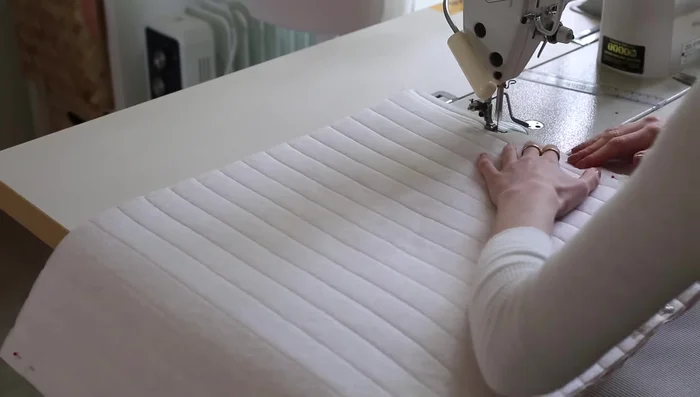
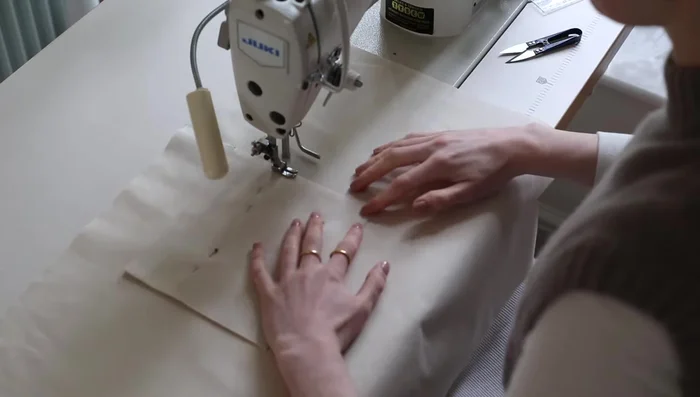
- Quilt your outer fabric and wadding together using vertical lines (or your preferred design).
- Cut out the quilted fabric using pattern piece A as a template. Mark the notches.
Prepare Outer Fabric Construct Outer Bag
- Sew the side and bottom seams of the quilted outer fabric with a 1cm seam allowance. Fold out the bottom corners to create the bag's base and stitch across.
Construct Outer Bag Make Drawstring Top
- Cut out two pieces of pattern piece B for the drawstring top. Stitch 2cm in from the edges, press seams open, fold raw edges under, and top stitch.
- Create the channel seam for the drawstring by folding and pressing the top edge of the drawstring panel twice, then stitch all the way around.
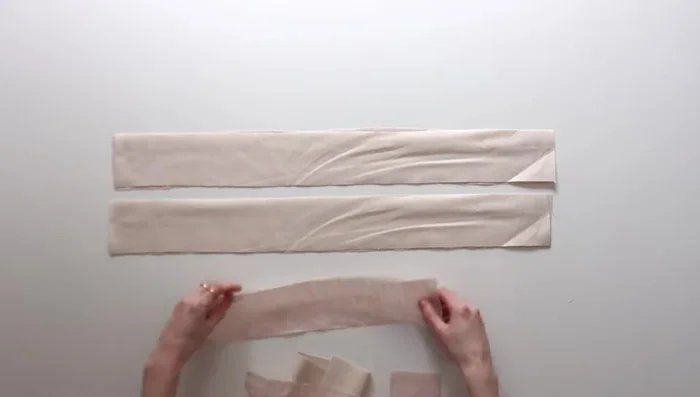
Make Drawstring Top Make Straps
- Cut two of each in outer and lining fabric. Iron outer fabric face down, layer lining on top, press, fold, and press again. Top stitch to reinforce.
Make Straps Prepare Lining
- one pocket and two pattern piece A. Attach the pocket to one lining piece.
- Sew the side and bottom seams of the lining pieces, leaving a gap for turning. Fold out the bottom corners and stitch across.
Prepare Lining Attach Straps to Outer Bag
- Attach the straps to the quilted bag. Align the notches and stitch along the edge of the bag, leaving a 0.5cm seam allowance.
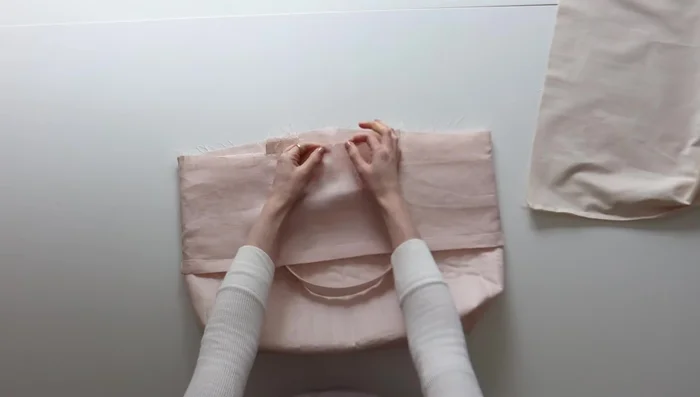
Attach Straps to Outer Bag Assemble Bag
- Place the drawstring top over the quilted bag, then place the lining inside. Match the center notches and side seams, and stitch all around the top.
- Turn the bag right side out through the gap in the lining, reinforce stitching, and close the gap. Top stitch along the top seam to secure the drawstring and lining.
Assemble Bag Insert Drawstring
- Insert the drawstring through the channel seam.
Insert Drawstring


Read more: DIY Quilted Makeup Pouch Tutorial: The Easiest and Fastest Method
Tips
- Check the scale of the printed pattern before printing the entire document.
- Remove creases from your outer fabric before quilting.
- Use a sewing machine foot that helps you stay in line while quilting.
- Use a piece of card to help create crisp folds while making the drawstring and straps.
- Reinforce stitching in several places to add strength and durability to the bag.