Step into the world of luxurious crafting with this easy-to-follow tutorial on creating a stunning DIY quilted silk clutch! Forget expensive designer bags – you can now effortlessly design and sew your own exquisite accessory, perfectly tailored to your style and personality. This project is surprisingly simple, even for beginners, requiring only basic sewing skills and a handful of readily available materials. The beautiful sheen of silk combined with the cozy texture of quilting results in a truly unique and elegant piece, perfect for evening outings or adding a touch of sophistication to your everyday look.
Imagine the compliments you'll receive carrying this handmade beauty! This tutorial will guide you through each step, from selecting your fabrics to adding the final touches. Let's dive into the step-by-step process and create a quilted silk clutch that's as individual as you are.
Preparation and Safety Guidelines
- Kimono silk fabric
- Kimono silk thread (Superior Threads)
- 7010 top stitch needle
- Masterpiece thread
- Annie's Soft & Stable interfacing
- Magnetic closure
- Bowl
- Ruler
- Pins
- Sewing machine
- Iron
- Optional: Embroidery machine or iron-on appliqués
- Always use a sharp needle and appropriate thread weight for silk to prevent snags and tears. Silk is delicate!
- Test your stitching on a scrap piece of silk before working on your clutch to ensure the stitch length and tension are correct and won't damage the fabric.
- Handle silk gently to avoid stretching or pulling. Avoid using pins directly on the silk, use clips instead to prevent pinholes.
Step-by-Step Instructions
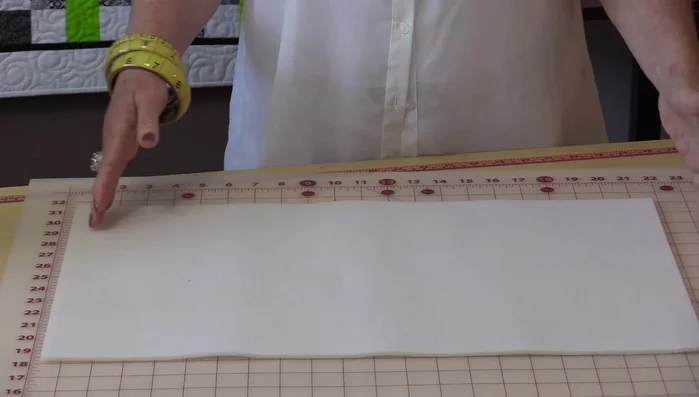
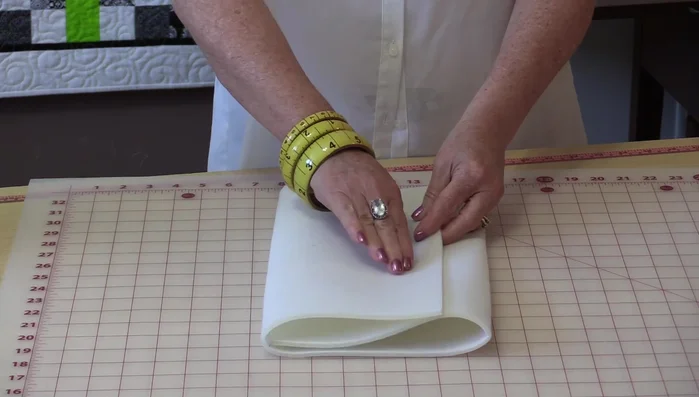
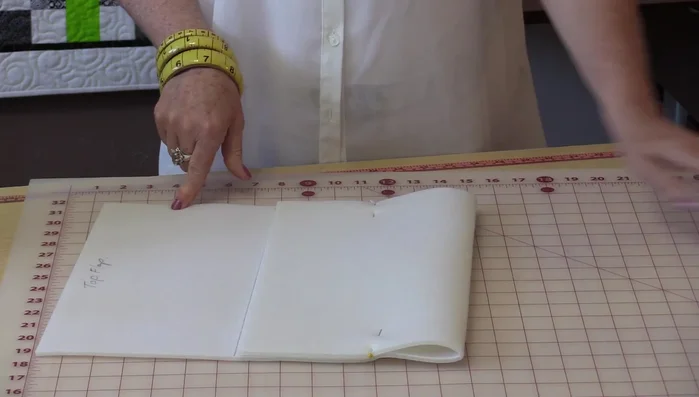
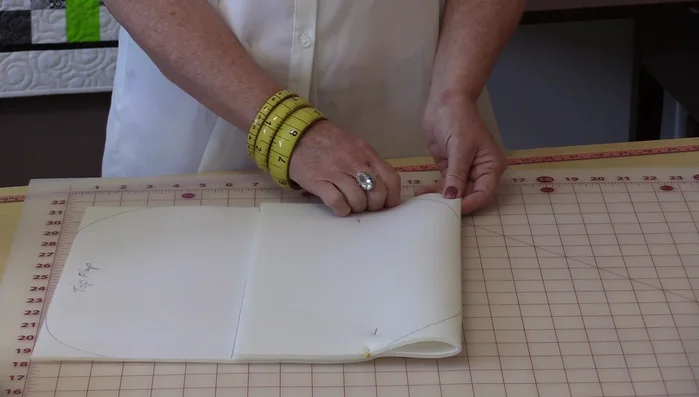
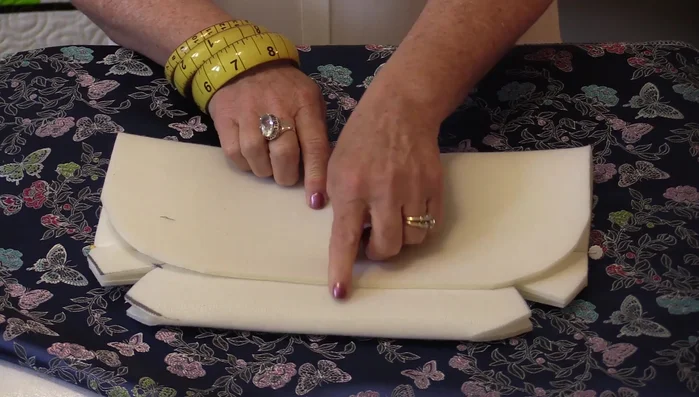
Prepare the Pattern and Interfacing
- 13 x 21 1/2 inches). Ensure edges are straight.
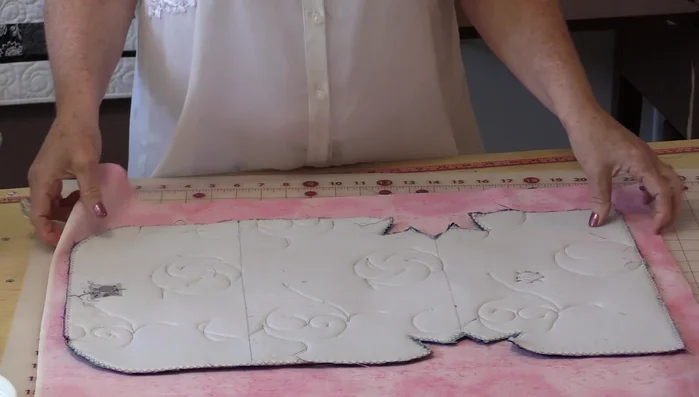
- Fold the Soft & Stable into thirds to create the bag body and flap. Mark fold lines and label the 'top flap'. Pin the folds.
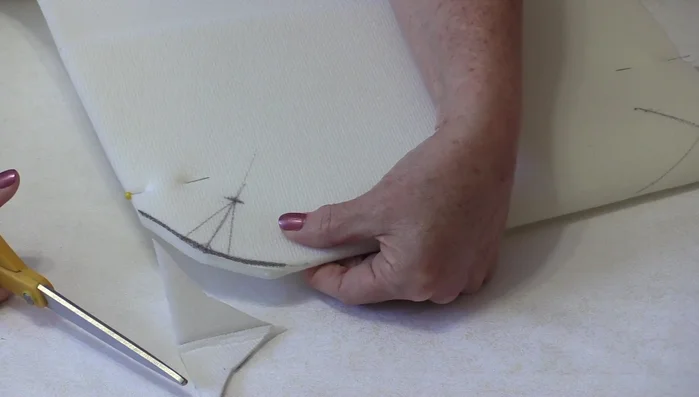
- Create rounded corners for the bag bottom and top flap using a bowl as a template. Draw the rounded edges.
- Add darts to the bottom corners of the bag body for shaping. Draw a 1-inch square in each corner, then draw a 45° angle line from the corner to a point on the square. Extend a line from the curve to 1.5 inches and connect it to the 1-inch mark.

Prepare the Pattern and Interfacing Cut and Prepare the Bag Pieces
- Cut out the bag body and flap pieces, including the darts and rounded corners.
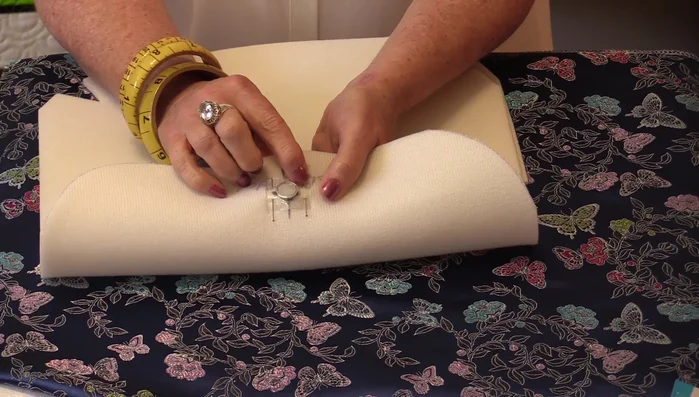
Cut and Prepare the Bag Pieces Attach Magnetic Closure
- Mark the placement of the magnetic closure on the Soft & Stable 1.5 inches from the center of the bag. Repeat for the opposite side.
- Sew the magnets onto the Soft & Stable using a zigzag stitch with only width, no length, to secure them. Avoid sewing directly over the metal.
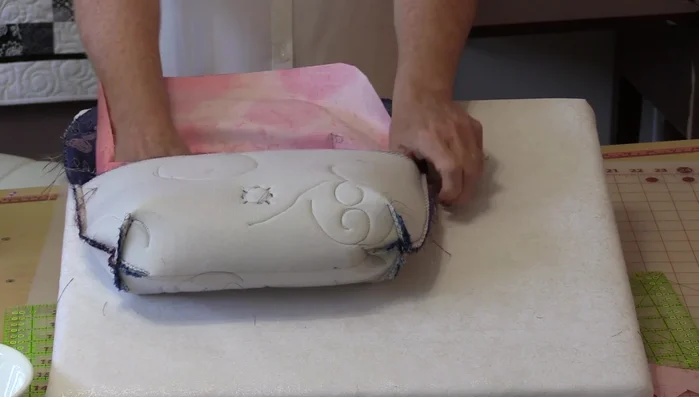
Attach Magnetic Closure Quilt Exterior Fabric
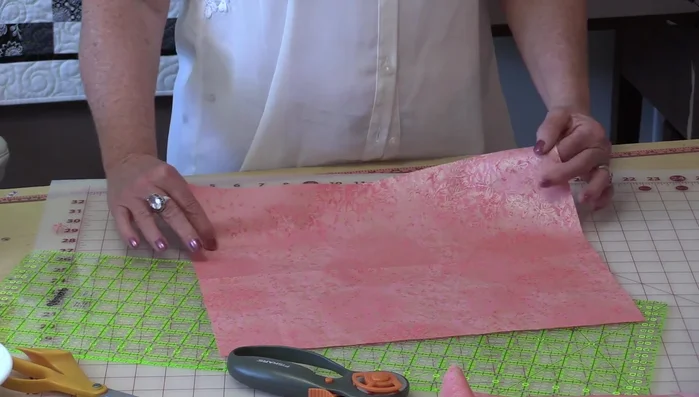
- Place the Soft & Stable piece on top of the chosen fabric for the bag's exterior, aligning edges and pinning or using spray adhesive to hold the layers together.
- Mark the magnetic closure positions on the fabric's right side with painter's tape to avoid sewing over them. Quilt the layers together using the kimono silk thread for a decorative effect.
- Zigzag stitch around the edges to secure the fabric and interfacing. Trim excess fabric after stitching.
Quilt Exterior Fabric Prepare the Lining
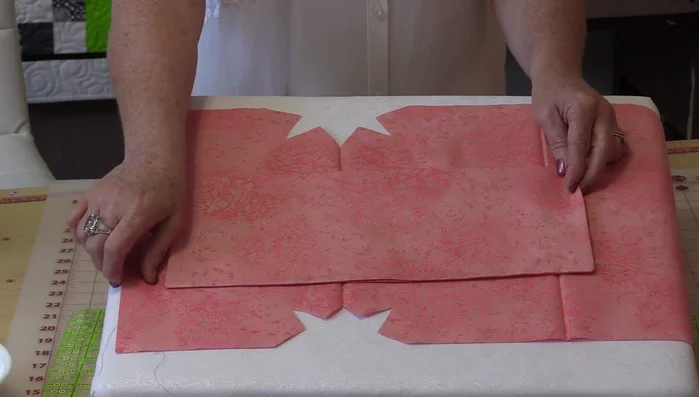
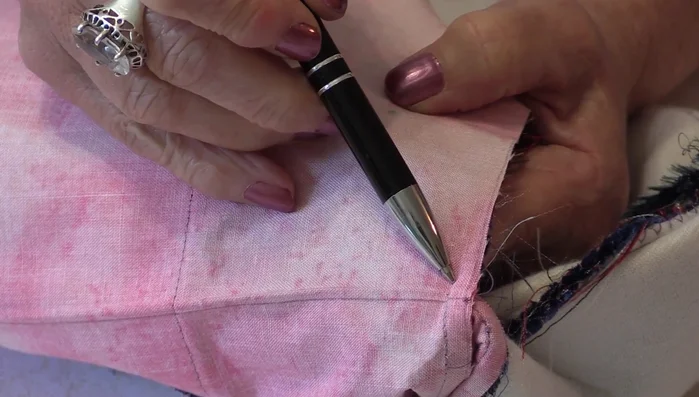
- Cut out the lining pieces based on the bag body pattern. Press the lining pieces with right sides together.
- Cut a 12 1/2 x 15 inch piece of fabric, fold in half lengthwise, sew along one side, leaving an opening, and turn right side out. Press flat.
- Sew the pocket to the lining, positioning it in the center. Ensure the pocket extends slightly beyond the lining's bottom, allowing it to seal when the flap is closed.
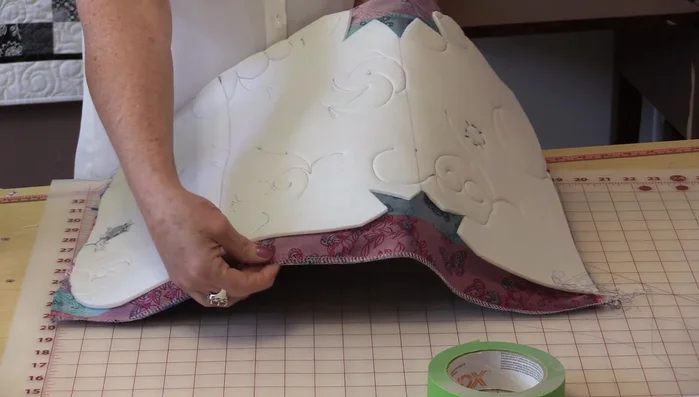
Prepare the Lining Sew Bag Body and Lining
- Sew the lining pieces together, leaving an opening for turning. Sew the exterior bag pieces together, matching seams.
Sew Bag Body and Lining Assemble and Finish the Bag
- Insert the lining into the exterior bag, matching seams. Sew around the opening, leaving a small space. Turn the bag right side out.
- Sew the flaps together, leaving an opening to turn right side out. Top stitch the flap and opening for a clean finish.
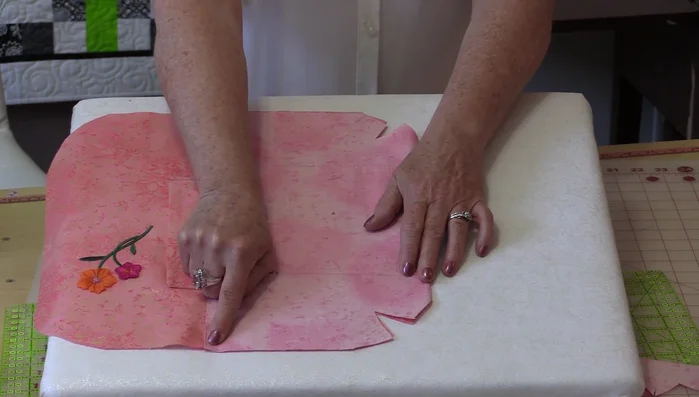
- Press the bag and add any finishing touches such as decorative embroidery or appliqués.
Assemble and Finish the Bag

Read more: DIY Quilted Makeup Pouch Tutorial: The Easiest and Fastest Method
Tips
- Use a 7010 top stitch needle when sewing with silk thread.
- If the magnets interfere with your sewing machine, use another magnet to hold them in place.