Tired of your laptop bouncing around unprotected in your bag, risking scratches and dents? Yearning for a stylish and personalized way to keep your tech safe? Then look no further! This comprehensive guide will walk you through creating your very own quilted laptop case, a project perfect for both seasoned crafters and enthusiastic beginners. Forget generic, boring sleeves; prepare to craft a truly unique accessory that reflects your individual style and protects your valuable investment. We’ll utilize simple techniques and readily available materials to achieve a professional-looking result.
This DIY project not only offers a fantastic opportunity to unleash your creativity but also provides a cost-effective alternative to buying pre-made cases. From choosing your fabrics and batting to mastering the quilting process and adding finishing touches, we’ll cover every step in detail. Ready to transform your sewing skills and create a beautiful, protective quilted laptop case? Let's dive into the step-by-step instructions below.
Preparation and Safety Guidelines
- sewing machine
- fabric clips
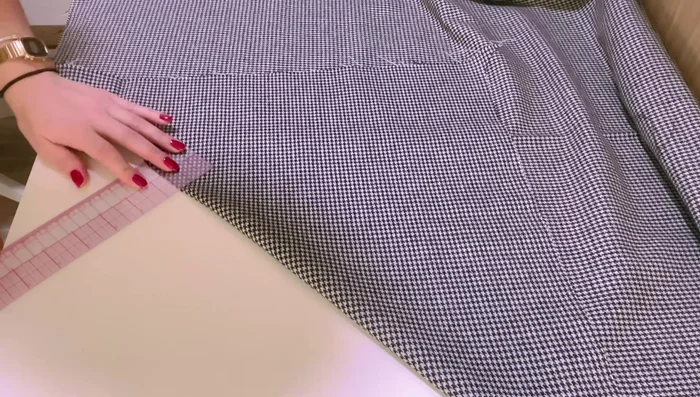
- ruler
- fabric marking tool
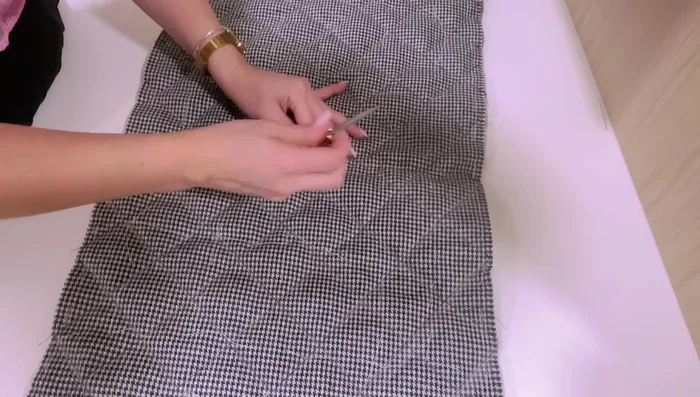
- scissors
- ironing board
- iron
- bias tape maker (optional)
- pins (optional)
- basting stitches (optional)
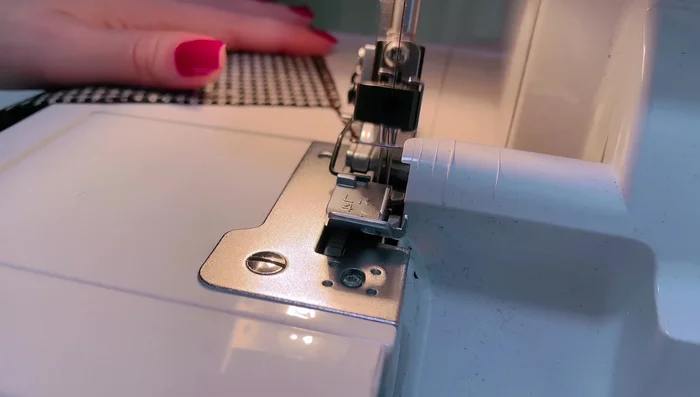
- serger (optional)
- Always use a rotary cutter and cutting mat to ensure accurate and safe cutting of fabric. Never attempt to cut fabric without these tools.
- When using a sewing machine, always keep your fingers clear of the needle and presser foot. Take your time and sew slowly, especially when working with multiple layers of fabric.
- Ensure your batting and fabric layers are properly aligned before quilting to avoid puckering or uneven stitching. Take the time to smooth out any wrinkles or bumps before you start.
Step-by-Step Instructions
Fabric Preparation and Pattern Cutting
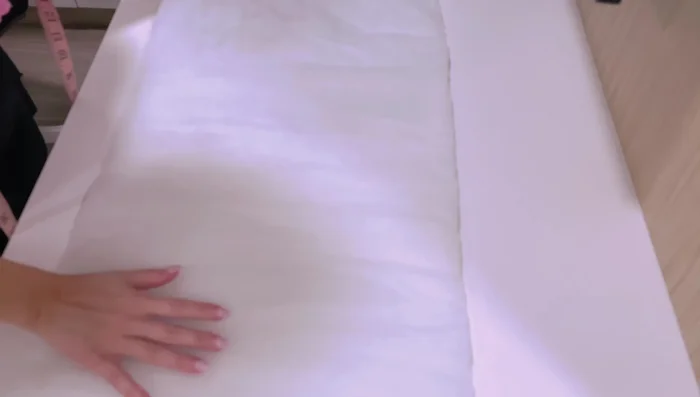
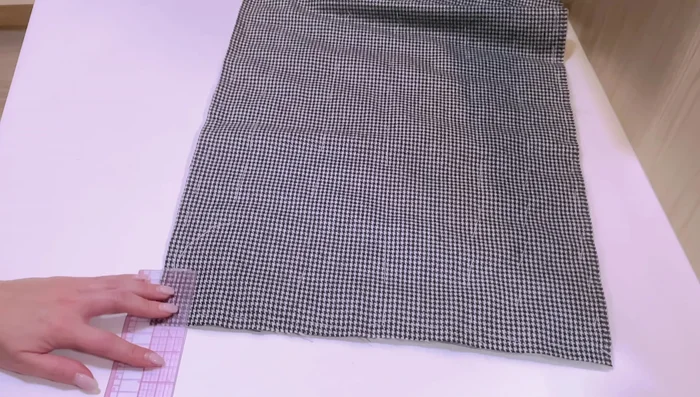
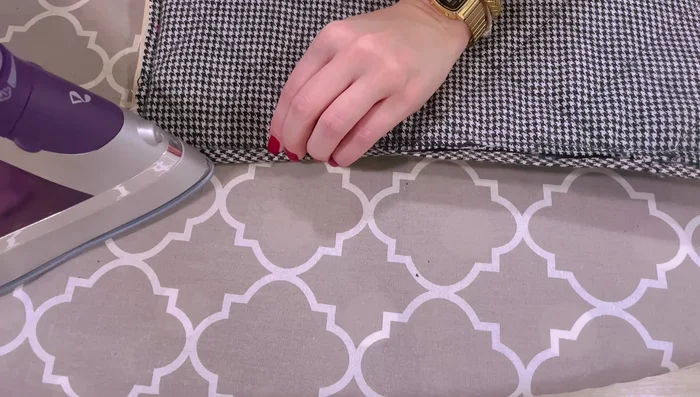
- Prepare your fabric by ironing to pre-shrink.
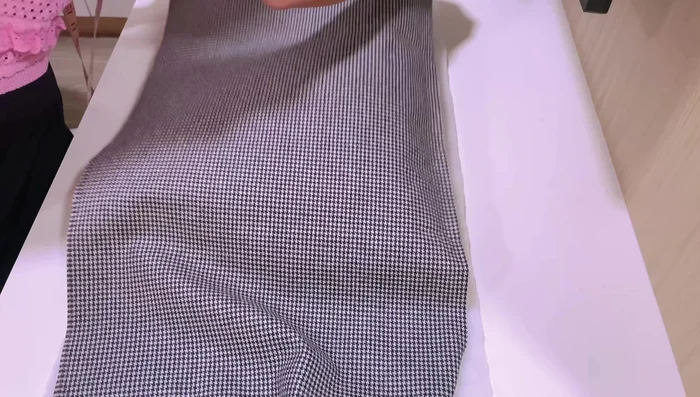
- Pin and mark your patterns, cut following instructions.

Fabric Preparation and Pattern Cutting Prepare and Layer Fabrics
- Prepare batting (one or more layers).
- Lay main fabric right side up on batting, smooth out wrinkles.
- Secure layers with clips, basting, or pins.
Prepare and Layer Fabrics Quilting the Main Fabric
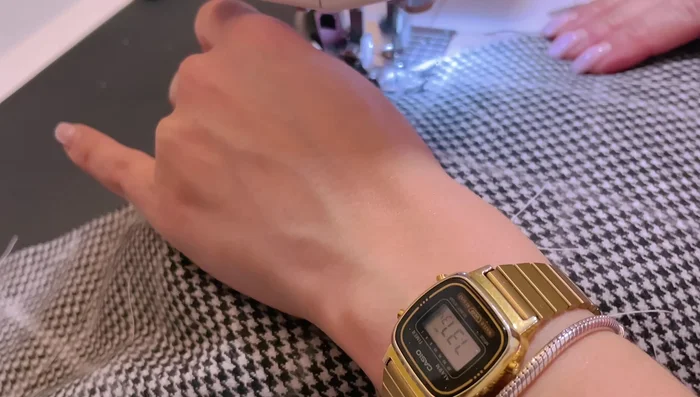
- Mark quilting design (e.g., diamond pattern).
- Quilt fabric, maintaining consistent stitch length.
- Remove basting stitches; trim excess batting.
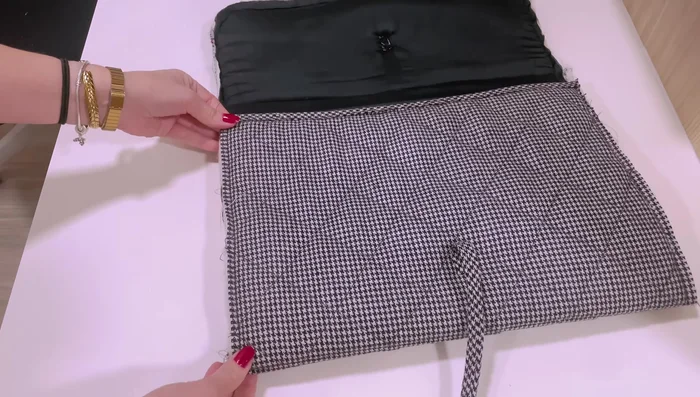
Quilting the Main Fabric Prepare and Attach Pockets
- Prepare pockets by serging/zigzag stitching edges, folding and pressing, and sewing upper edge.
- Attach pockets to lining fabric.
Prepare and Attach Pockets Assemble the Case
- Sandwich main fabric, batting (and foam if using), and lining. Mark folding lines on lining.
- Sew along marked folding lines.
- Stitch 1/4 inch around the outer edge to secure layers before bias tape application.
Apply Bias Tape
- Prepare bias tape (using a bias tape maker or by hand).
- Attach bias tape, stitching along the pressed line. Under-stitch the seam allowance.
- Fold and secure bias tape.
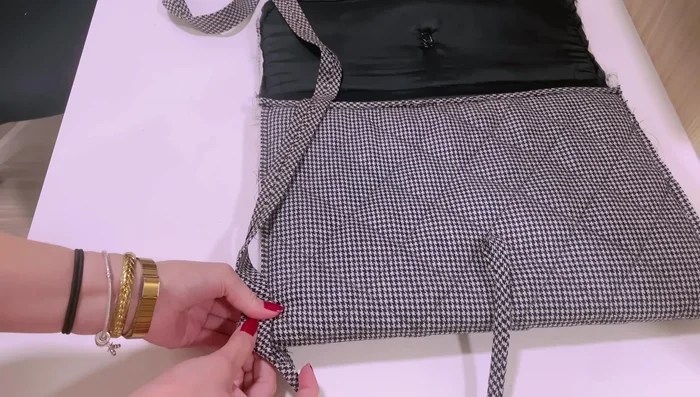
Apply Bias Tape Attach Ties and Finishing Touches
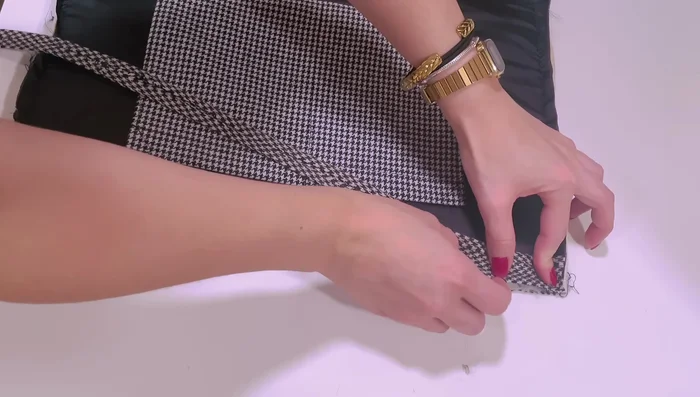
- Prepare and attach ties.
- Fold the case along folding lines and press.
- Attach bias tape to raw edges.
- Fold and secure bias tape, hand-sew for cleaner finish if necessary.
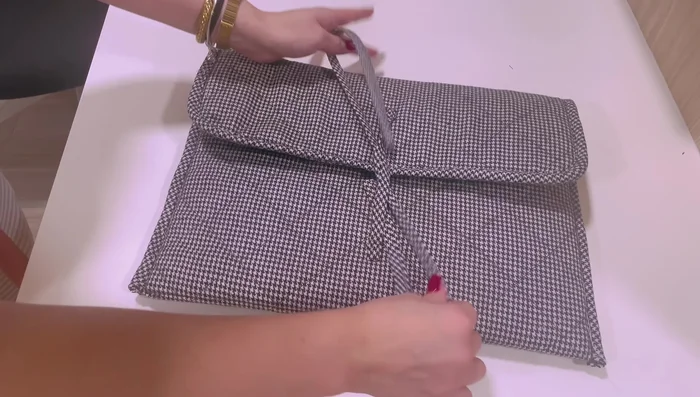
Attach Ties and Finishing Touches - Test ties and trim if needed; close strap ends.
Attach Ties and Finishing Touches

Read more: DIY Quilted Makeup Pouch Tutorial: The Easiest and Fastest Method
Tips
- Use medium-weight, stable fabrics with minimal stretch.
- Consider batting thickness for desired bulk and protection.
- Add extra foam for additional protection, especially with thinner batting.
- Test stitch settings on a sample before quilting.
- Start quilting from center and work outwards for easier handling.