Tired of heavy, impractical handbags that weigh you down? Craving a unique accessory that reflects your personal style? Then prepare to be captivated by the world of DIY quilted bags! This delightful project allows you to create a stunning, lightweight handbag perfectly tailored to your needs and preferences, all while showcasing your creative flair. Imagine the compliments you’ll receive carrying a beautiful, handcrafted bag that stands out from the ordinary. Forget the limitations of mass-produced designs and embrace the freedom of personalized style.
This step-by-step guide will walk you through the entire process, from selecting your fabrics and cutting the pieces to quilting the layers and finishing the seams. We’ll cover essential techniques and offer helpful tips along the way, ensuring even beginners can achieve a professional-looking result. So gather your supplies, unleash your creativity, and let’s get started on crafting your dream quilted handbag!
Preparation and Safety Guidelines
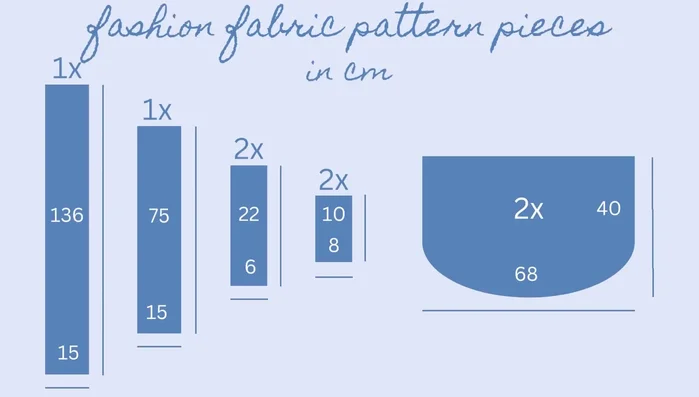
- Lightweight Fashion Fabric (1 meter)
- Lightweight Lining Fabric (0.5 meter)
- Medium Weight Wadding (0.5 meter)
- Matching Thread
- Elastic Thread
- Zipper (18-40 cm)
- Always use sharp sewing machine needles and rotary cutter blades for clean cuts and to prevent injury. Dull tools require more force, increasing the risk of accidents.
- Handle your fabric carefully to avoid snags and tears, especially delicate fabrics. Pre-wash fabrics to prevent shrinkage after the bag is completed.
- When working with a sewing machine, keep your fingers clear of the needle and moving parts. Use a seam ripper cautiously to avoid cutting yourself.
Step-by-Step Instructions
Cutting and Preparing Fabrics
- Cut Fashion Fabric Pieces
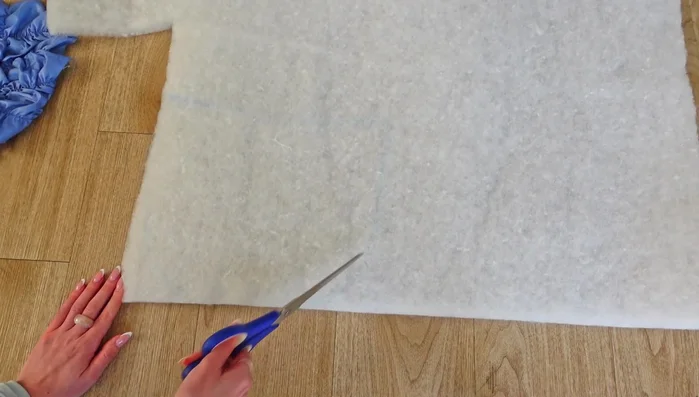
- Cut Wadding and Lining Pieces to Match

Cutting and Preparing Fabrics Shirring the Fabric Pieces
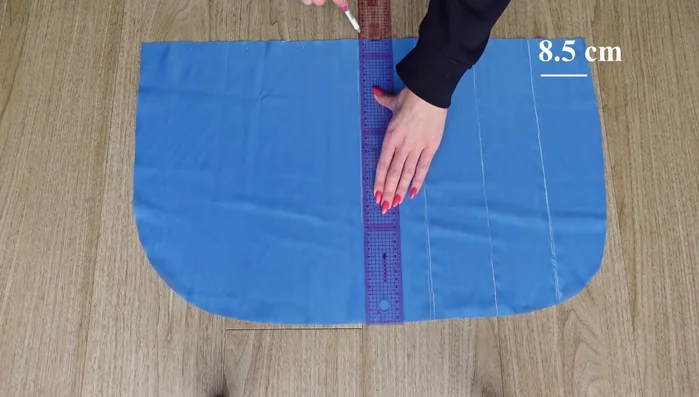
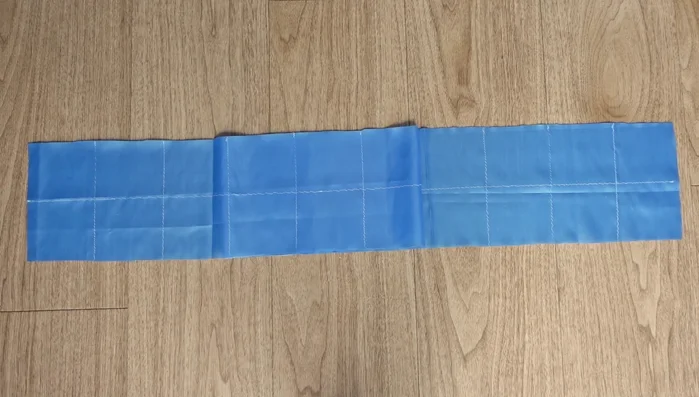
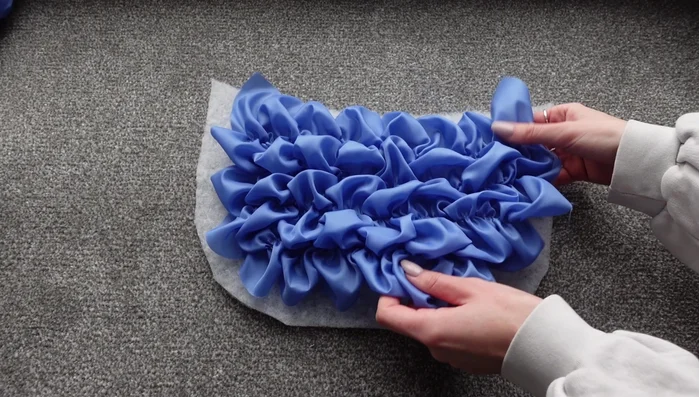
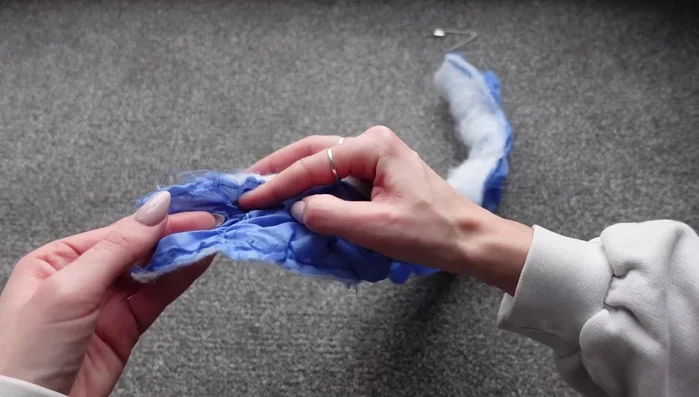
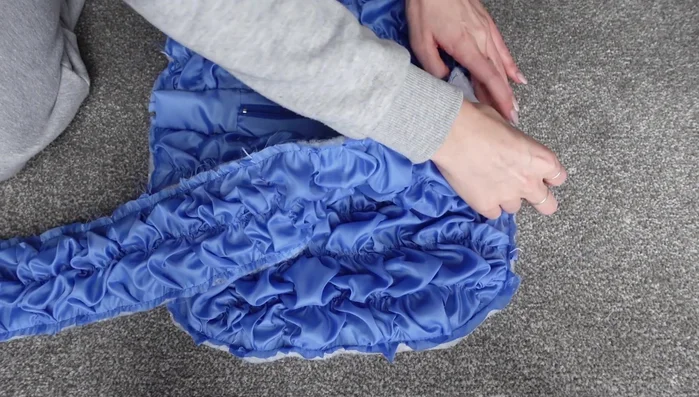
- Shirring the Back Body Pieces (using elastic thread)
- Shirring the Back Bottom and Handle Pieces
Shirring the Fabric Pieces Pre-Assembly: Topstitching and Handle
- Top Stitch Fashion Fabric to Wadding
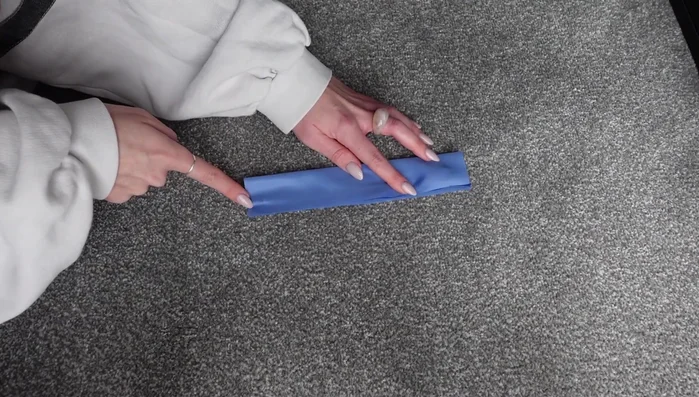
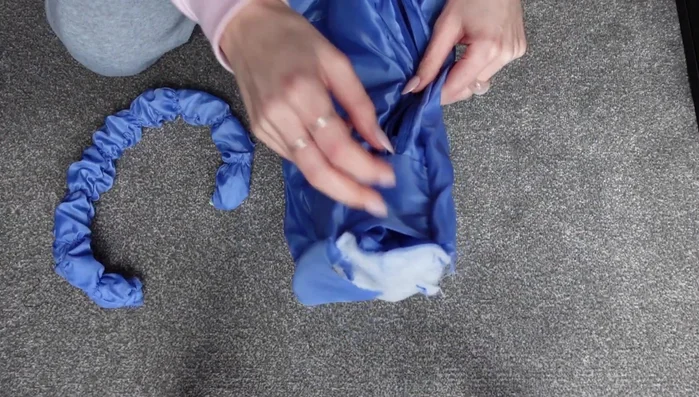
- Sew and Turn the Handle
Pre-Assembly: Topstitching and Handle Zipper Assembly
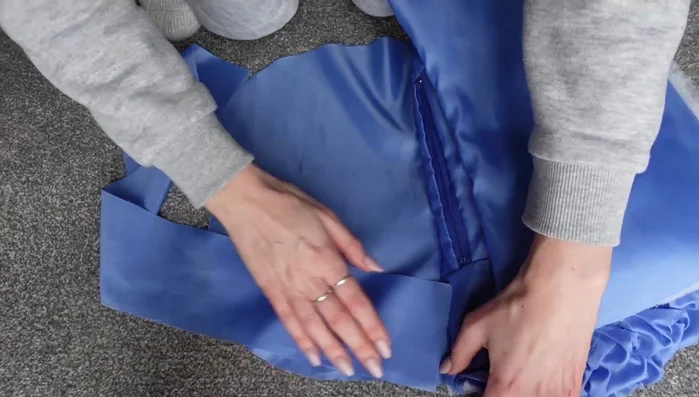
- Assemble Zipper with Zipper Covers
Zipper Assembly Attaching the Zipper
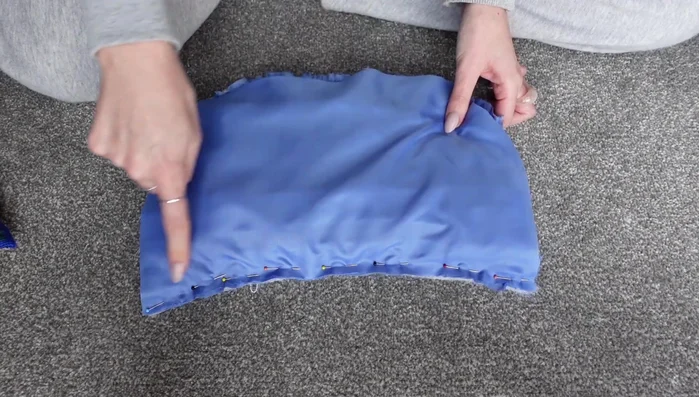
- Attach Zipper to Back Body Pieces
Attaching the Zipper Attaching the Bottom Pieces
- Attach Bottom Piece to Back Body
- Attach Lining Bottom Piece
Attaching the Bottom Pieces Attaching the Handle
- Attach Handle to Back
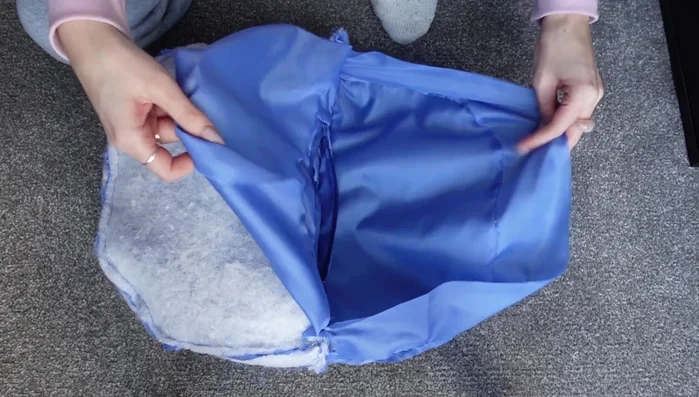
Attaching the Handle Closing the Bag
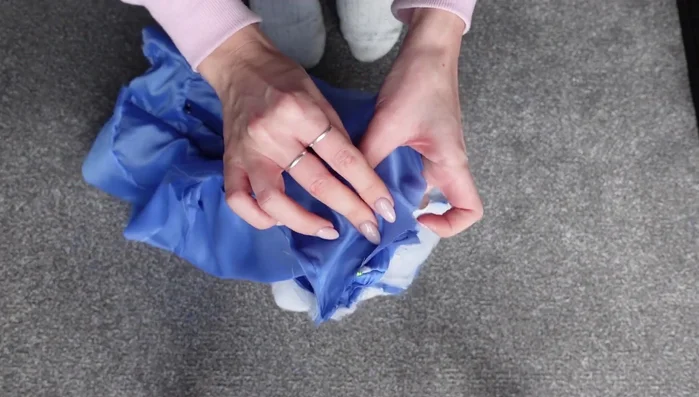
- Close Sides, Encasing Zipper and Handle
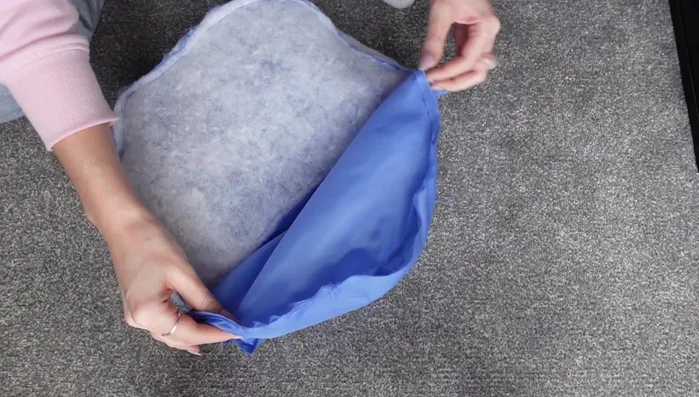
- Attach Lining Bottom, Leaving a Gap
- Turn Lining Over and Close Gap
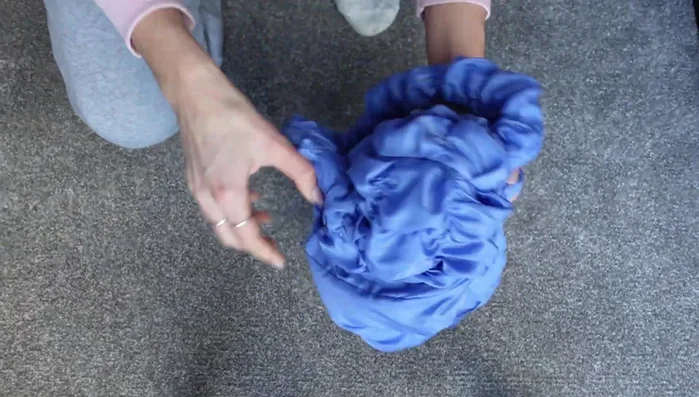
- Turn Bag Right Side Out
Closing the Bag
Read more: DIY Quilted Makeup Pouch Tutorial: The Easiest and Fastest Method
Tips
- Watch a shirring tutorial if you're unfamiliar with the technique.
- Use matching thread for the shirring; the color of elastic thread doesn't matter.
- Sew a string to the handle's end to help turn it right side out.
- Use a larger zipper if possible.
- Pin bottom pieces from the center outwards to ensure alignment.