Are you looking for a fun and rewarding sewing project that yields both beautiful and practical results? Then look no further than DIY quilted coasters! This simple tutorial will guide you through the process of creating charming, personalized coasters that are perfect for adding a touch of handmade warmth to your home, or for gifting to friends and family. Forget flimsy, mass-produced coasters – these quilted beauties will protect your furniture in style. They're surprisingly easy to make, even for beginner sewers, and the possibilities for customization are endless.
Imagine the satisfaction of crafting unique coasters using your favorite fabrics and showcasing your own personal style. From playful patterns to sophisticated solids, the choice is yours! This project is a fantastic way to use up fabric scraps, making it both creative and eco-conscious. Ready to get started on your own set of delightful quilted coasters? Let's dive into the step-by-step instructions below!
Preparation and Safety Guidelines
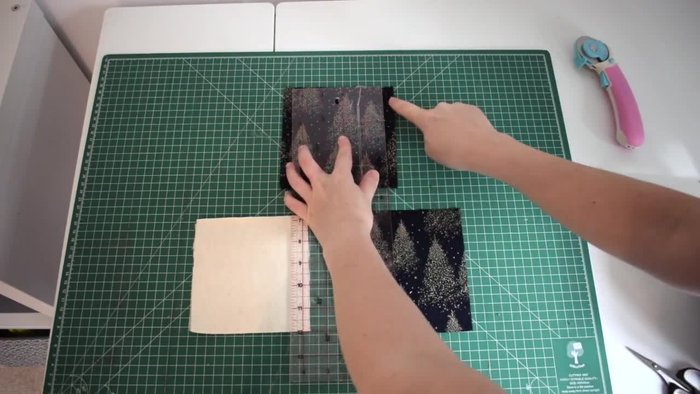
- Fabric (two pieces 5.5 inches x 5.5 inches)
- Wadding (one piece 5 inches x 5 inches)
- Sewing machine
- Pins
- Scissors
- Iron
- Always use sharp scissors or a rotary cutter to prevent fabric slippage and ensure clean cuts. Dull blades increase the risk of injury.
- Handle your sewing machine needles with care. Never force fabric through the machine; this can cause the needle to break and potentially injure you.
- Use a pincushion to store your pins and needles to avoid accidental pricks. Keep your workspace clean and organized to prevent injuries and improve efficiency.
Step-by-Step Instructions
Prepare Fabric
- Two pieces of main fabric (5.5 inches x 5.5 inches) and one piece of wadding (5 inches x 5 inches).

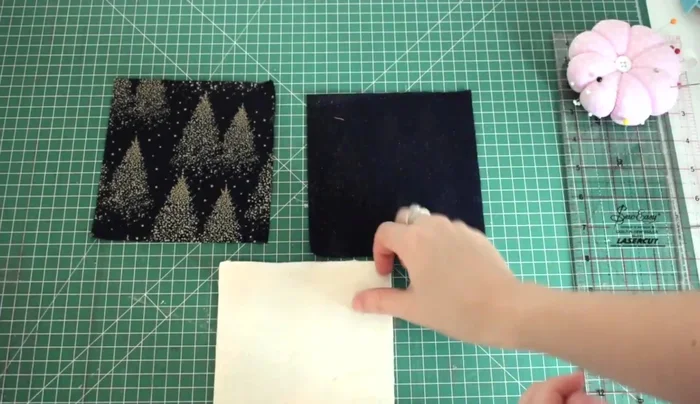
Prepare Fabric Assemble Layers
- Place one fabric piece right side down, then place the wadding on top, followed by the second fabric piece right side down.
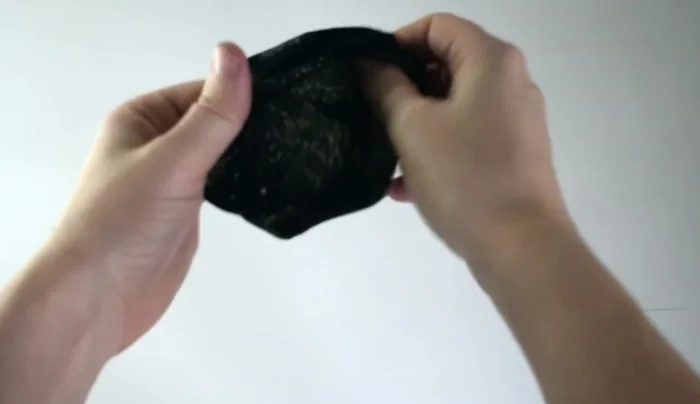
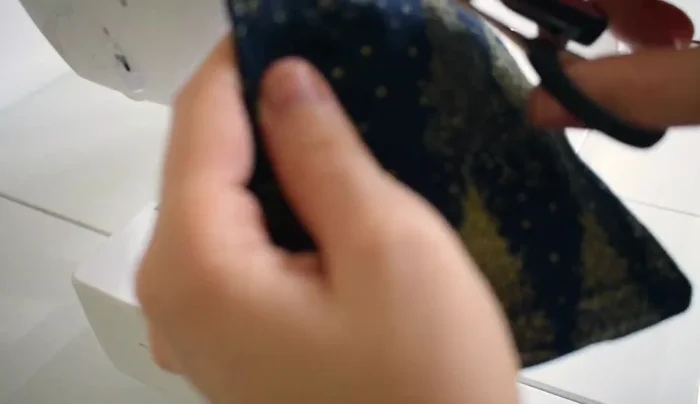
Assemble Layers Stitch and Turn
- Pin all layers together and sew around the perimeter, leaving a gap for turning.
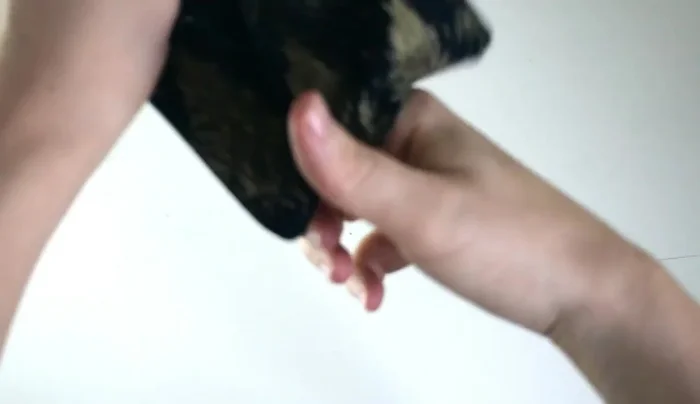
- Turn the coaster right side out through the gap.
Stitch and Turn Finish Edges
- Press the coaster flat and sew the gap closed.
- Trim any excess fabric.
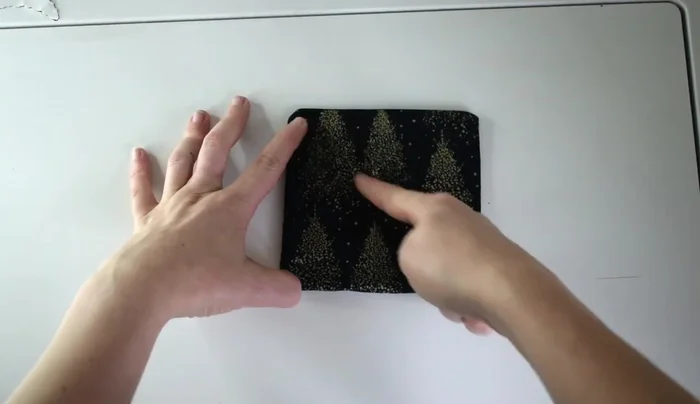
Finish Edges Quilt and Decorate
- Sew a stitch all the way around the coaster, followed by diagonal stitches and a square stitch in the middle for a quilted look.
Quilt and Decorate
Read more: DIY Super Cute Whale Shower Curtain: A Step-by-Step Tutorial
Tips
- Ensure accurate fabric measurements for consistent coaster size.
- Pressing the coaster after turning it inside out helps create a neat finish.
- The decorative stitching adds a professional quilted look and secures the layers.