Embrace your inner seamstress and embark on a rewarding crafting journey! This guide will take you through the process of creating a stunning DIY plated bodice dress with a full circle skirt – a garment that effortlessly blends vintage elegance with modern flair. Imagine yourself twirling in a dress you've made entirely by hand, a testament to your creativity and skill. The satisfying click of the sewing machine, the careful placement of each plate, the gradual unveiling of a beautiful garment – this project is more than just sewing; it's a fulfilling experience.
This beautifully feminine dress is surprisingly achievable, even for intermediate sewists. We'll break down the construction into manageable steps, guiding you through each stage with clear instructions and helpful visuals. From measuring and cutting the fabric to attaching the plates and constructing the full circle skirt, get ready to dive into the detailed, step-by-step process outlined below.
Preparation and Safety Guidelines
- Fabric
- Sewing Machine
- Pins
- Scissors
- Measuring Tape
- Bodice Pattern
- Invisible Zipper
- Always use sharp, well-maintained sewing shears and needles to prevent injury and ensure clean cuts and stitches.
- When working with fabric scissors, always point the blades away from your body to avoid accidental cuts.
- Pin carefully and double-check your measurements at each stage to prevent mistakes that could require significant alterations later.
Step-by-Step Instructions
Create the Full Circle Skirt
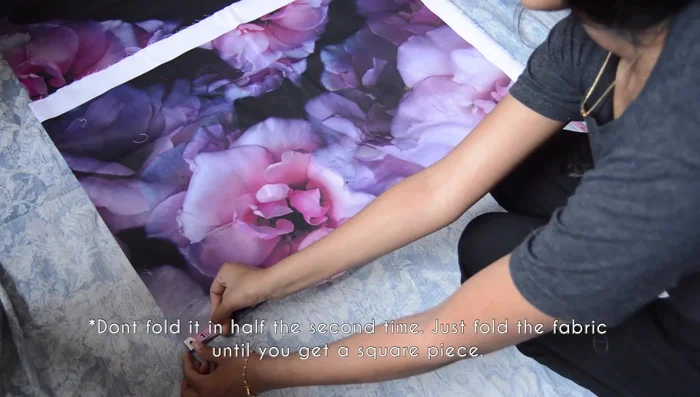
- Fold fabric in half twice, measure waist + 2 inches seam allowance, divide by 6.28 to find radius, add 0.5 inch seam allowance, cut the first quarter circle, then complete the outer circle.

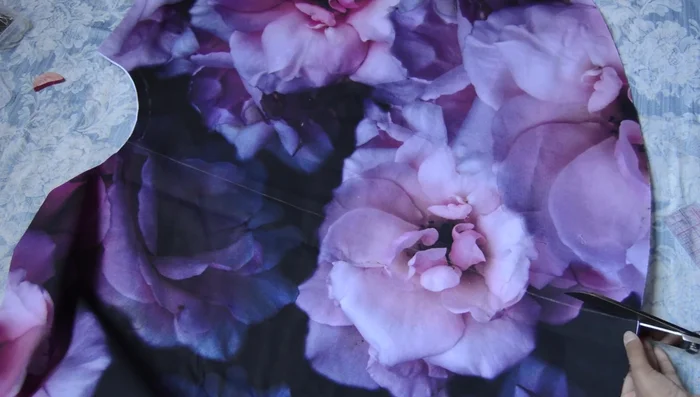
Create the Full Circle Skirt Cut Skirt Opening
- Cut a straight line on one part of the skirt.
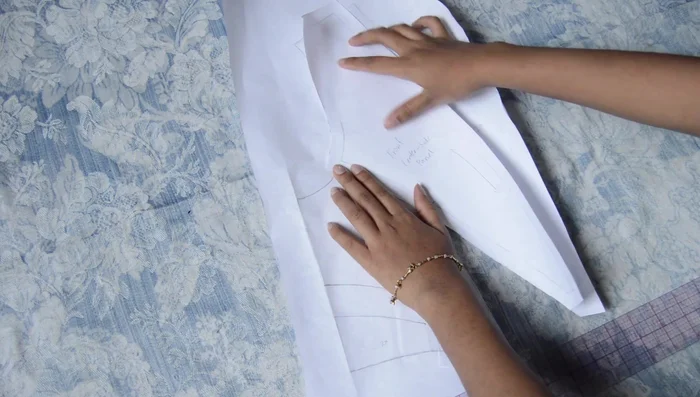
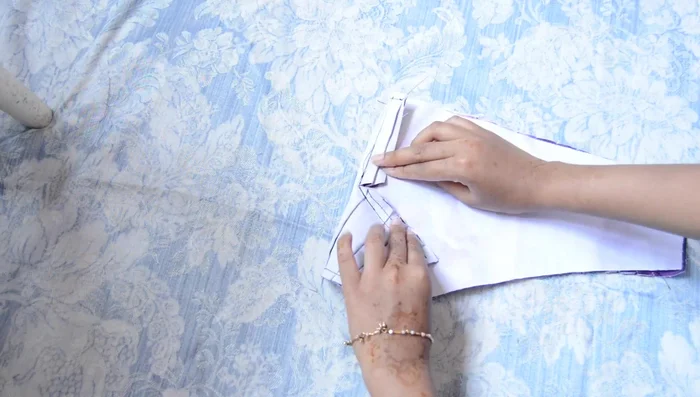
Cut Skirt Opening Create the Bodice Pattern
- Trace a regular bodice pattern, add style lines, trace individual pieces with seam allowance on new paper. For pleated pieces, make horizontal lines on pattern, cut rectangles, insert paper between pieces for pleating.
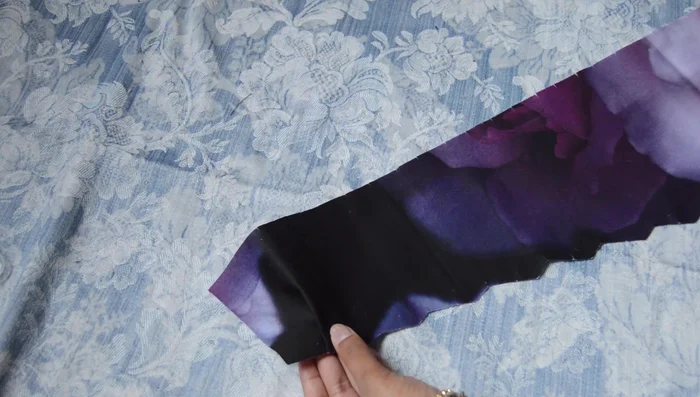
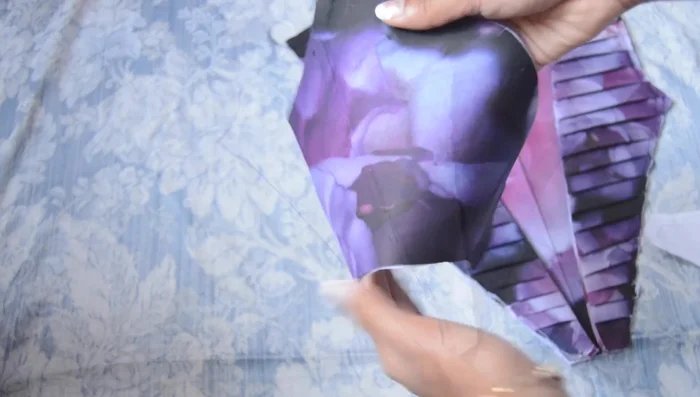
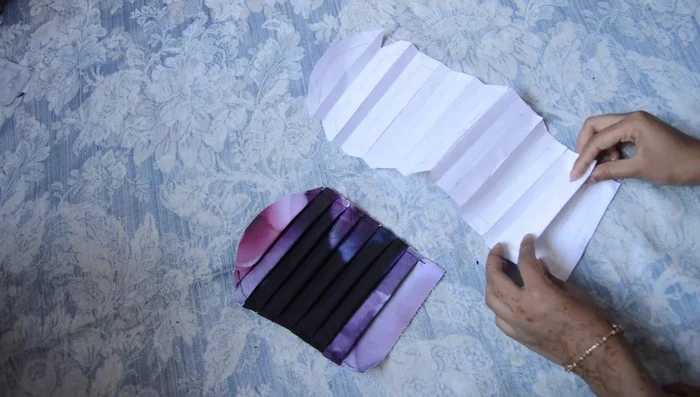
Create the Bodice Pattern Cut and Sew Bodice Plates
- Cut bodice pieces from fabric, make notches to mark plate ends, fold and sew around plates with sewing machine.
Cut and Sew Bodice Plates Finish Bodice Neckline
- Sew the bodice backing along the neckline for a clean finish.
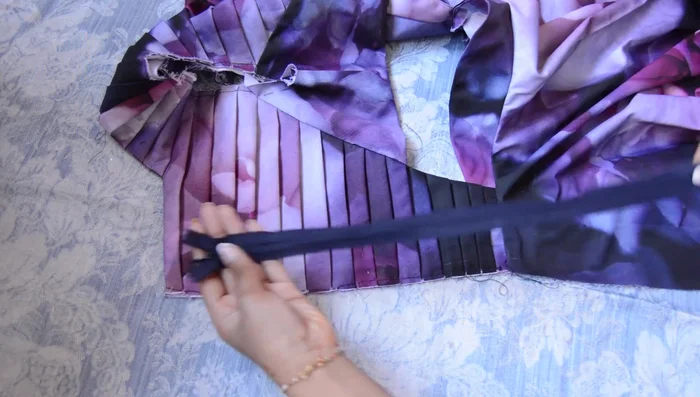
Finish Bodice Neckline Assemble Bodice Sides and Shoulders
- Attach side panels (doubles), turn inside out, attach side seams.
- Repeat for other side, attach shoulder seams. Add plated detail to sleeves and attach to the dress.
Assemble Bodice Sides and Shoulders Attach Bodice to Skirt and Finish
- Attach bodice to skirt, add invisible zipper, hem raw edges.
Attach Bodice to Skirt and Finish
Read more: Raglan Sleeve Sewing Tutorial: A Step-by-Step Guide
Tips
- Use Digital Fabrics.com for custom fabric printing.
- Adding paper between pleated pieces helps maintain the original pattern shape during pleating.