Tired of the same old placemats? Ready to add a touch of handmade charm and vibrant personality to your dining table? Then get ready to transform those leftover fabric scraps into stunning, unique placemats! This DIY project is not only incredibly satisfying but also a fantastic way to practice sustainable living by upcycling materials you might otherwise discard. Imagine the compliments you'll receive as your guests admire your beautiful, bespoke place settings. You'll be amazed at how easily you can elevate your table décor with minimal cost and maximum creativity.
This tutorial provides a simple, step-by-step guide to creating your own gorgeous fabric placemats, perfect for any occasion, from casual weeknight dinners to elegant holiday feasts. Let's dive into the process and discover how to turn those fabric remnants into beautiful and functional pieces for your home – so grab your scissors and let's get started!
Preparation and Safety Guidelines
- Fabric scraps
- Scissors
- Pins
- Sewing machine
- Thread
- Iron
- Always use sharp scissors or rotary cutter for clean cuts to prevent fabric from fraying excessively and avoid accidental injuries.
- If using fabric glue, ensure adequate ventilation and follow the manufacturer's instructions carefully. Some adhesives may be flammable or harmful if inhaled.
- When using an iron, be mindful of the fabric type and iron temperature settings to prevent scorching or damaging the material. Use a pressing cloth if necessary.
Step-by-Step Instructions
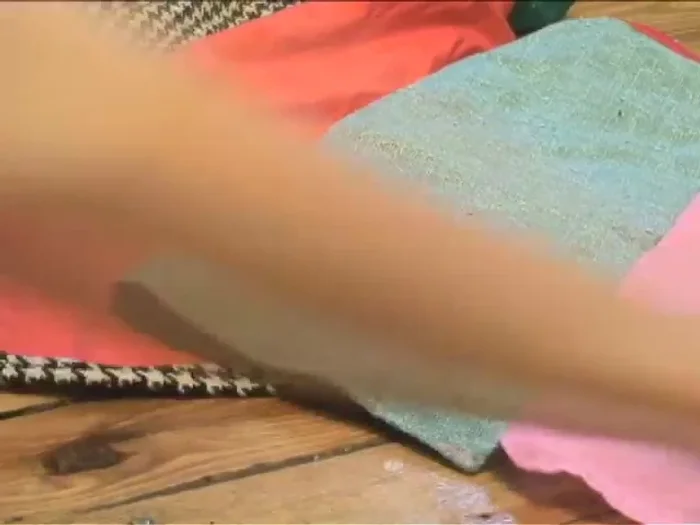
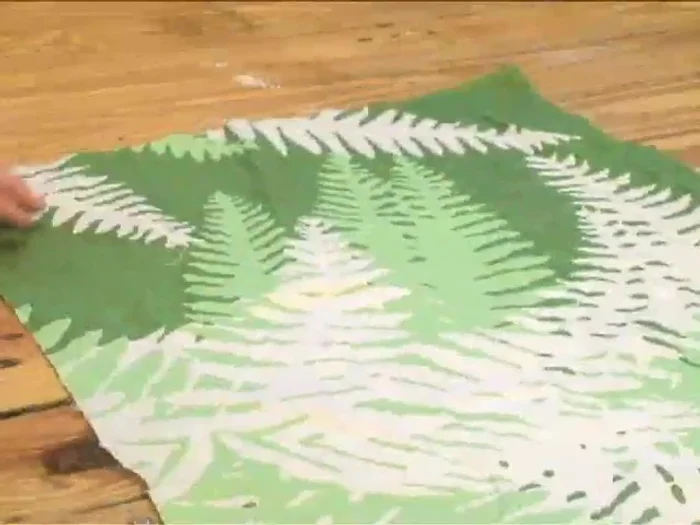
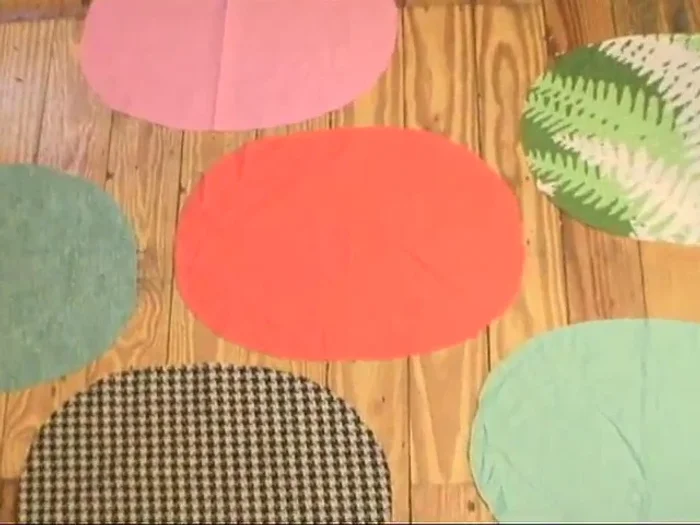
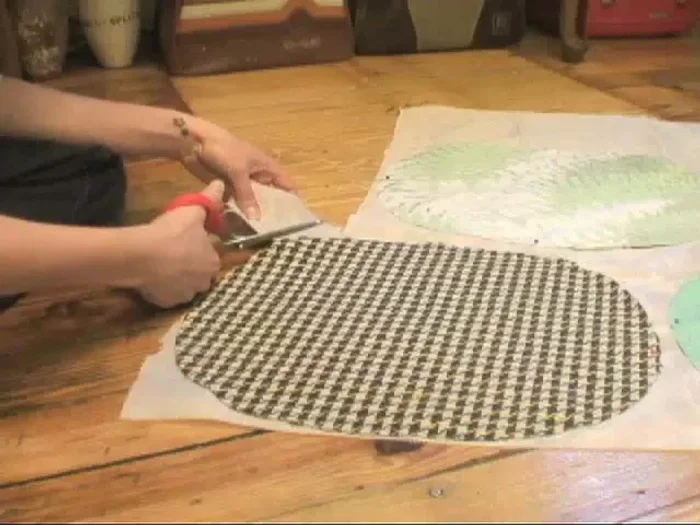
Choose Materials and Cut Placemat Shapes
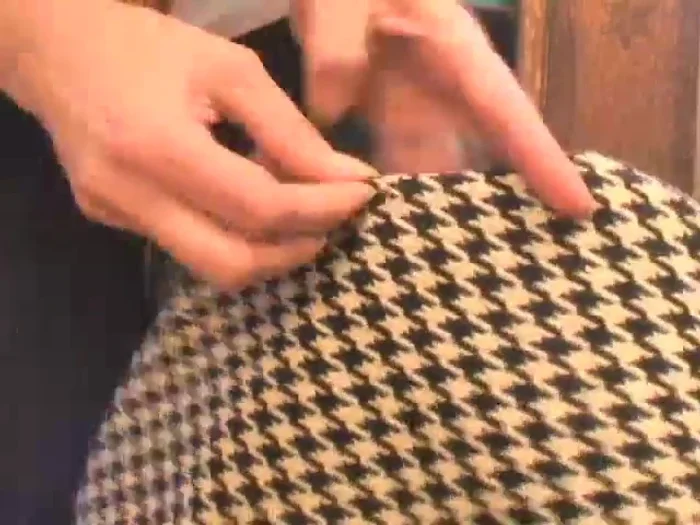
- Choose your fabric and desired shape (circle, square, heart, etc.).
- Cut out your chosen shape from one piece of fabric, ensuring symmetry by folding it in half or quarters before cutting.
- Cut identical shapes from the rest of your fabric.

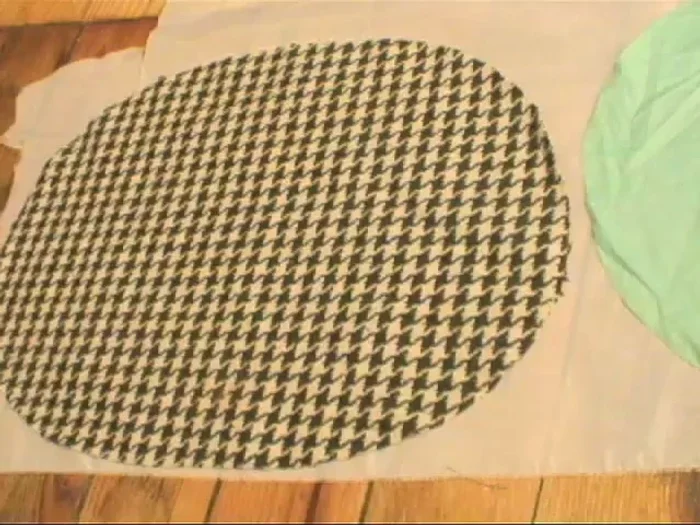
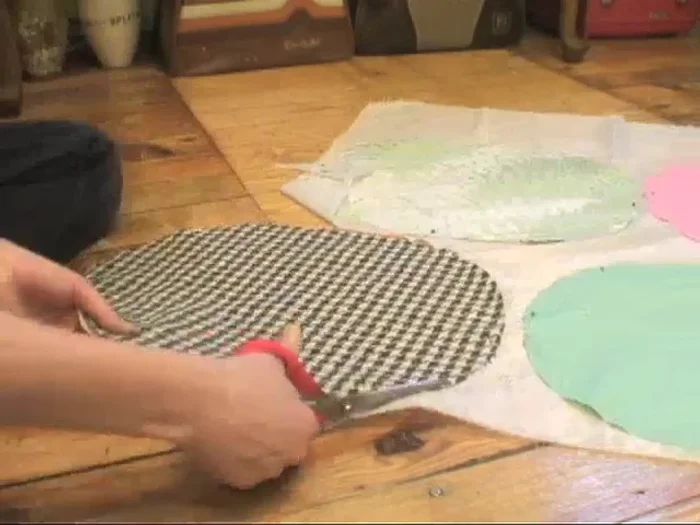
Choose Materials and Cut Placemat Shapes Prepare Lining and Cutouts
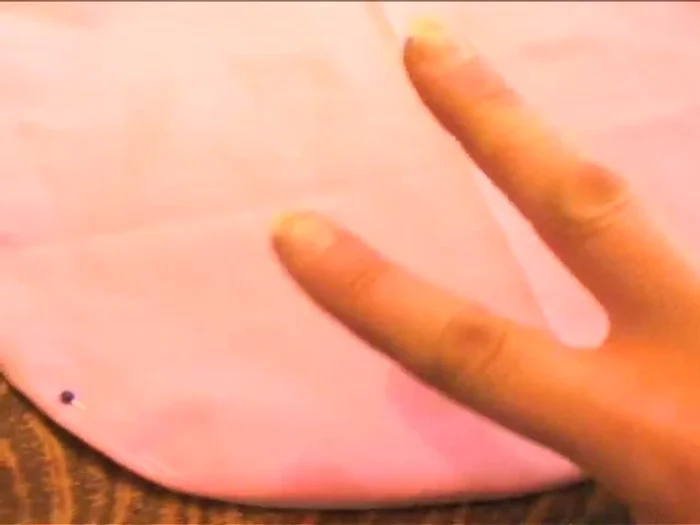
- Select a lining fabric, lay your placemat cutouts on it (good side down), and pin in place.
- Carefully cut out the lining fabric pieces.
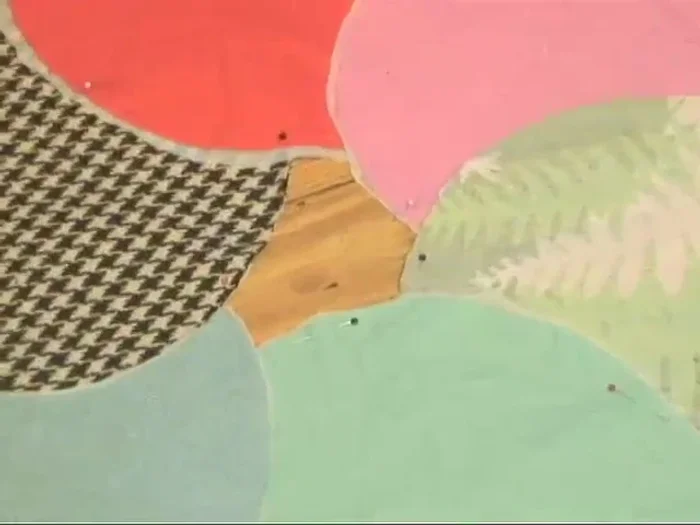
Prepare Lining and Cutouts Assemble and Sew Placemats
- Pin the placemat cutouts and lining pieces together (good sides facing each other).
- Sew the pieces together, leaving a 4-5 inch opening.
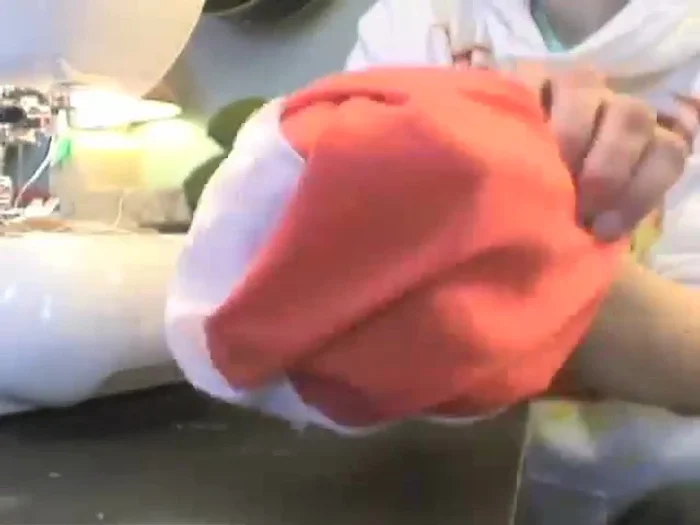
Assemble and Sew Placemats Finish and Refine Placemats
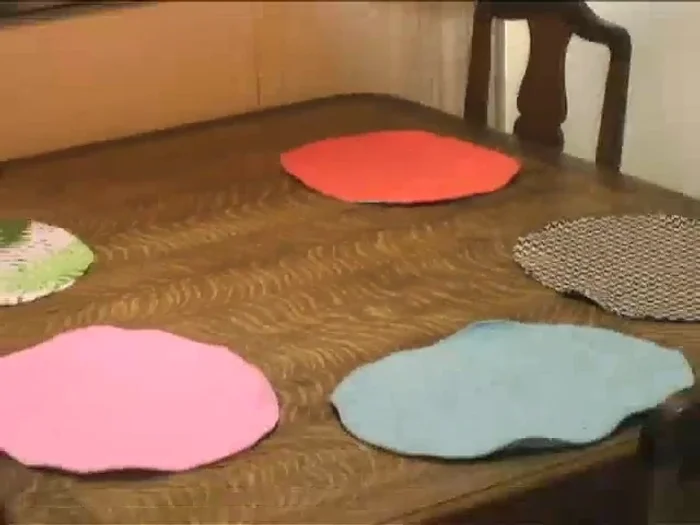
- Turn the placemats right side out and smooth the edges.
- Fold the opening down, pin, and sew a clean top stitch around the top edge.
- Add one or two top stitches about a centimeter from the edge.
- Steam out your finished placemats.
Finish and Refine Placemats
Read more: DIY Super Cute Whale Shower Curtain: A Step-by-Step Tutorial
Tips
- Start a collection of vintage pitchers for use as vases or serving vessels.