Ahoy, mateys! Are you ready to embark on a swashbuckling crafting adventure? This tutorial will guide you through creating your very own adorable DIY pirate doll, perfect for imaginative play or as a unique decorative piece. Forget expensive, mass-produced toys; we'll be harnessing the power of simple sewing techniques and die-cutting to bring a charming pirate to life. Using readily available materials, we'll transform basic shapes into a fully-fledged, miniature buccaneer, complete with all the essential accessories. This project is ideal for both beginners and experienced crafters alike, offering a fun and rewarding experience for all skill levels.
Prepare to set sail on a creative journey! We'll be utilizing easy-to-follow instructions and helpful images to help you craft your very own unique pirate doll. This easy sewing tutorial, combined with the efficiency of die-cutting, will allow you to assemble your swashbuckling friend quickly and effortlessly. Get ready to follow our step-by-step guide and soon you’ll be proudly displaying your handmade treasure.
Preparation and Safety Guidelines
- Fabric pieces (face, arms, hat, shirt, body, hair, eyepatch)
- Big Shot Plus die-cutting machine
- Cutting pads
- Iron
- Fusible webbing
- Fiberfill
- Sewing machine
- Ribbon
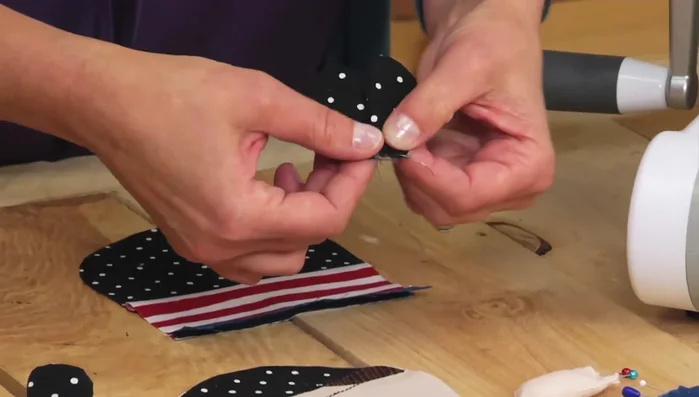
- Needle
- Thread
- Pins
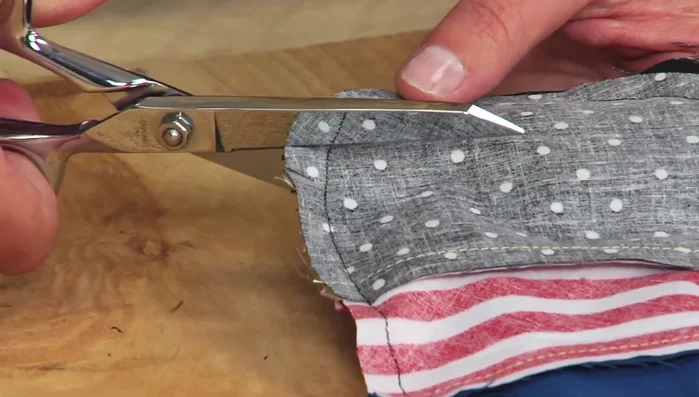
- Scissors
- Adult supervision is required at all times, especially when using sharp tools like scissors and the die-cutting machine.
- Keep small parts, like buttons and beads, away from young children to prevent choking hazards.
- Use fabric glue or fabric-safe adhesives, as regular craft glue may not bond with fabric properly and could be a safety hazard if ingested.
Step-by-Step Instructions
Prepare Fabrics
- Iron fusible webbing onto face, arms, hat, shirt, body, hair, eyepatch fabrics before cutting.
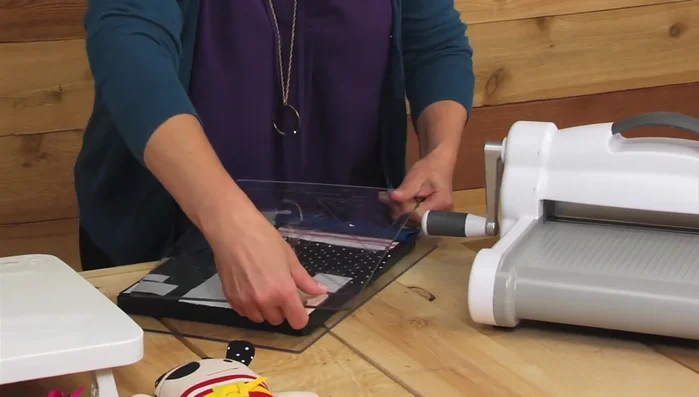
Die-Cut Fabric Pieces
- Use the Big Shot Plus machine and cutting pads to cut out all the prepared fabric pieces according to the die.

Die-Cut Fabric Pieces Apply and Secure Appliques
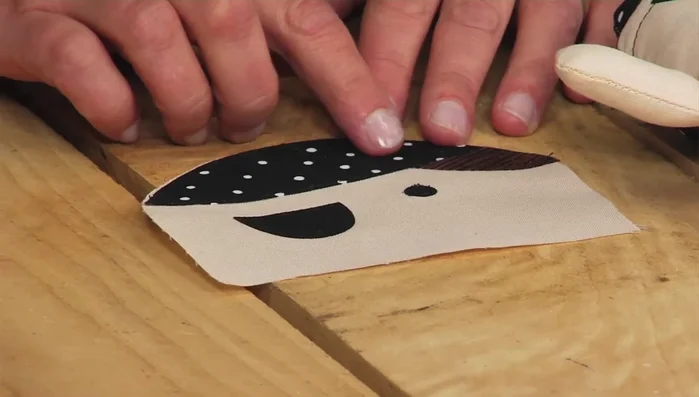
- Peel off the paper backing from the fusible webbing on the hair, hat, eyepatch, and eye fabrics. Iron these appliques onto the corresponding areas on the doll's face and hat.
- Stitch the appliques onto the doll's face and hat using a sewing machine or by hand.
Apply and Secure Appliques Sew Body and Shirt
- Pin the shirt fabric to the doll's face (right sides facing) and sew along the edges. Repeat with the back piece to attach the hat.
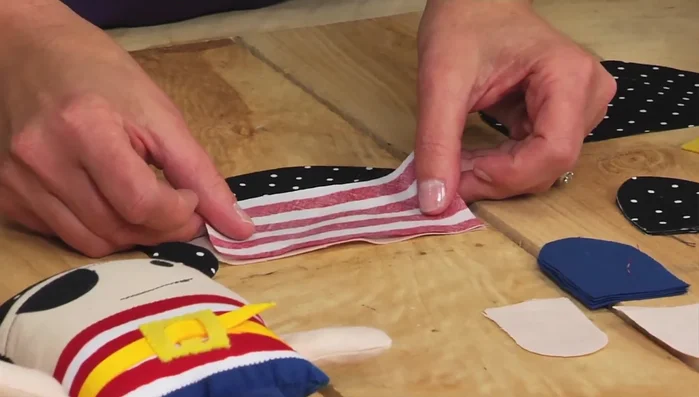
Sew Body and Shirt Sew Limbs
- Sew the arm and leg pieces right sides together, leaving a gap for turning. Stuff with fiberfill and close the gaps.
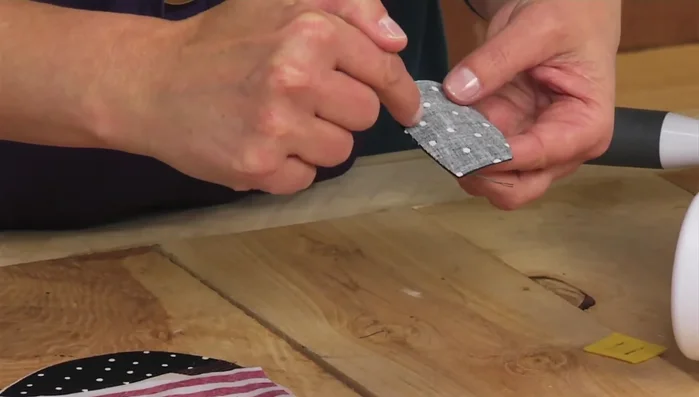
Sew Hat Flaps
- Sew the hat flaps right sides together, leaving the straight side open for turning. Turn them right side out and iron.
Sew Hat Flaps Assemble the Doll
- Pin the hat flaps, arms, and legs to the inside of the doll's body. Sew the legs to the bottom of the body and sew around the outer edge to enclose the body.
Assemble the Doll Stuff and Close Doll
- Turn the doll right side out and stuff with fiberfill. Hand-stitch the opening closed.
Stuff and Close Doll Add Finishing Touches
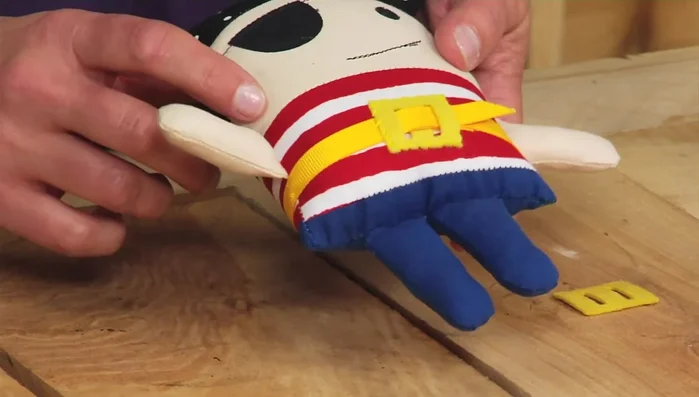
- Thread a ribbon through the belt buckle and hand-stitch it to the doll.
Add Finishing Touches
Read more: DIY Fluffy Duck Plushie Tutorial: A Step-by-Step Guide
Tips
- For a cleaner cut when die-cutting, angle your die just a tad.
- When using fusible webbing, place the fabric side down towards the blades of the die-cutting machine if possible.
- If needed, draw on the face before stitching a smile.