Picnics are synonymous with sunshine, laughter, and cherished moments spent with loved ones. But what truly elevates a picnic experience? A comfortable and stylish blanket, of course! Forget flimsy store-bought options; this guide will walk you through creating your own personalized DIY picnic blanket, a project perfect for beginner quilters and sewers alike. You'll discover the joy of crafting a unique, durable, and beautiful accessory that will become a treasured part of your outdoor adventures, adding a touch of handmade charm to every gathering.
Learn to transform simple fabric squares into a cozy and practical picnic blanket with this beginner-friendly tutorial. We’ll guide you through the essential quilting and sewing techniques, from selecting your fabrics and cutting the pieces to stitching and finishing your creation. Ready to embark on this fun and rewarding project? Let's dive into the step-by-step process to create your very own custom picnic blanket!
Preparation and Safety Guidelines
- Fabric
- Rotary cutter (optional)
- Iron
- Sewing machine
- Contact paper or cardboard
- Masking tape
- Quilt batting
- Tablecloth
- Pins
- Bias binding
- Walking foot (recommended)
- Always use sharp scissors and needles to prevent injury. Keep them away from children.
- Be mindful of your fabric choices. Choose fabrics that are suitable for outdoor use and easy to clean, such as cotton or water-resistant materials.
- Ensure your sewing machine needle is appropriate for your chosen fabric to avoid breakage or damage.
Step-by-Step Instructions
Prepare Fabric
- Zigzag stitch around raw edges of fabric and pre-shrink by washing.
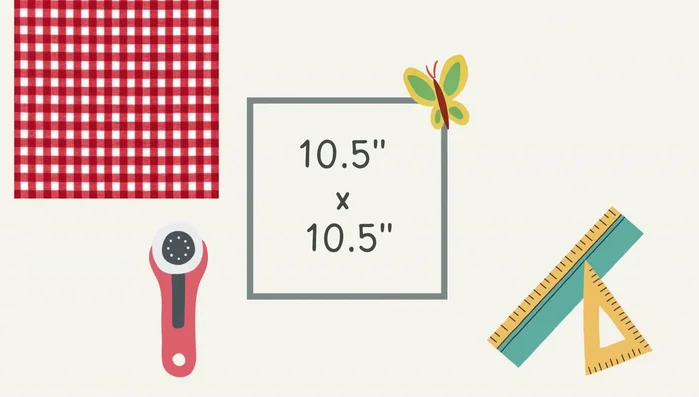
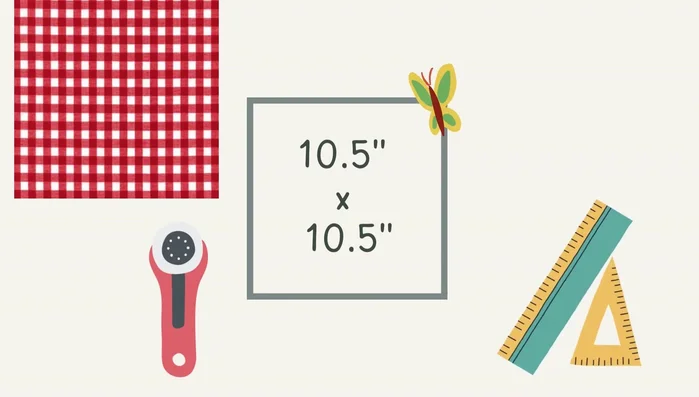
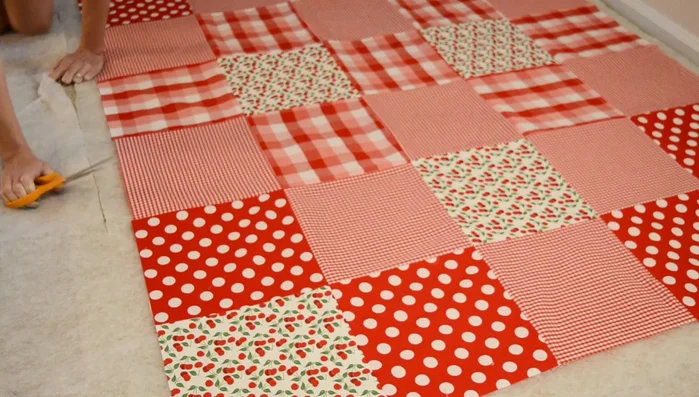
- Measure and cut fabric (10.5 inches x 10.5 inches). Iron for clean edges.

Prepare Fabric Assemble Quilt Top
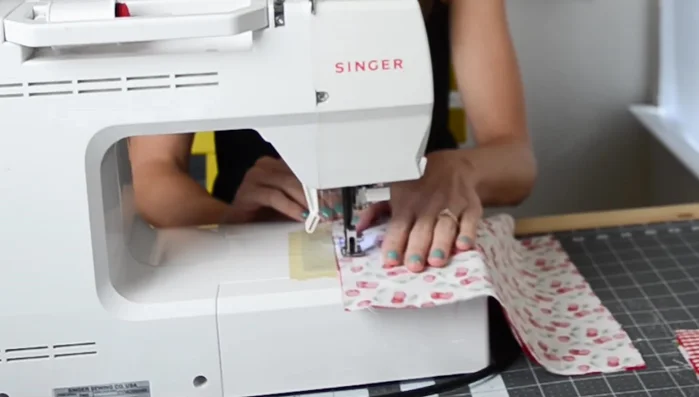
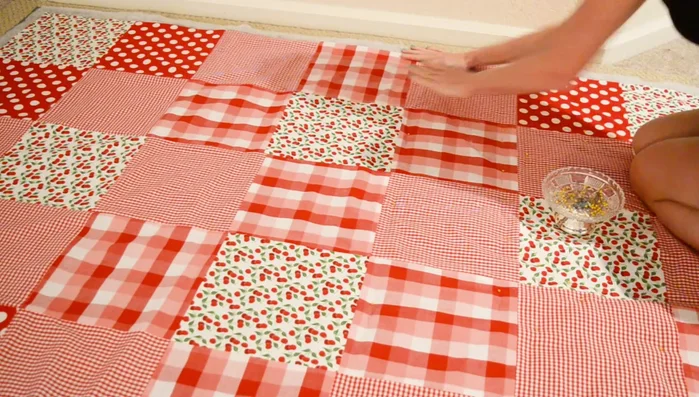
- Layout fabric panels and use masking tape to mark seam allowances. Sew panels together to create one long row.
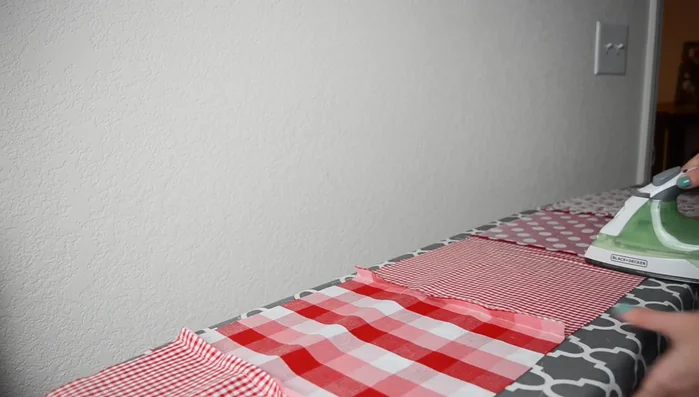
- Press open seams of the first row.
- Sew rows together and press seams.
Assemble Quilt Top Prepare and Layer Quilt
- Cut quilt batting, leaving 2 inches extra around the perimeter. Cut tablecloth to the same dimensions.
Prepare and Layer Quilt Quilt Layers Together
- Pin quilt top, batting, and tablecloth together. Stitch in the ditch, topstitching where panels meet.
- Zigzag stitch around the edges for stability (especially helpful without a walking foot).
Quilt Layers Together Add Binding
- Sew bias binding to the edges, starting a foot away from the corners for consistent results.
- Clip corners, fold over binding, and topstitch.
Optional: Make a Tote Bag
- Sew nine squares together, add straps (10 inches long x 3 inches wide before seam allowance), sew the bottom, sew triangles for body, and topstitch.
Read more: King Size Quilt Tutorial: Efficient Chain Piecing Method
Tips
- Use a walking foot for easier sewing, especially when working with multiple layers.
- Pre-shrinking fabric prevents shrinkage after washing.
- Ironing fabric creates clean edges and makes sewing easier.
- Leave extra batting and tablecloth for easier handling during sewing.
- Start sewing bias binding a foot from the corner for a cleaner finish.