Pencil skirts are timeless wardrobe staples, effortlessly chic and versatile. But finding the perfect one, with that unique touch of personality, can often be a frustrating search. Why settle for off-the-rack when you can create a stunning, custom-fit pencil skirt yourself? This tutorial will guide you through crafting a beautiful DIY pencil skirt featuring eye-catching circle and ruffle details, adding a touch of elegance and individuality to your style. We’ll elevate a classic silhouette with these charming embellishments, resulting in a garment that's both stylish and uniquely yours.
Forget expensive boutiques and disappointing fits; this project empowers you to design and sew a skirt that perfectly complements your figure and personal taste. With clear instructions and helpful images, even beginner sewers can confidently tackle this project. Get ready to unleash your creativity and learn how to add those beautiful circle and ruffle details that will take your skirt from simple to sensational. Let's dive into the step-by-step process!
Preparation and Safety Guidelines
- Crepe fabric (stretchy)
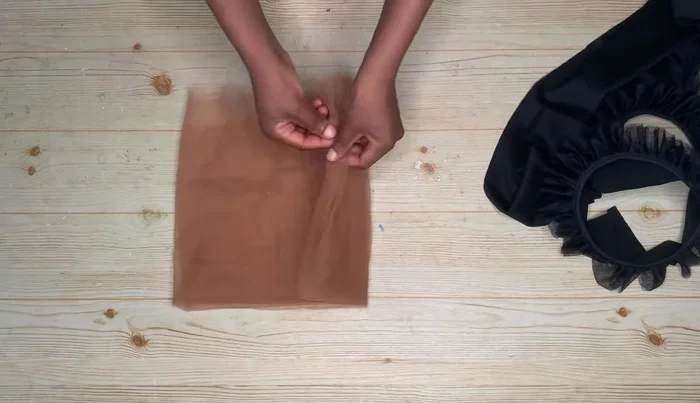
- Skin-color net
- Black net
- Cotton bias tape
- Zipper
- Ruler
- Scissors
- Sewing machine
- Pins
- Measuring tape
- Always use sharp scissors and pins to prevent accidental cuts or pricks. Handle fabric shears with care and store them safely after use.
- When using a sewing machine, ensure your fingers are kept away from the needle at all times. Use a seam ripper carefully to avoid damaging the fabric.
- If working with a rotary cutter, use a cutting mat to protect your work surface and to avoid injury. Always keep the blade covered when not in use.
Step-by-Step Instructions
Pattern Making and Cutting
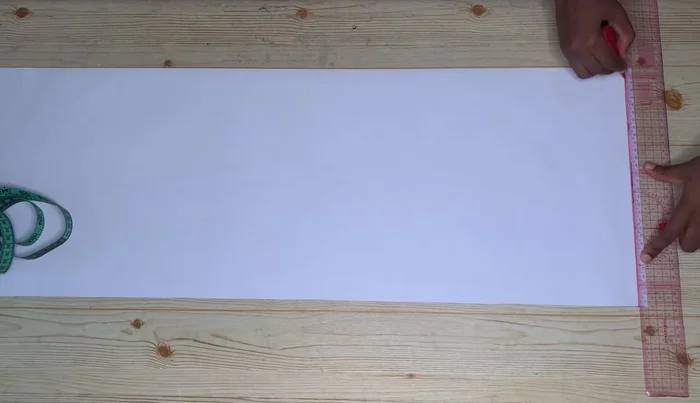
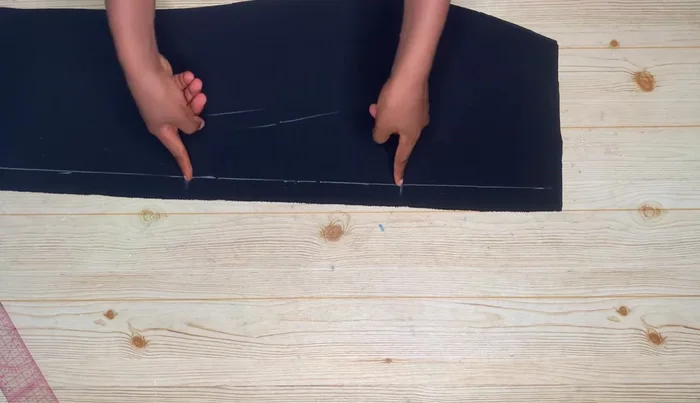
- Take body measurements and create a pattern.
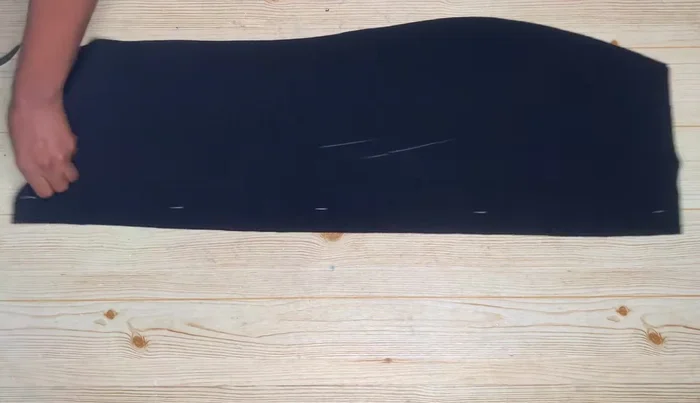
- Cut out the skirt pattern pieces (front and back). Add seam allowances as needed (especially for stretchy fabric).
- Cut out the waist area of the front piece.
- Cut out the waistband piece (4 1/2 inches wide, long enough to go around your waist).

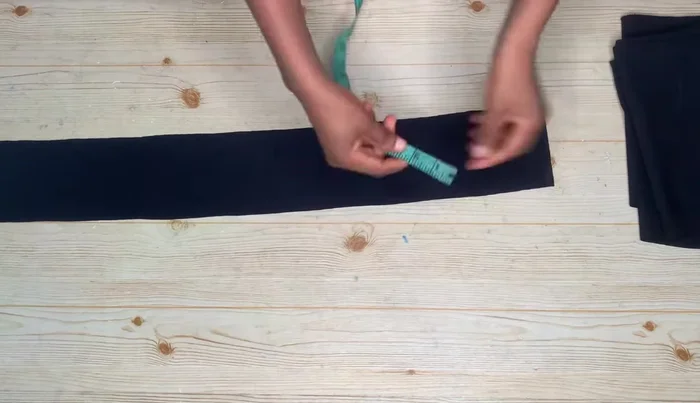
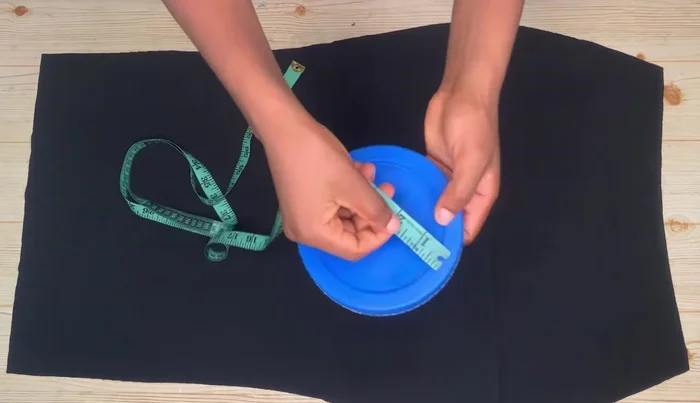
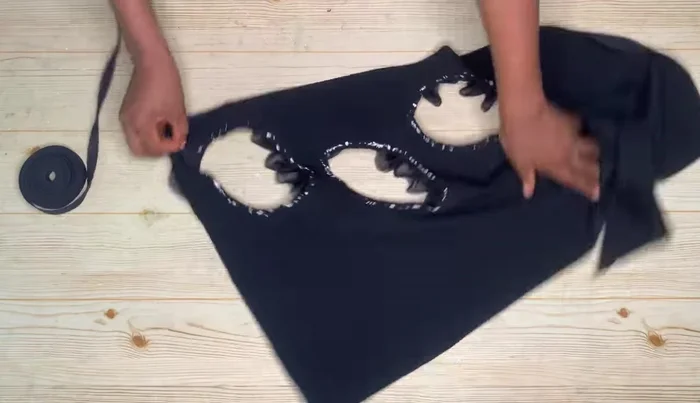
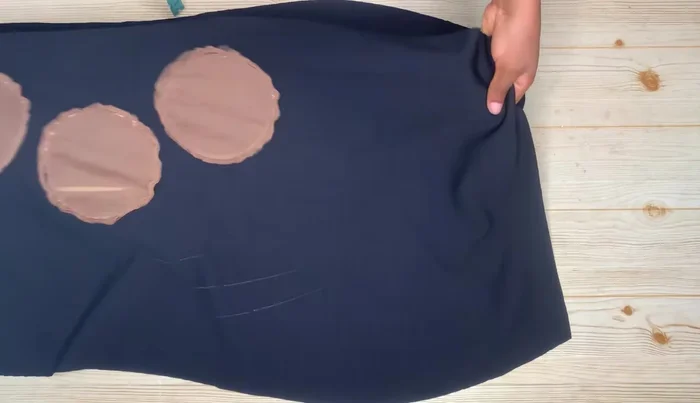
Pattern Making and Cutting - Draw and cut three circle designs on the front piece, leaving a seam allowance.
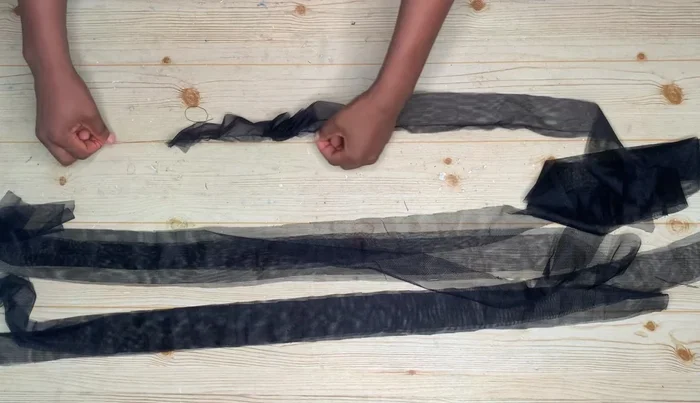
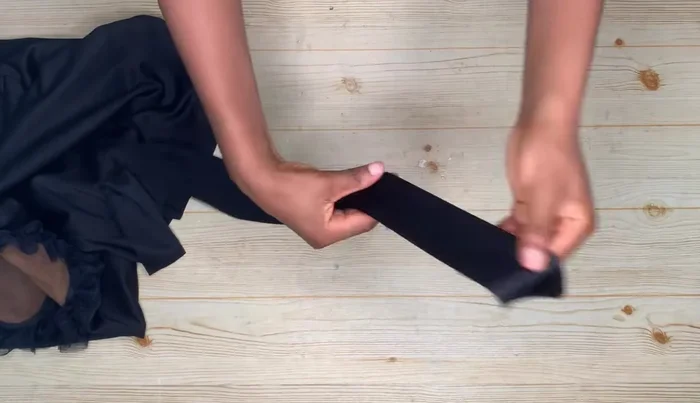
- Cut out strips of black net for the ruffles (doubled for thickness).
Pattern Making and Cutting Ruffle Preparation and Attachment
- Sew gathered stitches along the length of the black net ruffles.
- Gather the ruffles by pulling the threads.
- It's more efficient to sew the ruffles *before* cutting out the circles).
Ruffle Preparation and Attachment Circle Finishing
- Sew the cotton bias tape around the edges of the circles to finish them neatly.
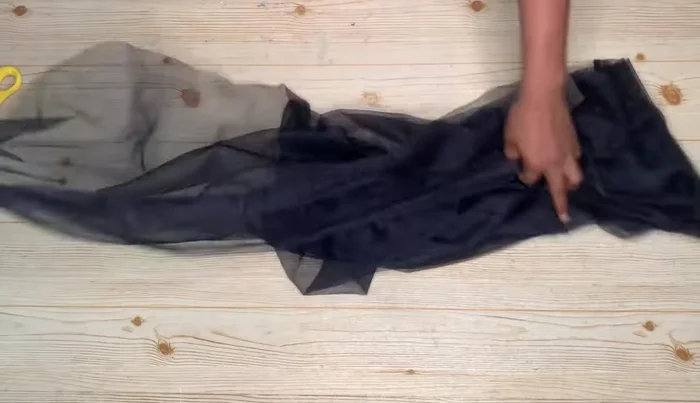
- Add the skin-color net layer underneath the circles for added fullness.
Circle Finishing Back Piece Assembly
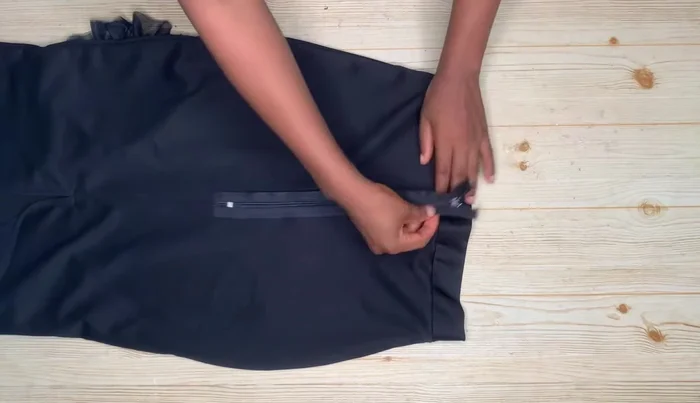
- Mark and sew the zipper allowance on the back pieces.
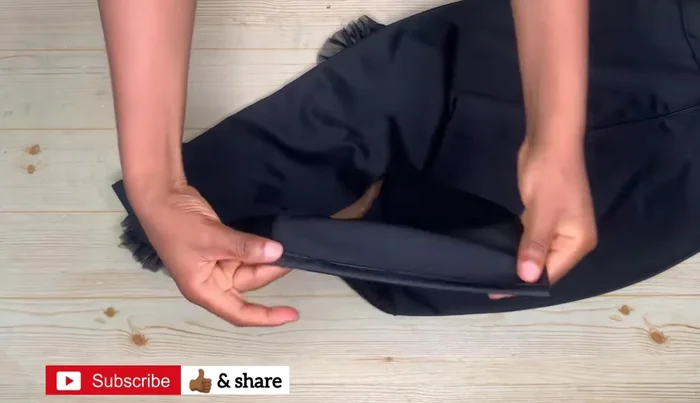
- Sew gathered stitches along the sides of the back pieces, leaving an opening for the slit.
- Hem the slit opening.
Back Piece Assembly Sewing the Skirt Together
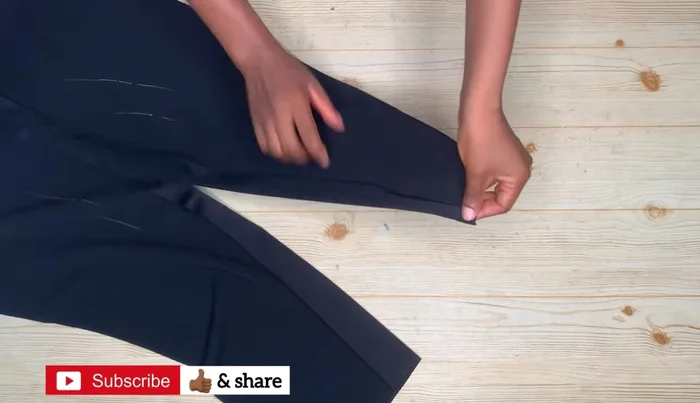
- Join the front and back pieces together at the side seams.
- Sew the waistband to the waistline.
- Attach the zipper.
- Hem the bottom of the skirt.
Sewing the Skirt Together


Read more: Raglan Sleeve Sewing Tutorial: A Step-by-Step Guide
Tips
- Use a stretchy fabric to make the process easier.
- Sew ruffles to the circles *before* cutting them out to make sewing easier.
- Pin the net fabric securely before sewing to prevent shifting.