Are you an artist constantly battling tangled pencils, struggling to keep your drawing tools organized and readily accessible? Do you crave a stylish and practical solution that reflects your creativity? Then look no further! This DIY pencil roll is the perfect project for budding artists of all skill levels, offering a satisfyingly simple sewing project with impressive results. Forget searching through messy pencil cases; imagine the convenience of having your favorite drawing implements neatly arranged and instantly at your fingertips. This project requires minimal supplies and sewing expertise, making it ideal for beginners eager to enhance their artistic workflow.
This charming and functional pencil roll not only keeps your pencils organized but also adds a touch of personalized style to your art supplies. Forget generic pencil cases; this project allows you to choose your favorite fabrics and customize the size to perfectly suit your needs. Ready to get started on creating your own customized pencil roll? Let's dive into the step-by-step instructions below!
Preparation and Safety Guidelines
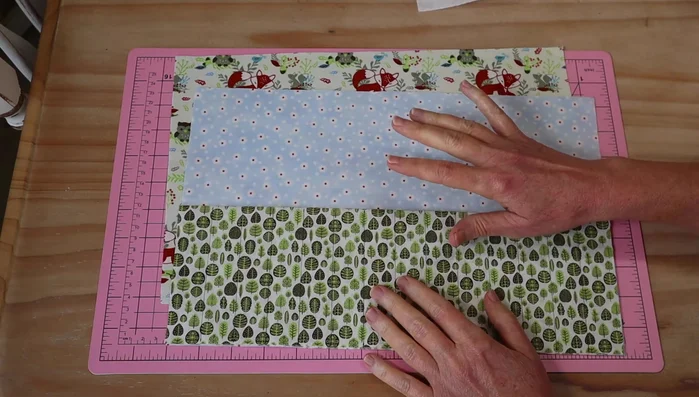
- Quilting cotton (3 different prints)
- Fusible interfacing (light to medium weight)
- Fine wadding or felt
- Ribbon (65cm)
- Sewing machine
- Pins or clips
- Fabric marker or heat erasable marker
- Iron
- Scissors
- Always supervise young children using scissors and needles. Sharp objects should be handled with care.
- Choose fabric appropriate for your project. Avoid fabrics that fray excessively or are difficult to sew.
- Ensure the pencil roll is securely stitched to prevent pencils from falling out and causing injury.
Step-by-Step Instructions
Prepare Fabrics
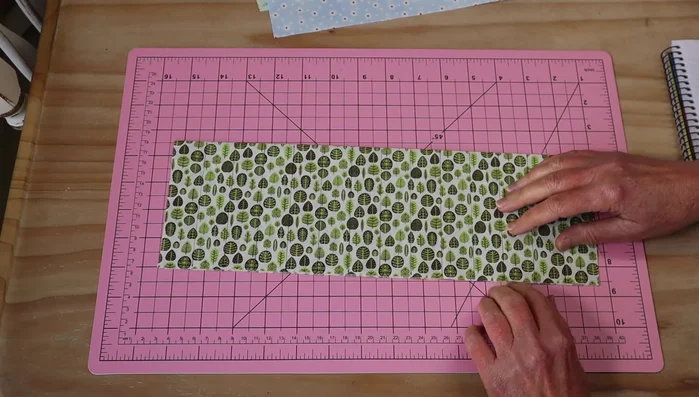
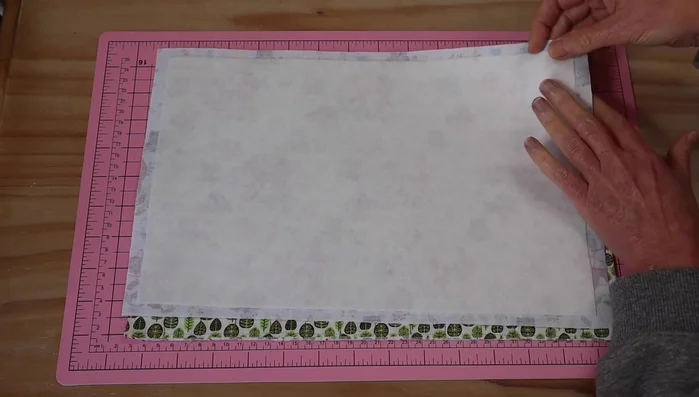
- Cut three 36cm x 24cm rectangles from your chosen fabrics (one for the back, one for the inside lining, and one for the pocket). Cut a 34cm x 22cm rectangle of wadding.

Prepare Fabrics Interface Fabrics
- Interface the back and lining fabrics with fusible interfacing.
Interface Fabrics Create Pencil Slots
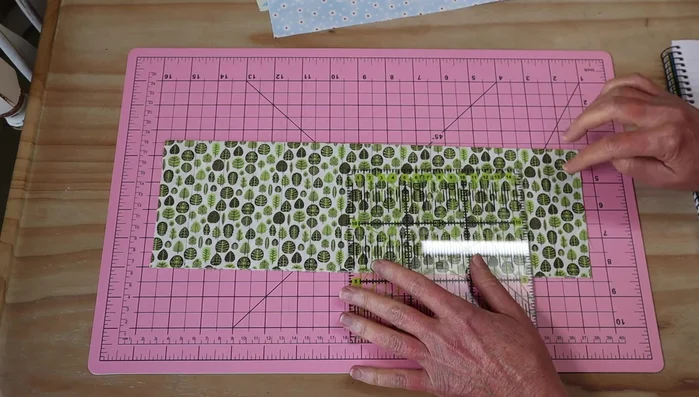
- Fold the pocket fabric in half lengthwise and press.
- Mark 2.5cm (1 inch) dividers on the pocket fabric for pencil slots. Sew these lines, stitching back and forth at the beginning of each line for extra strength. Start stitching from the base and work upwards to prevent puckering.
Create Pencil Slots Attach Pocket to Lining
- Sew the pocket piece to the lining fabric along its bottom edge.
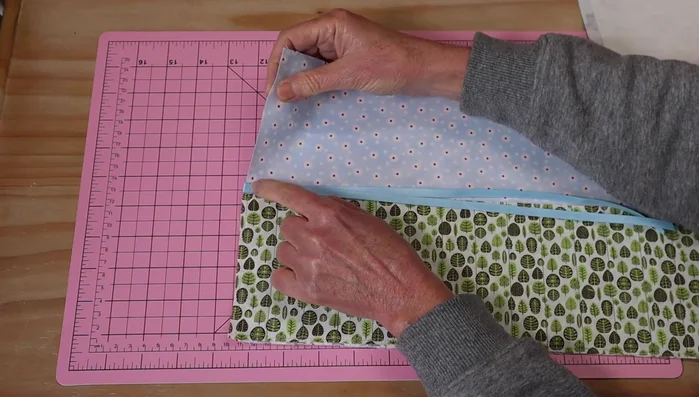
Attach Pocket to Lining Sew Outer and Lining Together
- Place the lining fabric and wadding-backed outer fabric together, right sides facing. Pin or clip together, leaving an 8cm opening for turning. Sew around the edges, leaving the opening.
Sew Outer and Lining Together Turn and Shape
- Trim the seam allowance, clip the corners, and turn the fabric right-side out through the opening. Use a knitting needle to poke out the corners.
Turn and Shape Finish and Topstitch
- Press the pencil roll flat, including turning under and pressing the opening closed. Top stitch around the entire edge of the rectangle, approximately 3mm from the edge.
Finish and Topstitch Add Ribbon
- Fold the ribbon in half and stitch it to the top edge above the pocket.
Add Ribbon


Read more: DIY Quilted Makeup Pouch Tutorial: The Easiest and Fastest Method
Tips
- Use a contrasting thread for top stitching to add a visual pop.
- Burn the edges of the ribbon to prevent fraying.
- Add personalized touches such as appliqués or embroidery before sewing the final seam.