Tired of bland window treatments leaving your room feeling unfinished? Ready to inject some personality and style without breaking the bank? Then you're in the right place! A DIY pelmet is the perfect solution for elevating your windows and adding a touch of sophisticated elegance to any room, from a cozy bedroom to a vibrant living space. This simple yet impactful project allows you to personalize your home décor, perfectly matching your existing style and colour scheme. Forget expensive custom-made options; with a few readily available materials and a little bit of your time, you can create stunning window dressings that will leave your friends and family impressed.
This tutorial will guide you through the process of crafting a beautiful and functional pelmet, step by step. Whether you're a seasoned DIY enthusiast or a complete beginner, you’ll find this project surprisingly easy and incredibly rewarding. So grab your measuring tape, fabric scissors, and let's get started on transforming your windows with a bespoke pelmet you created yourself!
Preparation and Safety Guidelines
- MDF skirting
- Coats and brackets
- 13 millimeter screws
- Glue
- Miter saw
- Drill driver
- 3.5 millimeter drill bit
- Corner clamps
- Tape measure
- Pencil
- Square
- Fine sandpaper
- Paint
- Roller
- Tray
- Always use caution when working with sharp objects like scissors, utility knives, or pins. Wear protective gloves if necessary.
- Ensure proper ventilation when using spray adhesive or paint. Work in a well-ventilated area or wear a respirator.
- If working with electricity (e.g., attaching a pelmet to a motorized curtain rod), switch off the power supply before starting any work and only resume once everything is securely reconnected.
Step-by-Step Instructions
Measure and Plan
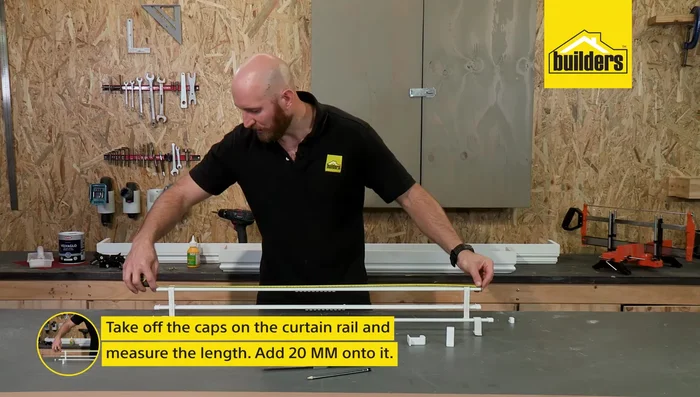
- Measure and calculate the pelmet dimensions. Measure the curtain rail length, add 20cm (10cm each side) for clearance. Determine the pelmet depth based on rail type (single or double) and hook depth. (Add rail depth and hook depth).

Measure and Plan Cut the MDF
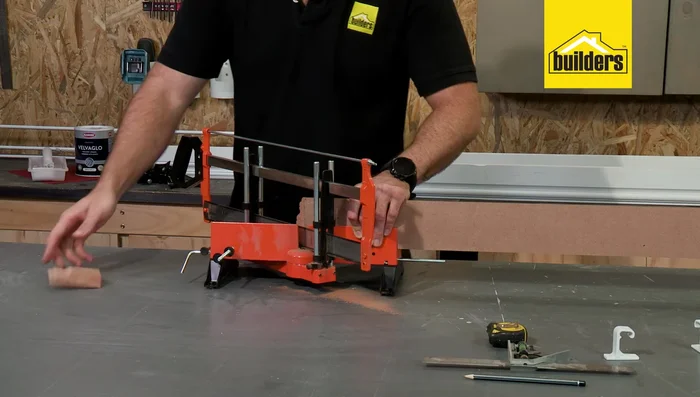
- Cut the MDF skirting. Make 45-degree miter cuts on the ends of the pelmet's front piece. Cut the side pieces to the calculated depth (140mm in this example). Ensure accurate measurements from the inside of the miter cuts.
Cut the MDF Assemble the Pelmet
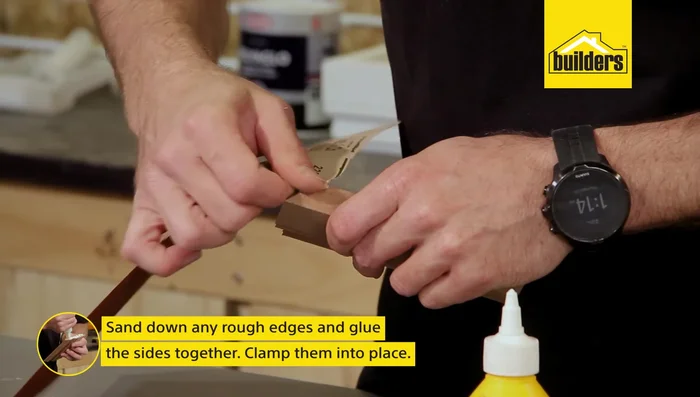
- Assemble the pelmet. Glue and clamp the cut pieces together, ensuring a tight fit. Alternatively, use nails for extra security while glue dries.
Assemble the Pelmet Install Brackets
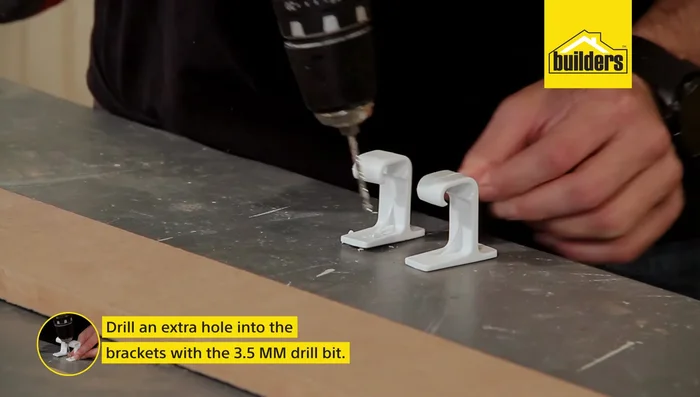
- Install the brackets. Drill additional holes in the brackets if necessary (if using brackets with only one pre-drilled hole). Attach the brackets approximately 20mm down from the top of the pelmet using 13mm screws.
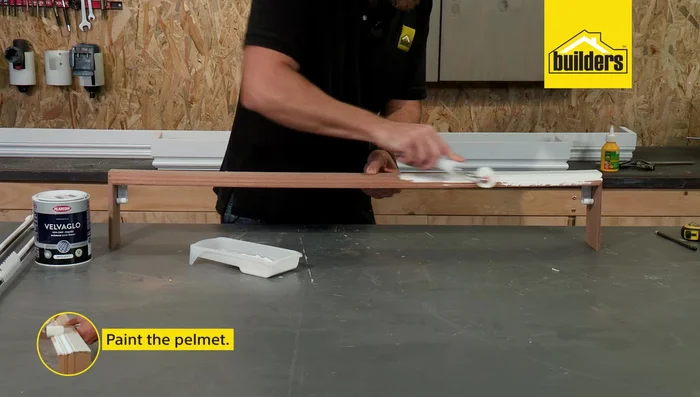
Install Brackets Paint the Pelmet
- Paint the pelmet. Apply two coats of paint (primer may not be needed depending on the paint used).
Paint the Pelmet Install the Pelmet
- Install the finished pelmet. Attach the pelmet to the wall using the installed brackets. Clip the hooks onto the existing curtain rail, concealing the rail and creating a polished look.
Install the Pelmet

Read more: DIY Super Cute Whale Shower Curtain: A Step-by-Step Tutorial
Tips
- Use a miter saw and rail system for precise and straight cuts.
- Clean any rough edges with fine sandpaper before gluing.
- Use corner clamps to ensure a tight joint while the glue sets.
- For double curtain rails, consider adding an extra clip in the center for added strength.