The Parsons chair, a minimalist design icon, often lacks the personality to truly shine. But what if you could effortlessly elevate its sleek silhouette with a touch of opulent glamour? This guide explores the transformative power of a DIY slipcover, showcasing a stunning metamorphosis using luxurious gold silk. Imagine the rich sheen of the fabric draped over the clean lines of your chair, instantly injecting warmth and sophistication into any room. Forget expensive reupholstering – this project is surprisingly achievable for even novice sewists.
This stunning gold silk transformation isn't just about aesthetics; it's a chance to personalize your space and unleash your creativity. We'll walk you through each step, from measuring your chair to the final stitching, ensuring you achieve a professional-looking result. Ready to create a truly breathtaking centerpiece for your home? Let's dive into the detailed, step-by-step instructions below.
Preparation and Safety Guidelines
- Parsons chair
- Gold silk fabric
- Coordinating fabric (gray)
- Piping
- Measuring tape
- Scissors
- Sewing machine
- Iron
- Staple gun
- Pliers
- Always use sharp scissors or a rotary cutter for precise fabric cutting to avoid accidents and ensure a clean finish.
- Handle silk fabric with care to prevent snags or tears. Avoid pulling or stretching the fabric excessively.
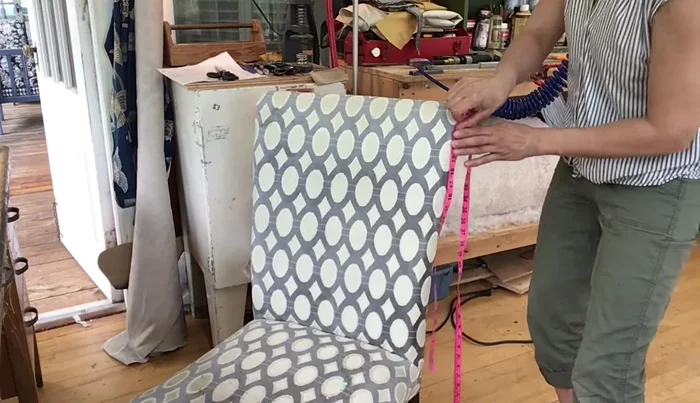
- Before starting, thoroughly measure your Parsons chair and add extra seam allowance to the fabric measurements to avoid the slipcover being too small.
Step-by-Step Instructions
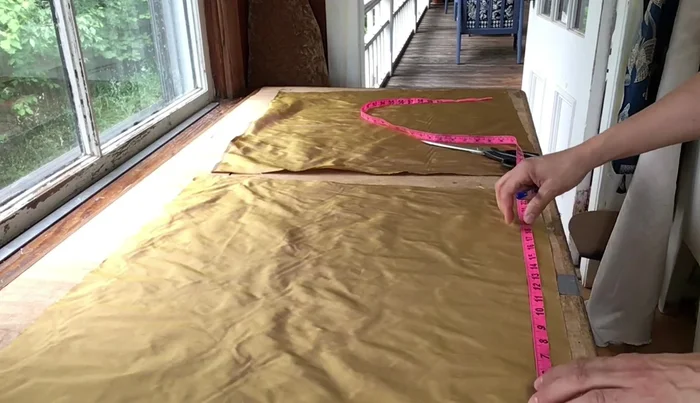
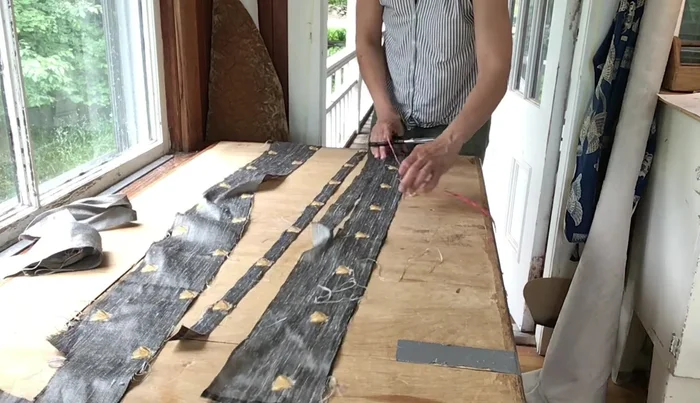
Measure and Cut Fabric
- Seat, inside back, outside back (to the floor), and skirt. Add extra fabric for pleats and seams.
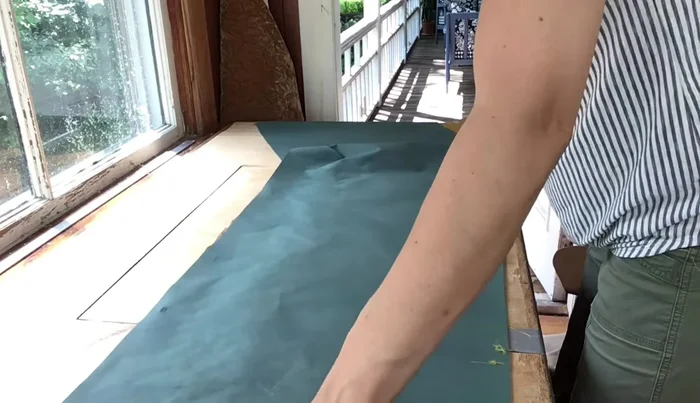
- Cut fabric pieces according to measurements.
- Shape fabric pieces to fit the chair's tapered form by marking and cutting to precise measurements.

Measure and Cut Fabric Prepare Piping and Liners
- Cut and attach piping to the outside back and seat edges for structure and a professional finish.
- Cut and sew liners for the skirt and outside back panels to prevent seam visibility and improve drape.
Prepare Piping and Liners Assemble Skirt and Back Panels
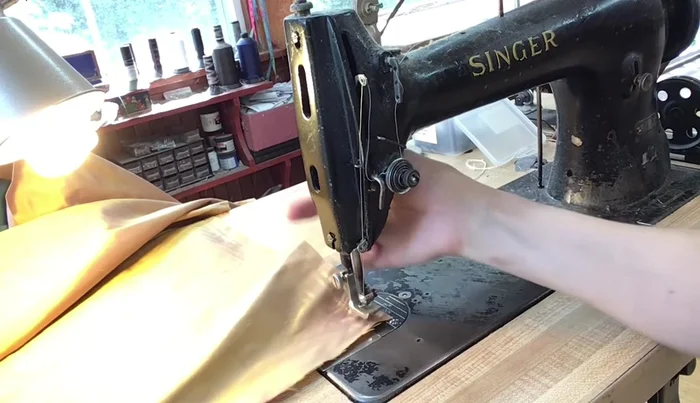
- Sew the liner and skirt fabric together on three sides (sides and bottom) with a half-inch seam.
- Repeat step 6 for the outside back panel.
- Fold the skirt and outside back panels, pressing to create neat corners. Ensure the main fabric is facing outwards, concealing the liner.
Assemble Skirt and Back Panels Attach Back and Seat Panels
- Sew the back and seat panels together across the bottom.
- Shape and staple the panels onto the chair, securing the corners neatly. Trim excess fabric for a clean finish.
- Attach contrast piping to the back panel.
Attach Seat Piping and Skirt
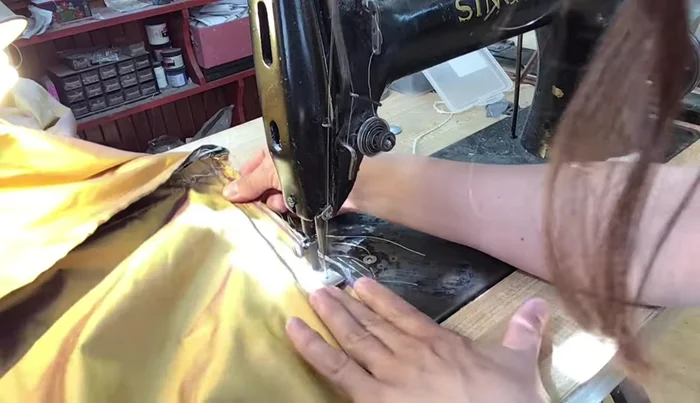
- Sew the gold piping to the seat panel, making it slightly longer to accommodate the skirt attachment.
- Attach the skirt to the seat using a staple gun, starting from the center and working towards the corners, creating pleats to match the seat.
- Sew the skirt to the seat.
Attach Seat Piping and Skirt Create and Attach Ties
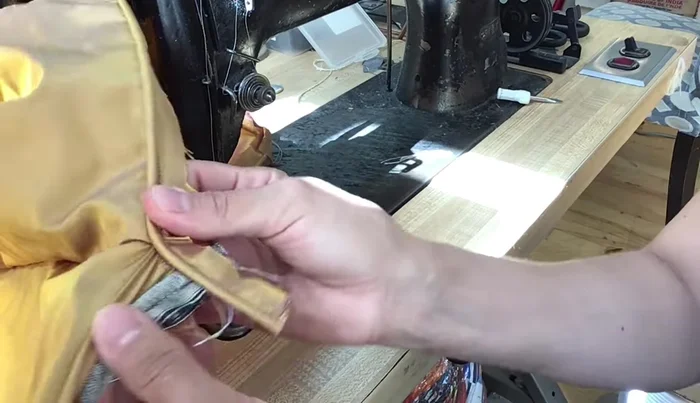
- Create ties for the back using the coordinating fabric, folding and stitching to conceal raw edges.
- Attach the ties to the bottom of the inside back panel.
- Stitch the outside back panel over the ties, ensuring a snug fit.
Create and Attach Ties


Read more: DIY Super Cute Whale Shower Curtain: A Step-by-Step Tutorial
Tips
- Add extra fabric for pleats to achieve a professional look.
- Use a liner for the skirt and back panels to prevent visible seams and improve drape.
- Press the seams well to create sharp corners and a clean finish.
- Ensure a snug fit when attaching the panels to the chair for a polished, tailored look.