Unleash your inner fashion designer and create a stunning off-shoulder blouse that's uniquely you! This DIY project guides you through crafting a beautiful garment featuring a flattering gathered neckline and eye-catching, customizable sleeves. Forget expensive boutique prices and embrace the satisfaction of creating something beautiful and personal, tailored perfectly to your style and body. We'll explore various sleeve options, from delicate bell sleeves to dramatic puff sleeves, allowing you to personalize your design and showcase your creativity. The gathered neckline adds a touch of romance and elegance, while the off-shoulder style offers a chic and modern feel.
This versatile blouse is surprisingly easy to make, even for beginner sewists. With readily available materials and straightforward instructions, you'll be amazed at how quickly you can transform fabric into a fashionable statement piece. Ready to transform your wardrobe with this gorgeous DIY creation? Let's dive into the step-by-step instructions!
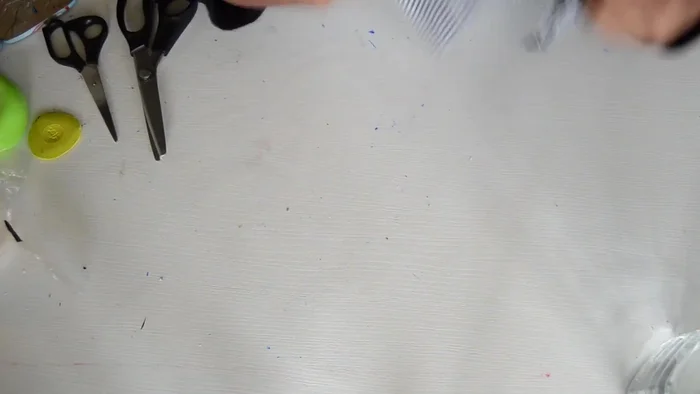
Preparation and Safety Guidelines
- Fabric (2 yards)
- Pins
- Sewing Machine
- Needle
- Thread
- Leather String
- Safety Pin
- Always use sharp scissors and a rotary cutter (if using one) to prevent injury. Handle fabric shears carefully and keep them away from children.
- When working with needles and pins, take care to avoid pricking yourself. Use a pincushion to keep your work area organized and safe.
- If using a sewing machine, ensure it is properly maintained and that you understand its safety features. Never reach under the needle while the machine is running.
Step-by-Step Instructions
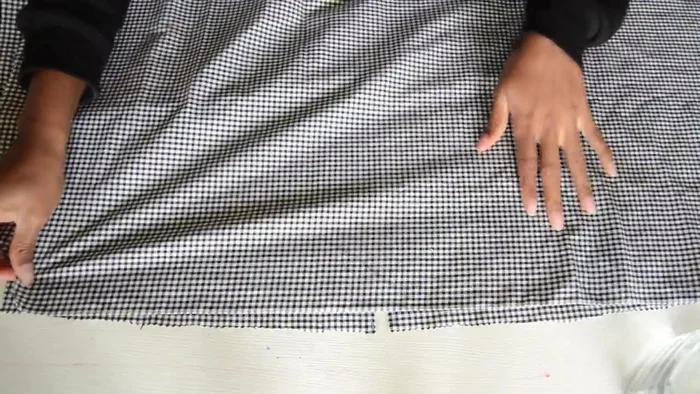
Cut Blouse Pieces
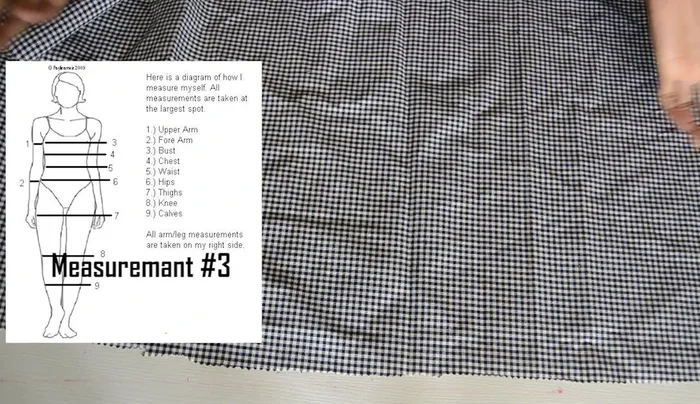
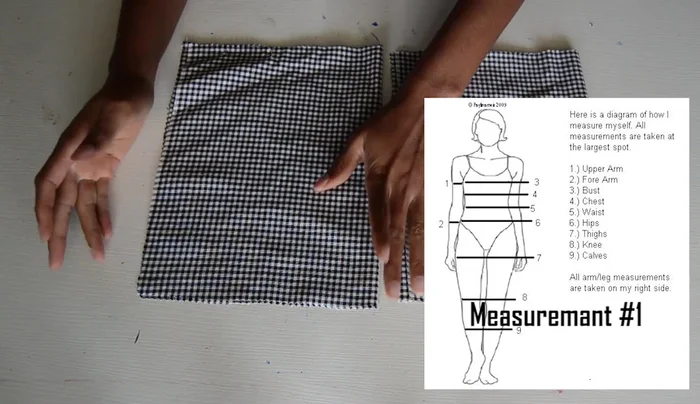
- Measure around your chest, add 20 inches, and cut fabric for the blouse front and back pieces (14 inches wide, 18 inches long). Cut the front piece into two.

Cut Blouse Pieces Cut Sleeves
- Measure around your arm, add 3 inches, and cut fabric for the sleeves (10 inches long). Create a 2-3 inch armhole curve.
Cut Sleeves Create Sleeve Trumpet
- Cut out two circle pieces for the sleeve trumpet (12 inches long for the larger piece, 7.5 inches long for the smaller piece). Sew the two layers together, hem the edges.
Create Sleeve Trumpet Attach Trumpet to Sleeves
- Attach the sleeve trumpet to the sleeve opening using a zig-zag stitch.
Attach Trumpet to Sleeves Sew Sleeves
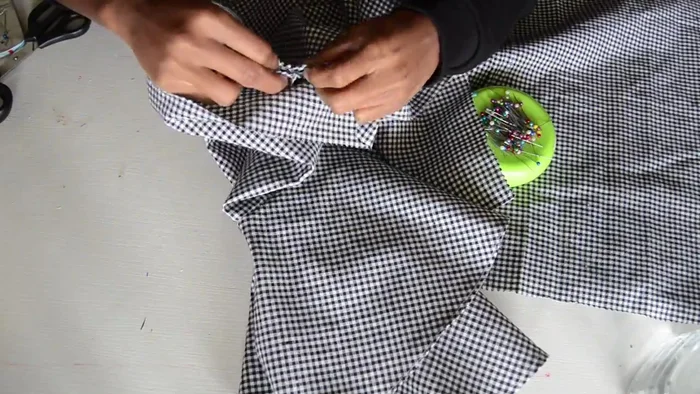
- Close the side seam of the sleeve, pinning and sewing the three layers together (inner, middle, outer).
Sew Sleeves Sew Blouse Front and Back
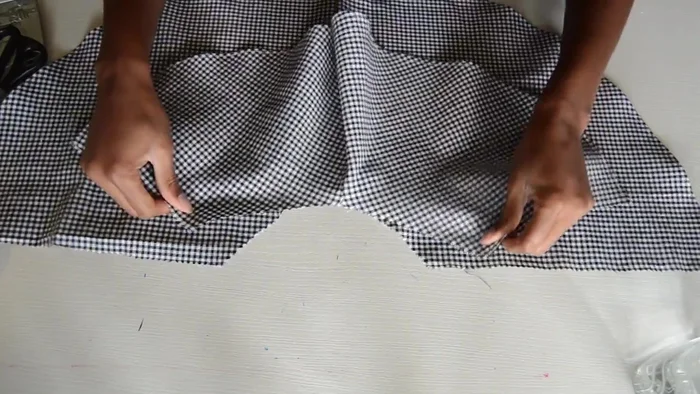
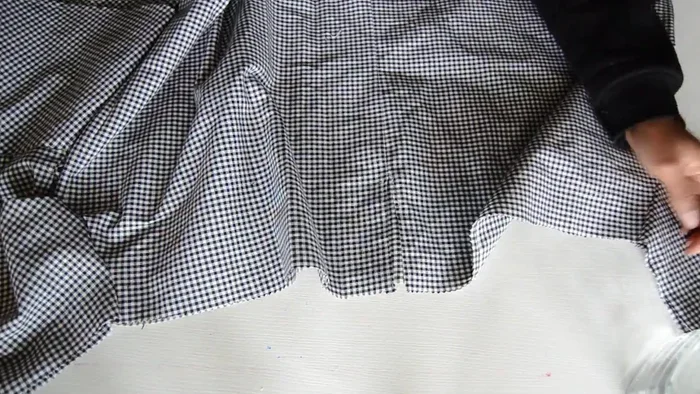
- Sew the center front stitch of the blouse, leaving the neckline open. Hem the neckline opening.
Sew Blouse Front and Back Attach Sleeves to Blouse
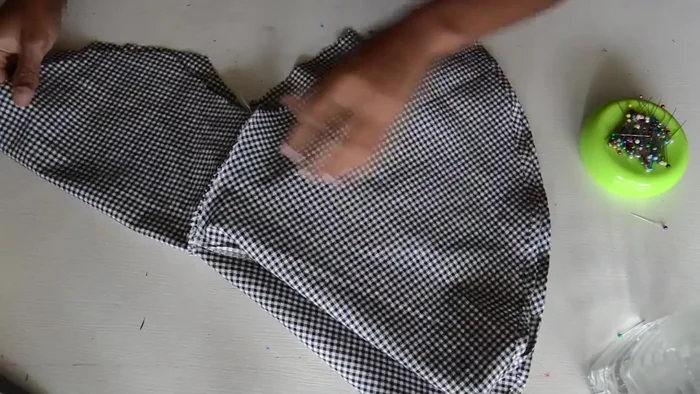
- Sew the front and back pieces of the blouse together at the side seams.
- Attach the sleeves to the armholes of the blouse.
Attach Sleeves to Blouse Gather Neckline
- Gather the neckline by creating a 1-inch tunnel around the top edge, inserting a leather string using a safety pin, and tightening to desired fit.
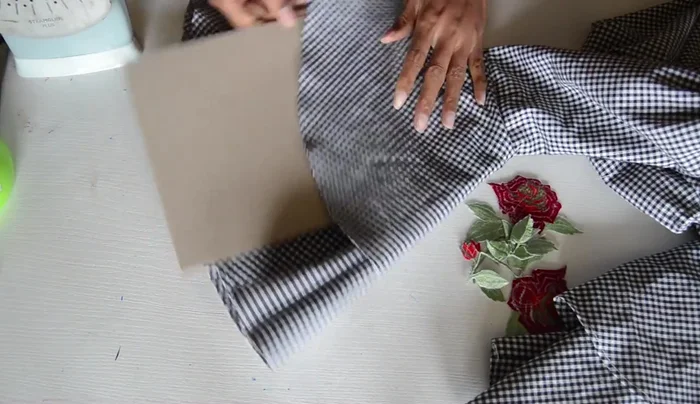
Gather Neckline Add Appliqués (Optional)
- Add optional flower appliques.
Add Appliqués (Optional)

Read more: Raglan Sleeve Sewing Tutorial: A Step-by-Step Guide
Tips
- Take your time when sewing the sleeve layers together.
- Use a zig-zag stitch for durability when attaching the sleeve trumpet.