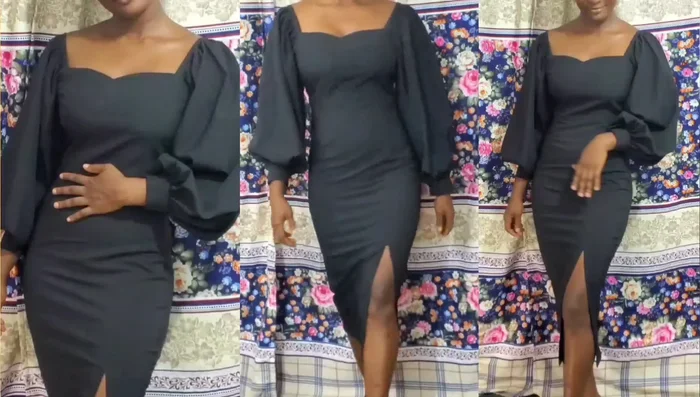
Are you ready to elevate your wardrobe with a chic and effortlessly elegant OFA dress? This easy DIY tutorial will guide you through the process of creating your own stunning, figure-flattering garment, complete with a captivating front slit. The OFA (One Fabric, All) design is incredibly versatile and allows for a beautifully simple yet sophisticated finished product. This project is perfect for intermediate sewers, offering a rewarding challenge without being overly complex. You'll learn valuable techniques and end up with a unique piece you'll be proud to wear.
Forget expensive designer labels and embrace the satisfaction of crafting something beautiful with your own hands. This tutorial provides clear instructions and helpful tips to ensure a successful outcome, even for those with limited sewing experience. Let's dive into the step-by-step process and create a breathtaking OFA dress with a front slit that will turn heads!
Preparation and Safety Guidelines
- Fabric (Crepe recommended, but any fabric works)
- Sewing Machine
- Pins
- Scissors
- Measuring Tape
- Iron
- Zipper
- Seam Ripper (optional)
- Fabric Marker/Chalk
- Always use sharp sewing shears and needles to prevent fabric damage and avoid injury. Handle needles with care and store them safely when not in use.
- Pay close attention to the slit placement and depth markings on your pattern. Incorrect placement can significantly affect the final look and fit of your dress.
- Before cutting into your final fabric, create a test garment from inexpensive fabric to check the fit and make any necessary adjustments to the pattern.
Step-by-Step Instructions
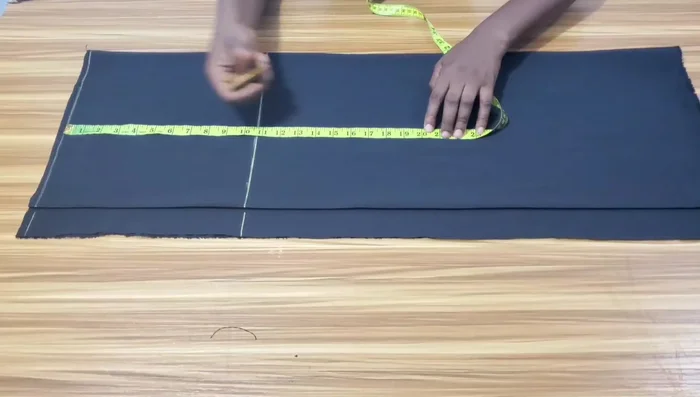
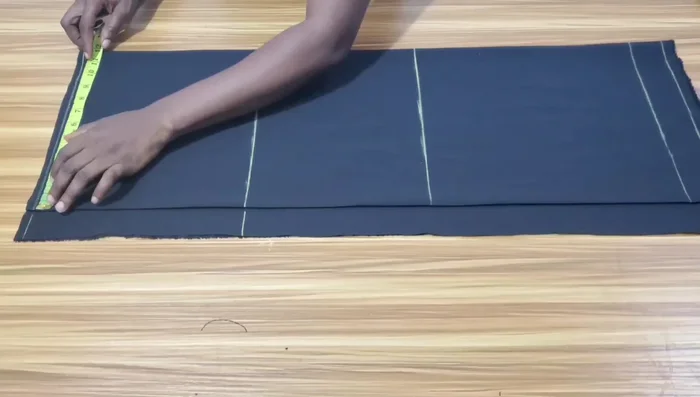
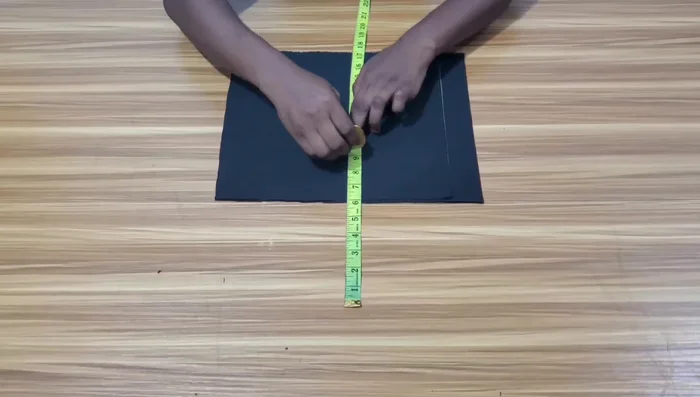
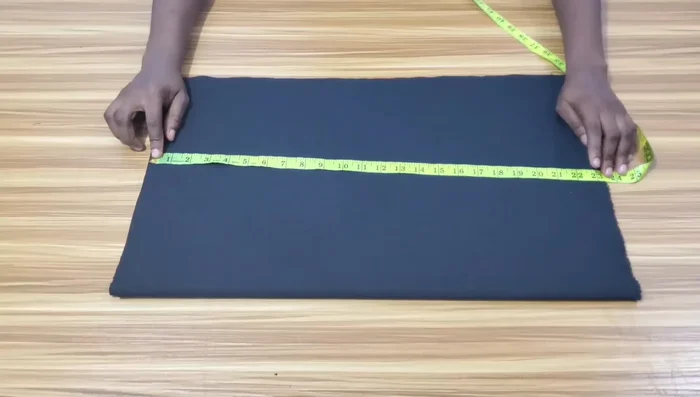
Take Measurements
- waist, hip, knee, and hemline. Add seam allowance.
- Take round measurements at the waist, hip, and knee (subtract 1 inch from hip measurement for knee). Add seam allowance. Connect the lines using a French curve.

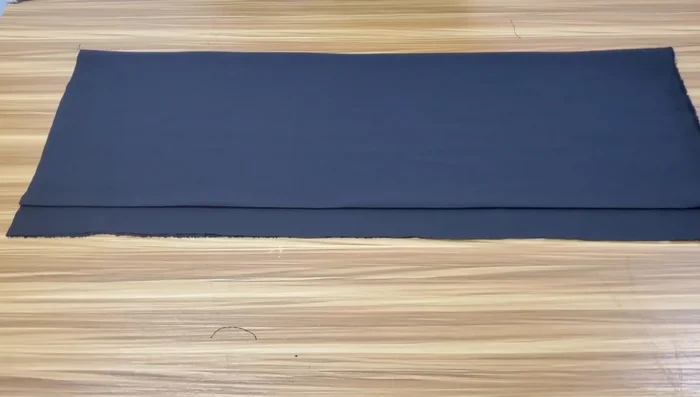
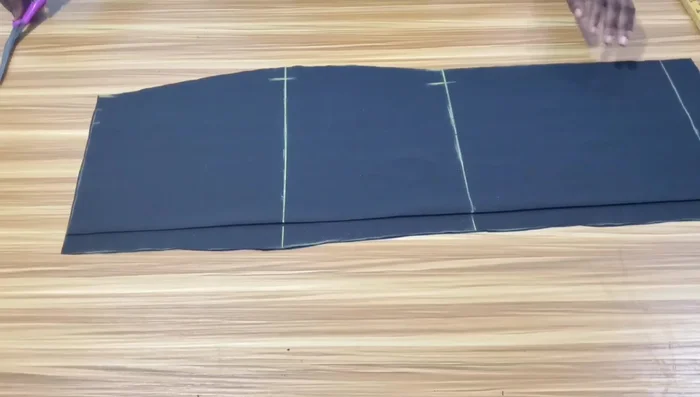
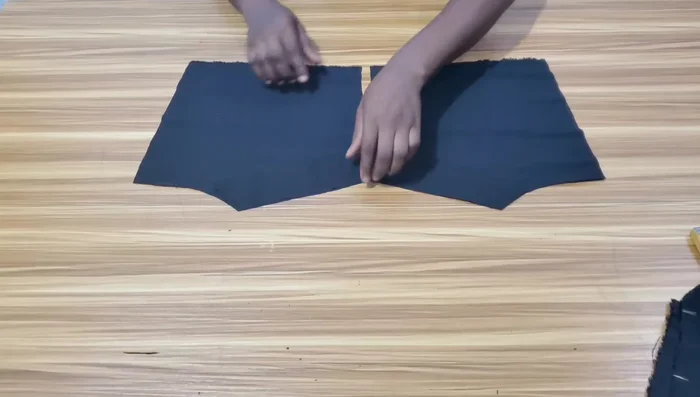
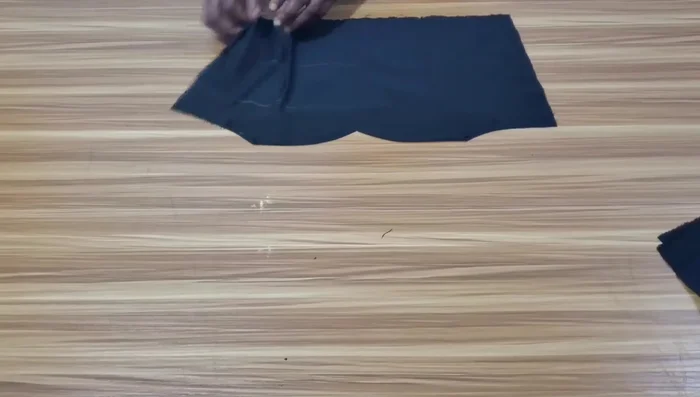
Take Measurements Cut Skirt Pieces
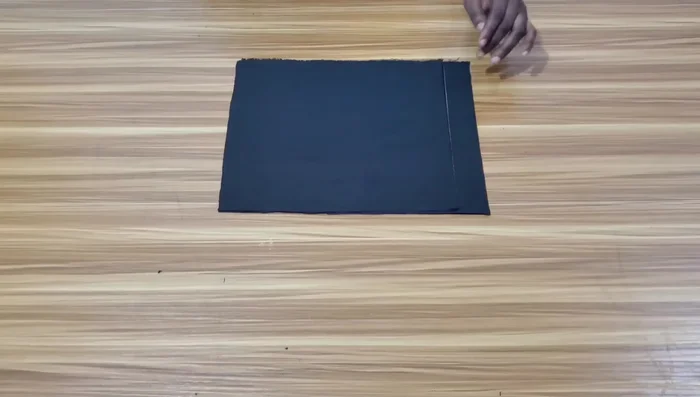
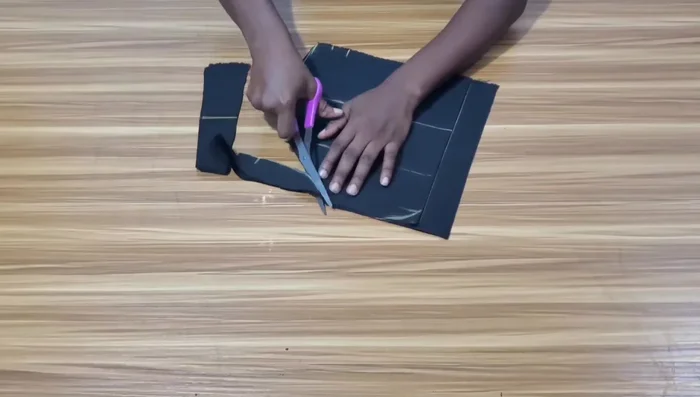
- Fold fabric into four and cut out the skirt (lower) part. Use your body measurements, adding extra inches for seam allowance. The front and back pieces will be cut separately, with additional allowance for a zipper in the back.
- Cut out the skirt pieces.
Cut Skirt Pieces Cut Bodice Pieces
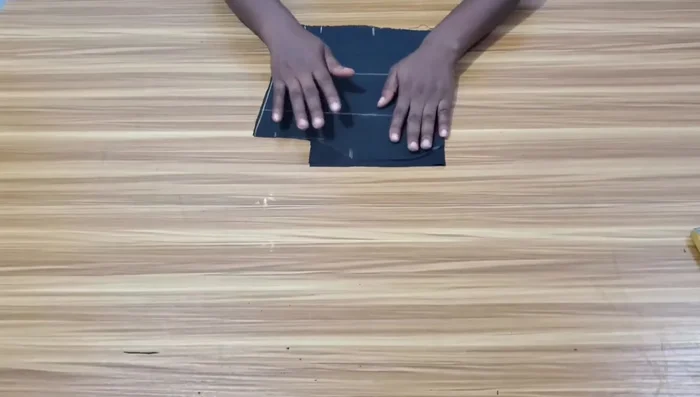
- Cut out the bodice (upper) pieces. Fold fabric into four, using bust measurements and adding extra inches for seam allowance. The front and back pieces will be cut separately.
- Cut out the bodice pieces. Create a sweetheart neckline by shaping the neckline.
Cut Bodice Pieces Shape Bodice
- Mark bust point, underbust, and neckline on the bodice. Take away some inches for the off-shoulder design.
Shape Bodice Attach Neckline Facing
- Cut out facing pieces for the neckline (front and back).
- Stitch the facing to the neckline of both bodice pieces.
Attach Neckline Facing Create Bodice Darts
- Create darts at the bust point of the bodice (front and back).
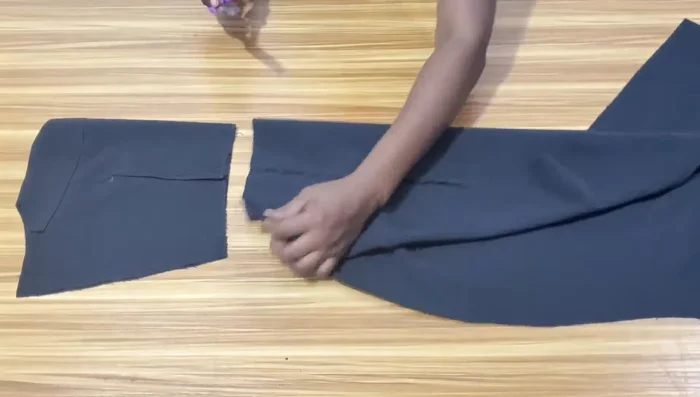
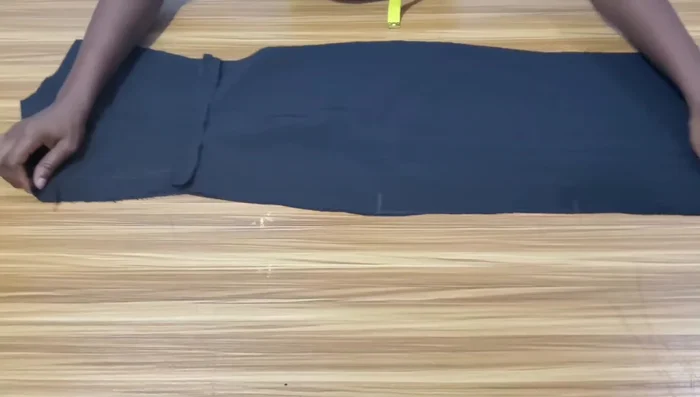
Create Bodice Darts Sew Skirt Seams
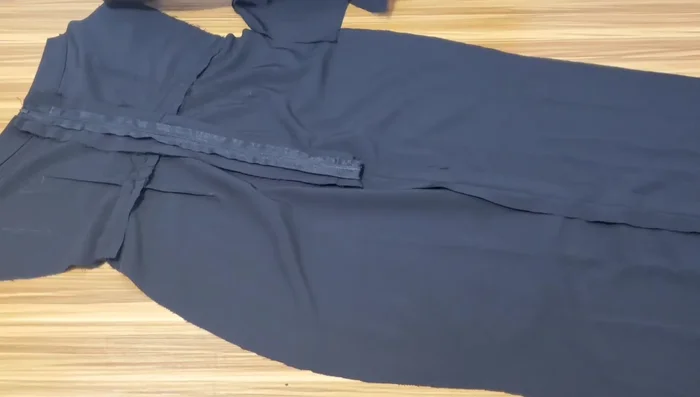
- Stitch the skirt's side seams, leaving an opening for the slit. Finish seam allowances.
Sew Skirt Seams Attach Bodice to Skirt
- Join the bodice and skirt pieces right sides together. Stitch and finish the seams.
Attach Bodice to Skirt Attach Zipper
- Mark the zipper allowance on the back bodice. Stitch the zipper into place.
Attach Zipper Sew Side Bodice Seams
- Join the front and back bodice pieces at the sides, leaving armholes open.
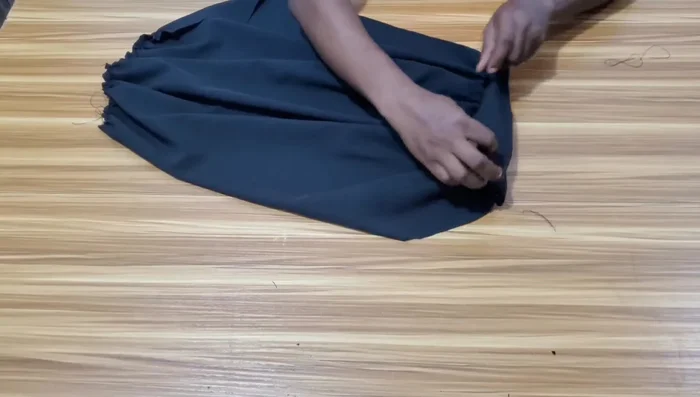
Sew Side Bodice Seams Create and Attach Sleeves
- Cut out the sleeves, adding extra length and allowance for gathers and bands. Stitch the sleeve seams and gather the sleeve cap.
- Attach the sleeve bands, and then attach the sleeves into the armholes of the dress.
Create and Attach Sleeves Hem Dress
- Hem the bottom of the dress.
Hem Dress

Read more: Raglan Sleeve Sewing Tutorial: A Step-by-Step Guide
Tips
- Use a fabric that suits your style and is easy to work with.
- Add extra seam allowance for adjustments.
- Use a French curve for smooth lines when creating the skirt pattern.
- Press seams open for a cleaner finish.
- Use pins to hold fabric together before stitching.