Transform your windows from drab to fab with stunning, no-sew curtain tiebacks! Adding a touch of elegance to your home décor doesn't require expensive purchases or advanced crafting skills. In fact, with a little creativity and readily available materials, you can create beautiful and functional tiebacks in minutes, significantly upgrading your room's aesthetic without breaking the bank. Forget complicated sewing projects and embrace the simplicity of DIY – these projects are perfect for beginners and seasoned crafters alike, offering a variety of styles to suit any interior design.
From rustic rope accents to chic fabric loops, the possibilities are endless! These easy-to-follow instructions will guide you through several unique and stylish no-sew curtain tieback options, perfect for adding a personalized touch to your living space. Ready to get started and add instant charm to your home? Let's dive into the step-by-step process for creating your own stunning, no-sew curtain tiebacks.
Preparation and Safety Guidelines
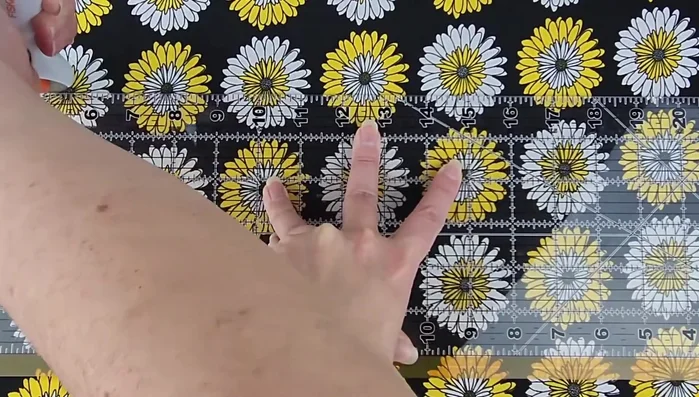
- Fabric (4 inches x 21 inches per tieback)
- Fusible fleece (slightly smaller than fabric pieces)
- Velcro
- Scissors
- Iron
- Pressing cloth
- Sewing machine
- Pins or clips
- Always ensure any hooks or clips used are securely fastened to avoid curtains falling and causing injury or damage.
- If using heavier materials like rope or thick fabric, make sure the tieback is strong enough to support the weight of your curtains. Test the strength before hanging.
- When working with fabric, sharp objects, or hot glue guns, exercise caution and consider wearing protective gear (like gloves) to prevent accidents.
Step-by-Step Instructions
Prepare Fabric Pieces
- Cut fabric and fusible fleece pieces. Cut two 4-inch by 21-inch fabric pieces and one slightly smaller fusible fleece piece for each tieback.

Prepare Fabric Pieces Fuse Fabric and Fleece
- Iron the fleece onto the wrong side of one fabric piece using medium heat and a pressing cloth.
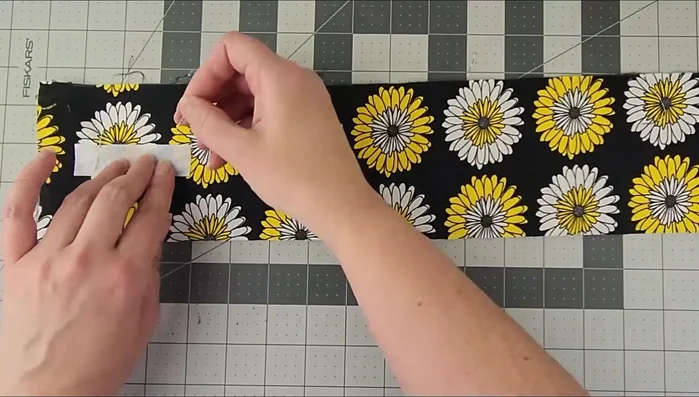
Fuse Fabric and Fleece Attach Velcro
- Sew Velcro to the fabric side of the fused piece. Pin a piece of Velcro about half an inch from each end of the fabric and sew in place.
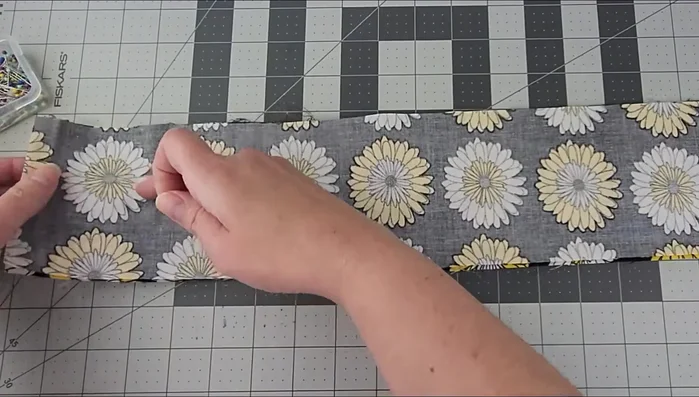
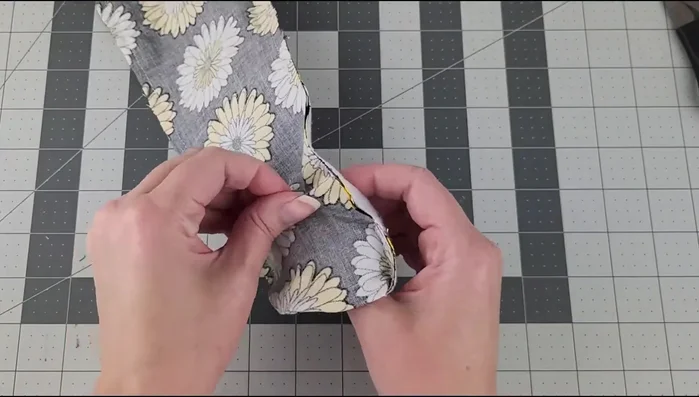
Attach Velcro Sew and Turn Tieback
- Lay the fused fabric piece on top of the other fabric piece (right sides together), pin or clip, and sew around three sides, leaving one small end open. Use a ¼-inch seam allowance and backstitch.
- Trim excess fabric from the edges, being careful not to cut the seam.
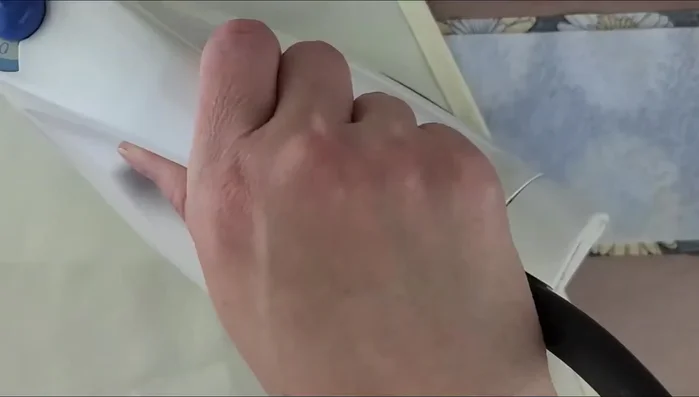
- Turn the fabric right side out through the open end. Use a pencil or similar object to push out the corners.
Sew and Turn Tieback Finish and Close Tieback
- Fold the raw edges of the open end inward by ¼ inch, pin, and iron flat.
- Sew around the entire tieback, including the open end, using the machine foot as a guide to keep the stitching even.
Repeat for Additional Tiebacks
- Repeat steps for additional tiebacks as needed.
Read more: DIY Super Cute Whale Shower Curtain: A Step-by-Step Tutorial
Tips
- Use a pressing cloth to protect your fabric when ironing the fleece.
- Backstitch at the beginning and end of your seams for extra durability.
- Use a pencil or similar object to help push out the corners when turning the fabric right side out for a neat finish.