Teacups, those charming vessels of warm beverages and cozy moments, often meet their end in dusty cupboards. But what if we told you their delightful lives could be extended, transformed into something equally charming and undeniably useful? This project will guide you through the process of upcycling discarded teacups and saucers into adorable miniature pincushions, perfect for adding a touch of vintage whimsy to your sewing space. Imagine a collection of these tiny, personalized pincushions, each one a unique testament to repurposing and creativity.
These DIY mini teacup pincushions are not only incredibly cute but also remarkably easy to make, requiring minimal supplies and skills. Forget expensive, mass-produced pincushions – you'll be crafting personalized treasures in no time! Ready to transform your old teacups into functional works of art? Let's dive into the step-by-step instructions below.
Preparation and Safety Guidelines
- Old teacups
- Old t-shirt or fiberfill
- Fabric scraps (suede, felt, etc.)
- Lace
- Pearl lace ribbon
- E6000 glue
- Fabric glue
- Needle and thread
- Always supervise children during crafting and keep sharp objects like needles and pins out of their reach.
- Use caution when handling hot glue; allow it to cool slightly before touching and work in a well-ventilated area.
- Ensure teacups are thoroughly cleaned and free of any residue before starting the project to avoid staining or damaging your fabric.
Step-by-Step Instructions
Prepare Pincushion Filling
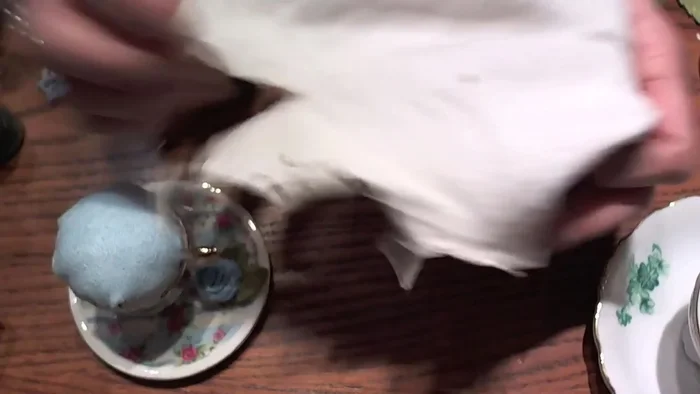
- Cut a 6-inch square from an old t-shirt. Fold it repeatedly to create a ball, aiming for an even, asymmetrical top to avoid creases.

Prepare Pincushion Filling Shape and Secure Pincushion
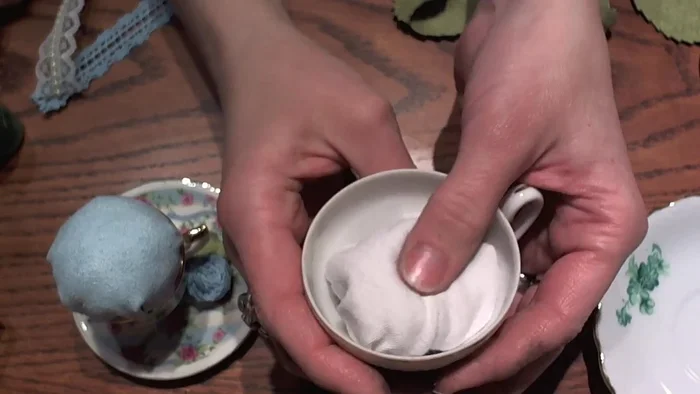
- Measure the teacup and place the fabric ball inside. If needed, adjust the size of the ball to fit snugly.
- Using a needle and thread, stitch the edges of the fabric ball together, forming a closed shape. Keep the top even and symmetrical.
Shape and Secure Pincushion Attach to Teacup
- Apply E6000 glue to the inside edge of the teacup, avoiding the very lip. Carefully press the fabric ball into the glue, ensuring an even fit.
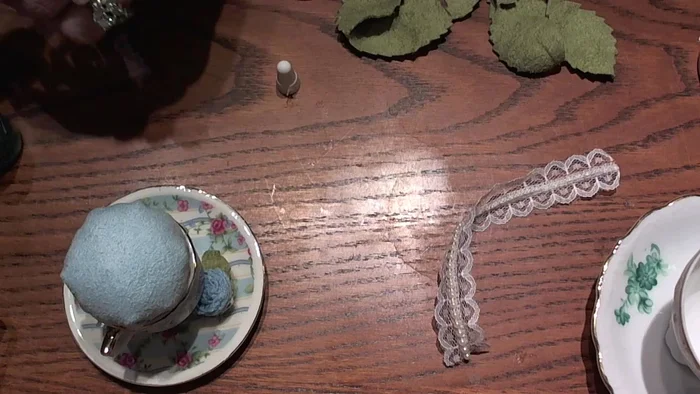
Attach to Teacup Add Decorative Trim
- Cut a piece of ribbon, glue the edges together, and apply E6000 glue to the underside of the teacup's lip. Attach the ribbon, hiding the seam near the handle.
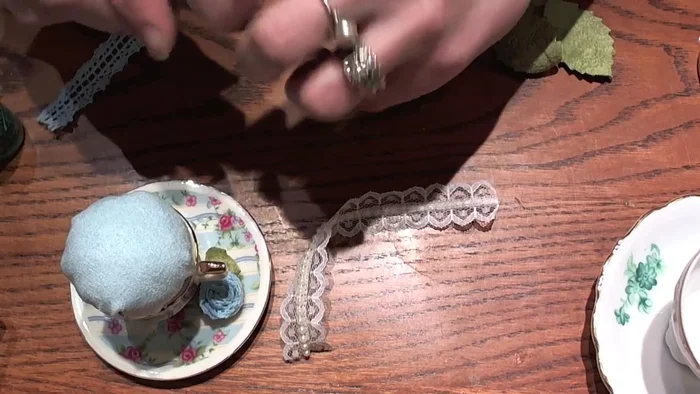
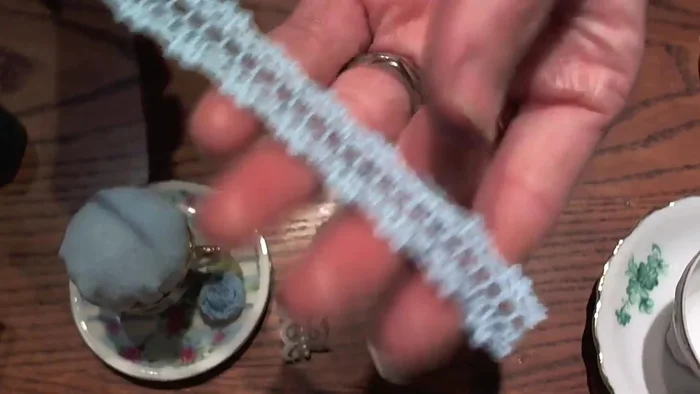
Add Decorative Trim Attach Lace Ribbon
- Apply E6000 glue along the top edge where the fabric meets the cup. Carefully press the pearl lace ribbon onto the glue, covering the seam.
Attach Lace Ribbon
Read more: DIY Fluffy Duck Plushie Tutorial: A Step-by-Step Guide
Tips
- Use various fabrics and ribbons to personalize your pincushions.
- Hide seams for a clean finish. Place seams at the back, near the handle.
- Use small amounts of glue to avoid visible residue.
- Make small lace roses by rolling and twisting lace, securing with glue.
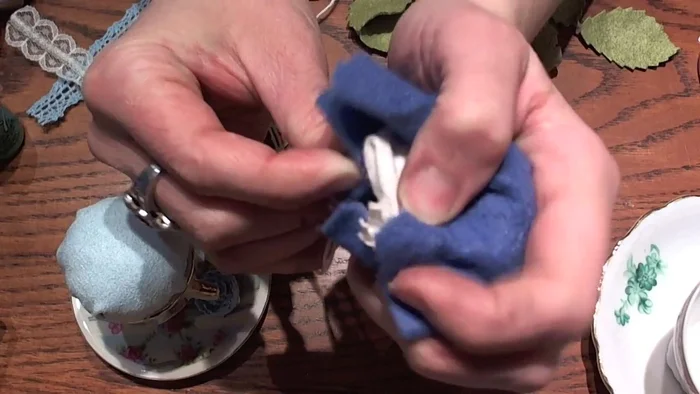
- Create tiny velvet leaves by folding, stitching, and separating a velvet leaf for added embellishment.