Mini skirts are a timeless wardrobe staple, offering a versatile and stylish option for any occasion. But finding the perfect fit, fabric, and design can sometimes feel like a never-ending search. Why settle for something off-the-rack when you can create your own unique piece? This tutorial will guide you through the process of crafting a chic mini skirt with a flattering slit, perfectly tailored to your measurements and personal style preferences. We'll use simple techniques suitable for beginners and experienced sewists alike, ensuring a professional finish without the hefty price tag.
Forget expensive boutiques and frustrating alterations – you're about to embark on a fun and rewarding DIY project! This step-by-step guide will walk you through each stage of construction, from choosing your fabric and taking precise measurements to sewing the seams and adding the stylish slit. Prepare to unleash your creativity and enjoy the satisfaction of wearing a garment you made entirely yourself.
Preparation and Safety Guidelines
- Fabric (twill)
- Measuring tape
- Scissors
- Sewing machine
- Pins
- Iron (optional)
- Always use sharp scissors and pins to avoid accidental cuts or pricks. Handle fabric shears with care and keep them out of reach of children.
- Measure your waist and hip accurately before cutting the fabric to ensure a proper fit. Recheck measurements multiple times to prevent mistakes.
- Be cautious when using a sewing machine. Keep fingers clear of the needle and moving parts. If unfamiliar with sewing machine operation, seek assistance from an experienced sewer.
Step-by-Step Instructions
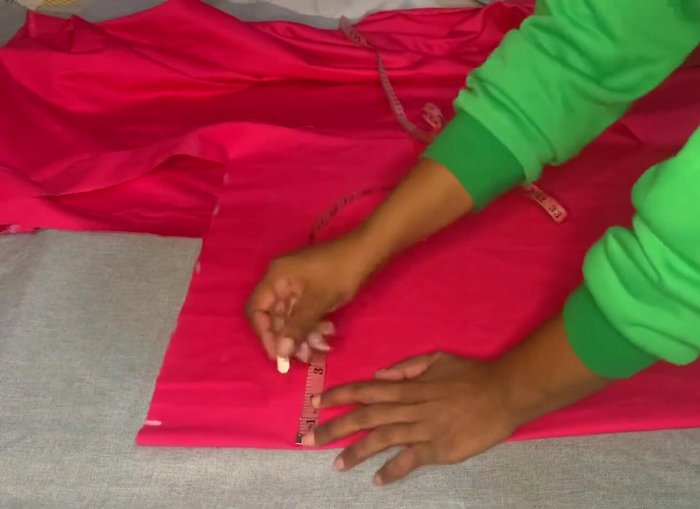
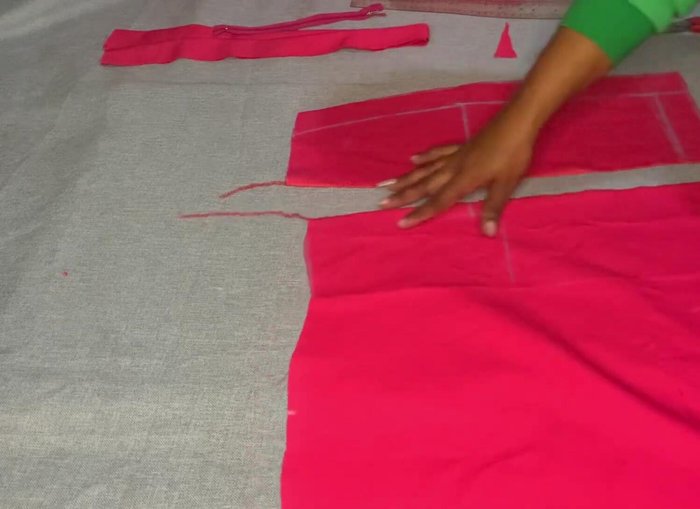
Create the Skirt Pattern
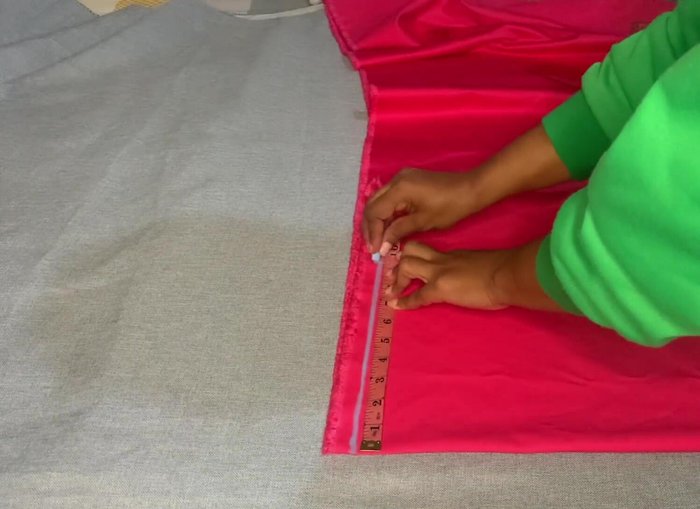
- Mark the straight line across for the waistline and mark waist and hip measurements. Add 2 inches upwards for the waist belt.
- Mark the sketch length and draw a line across, joining all points. Add 1 inch for sewing allowance.
- Mark 2 inches for the hemline. Add 1 inch to the waist measurement.
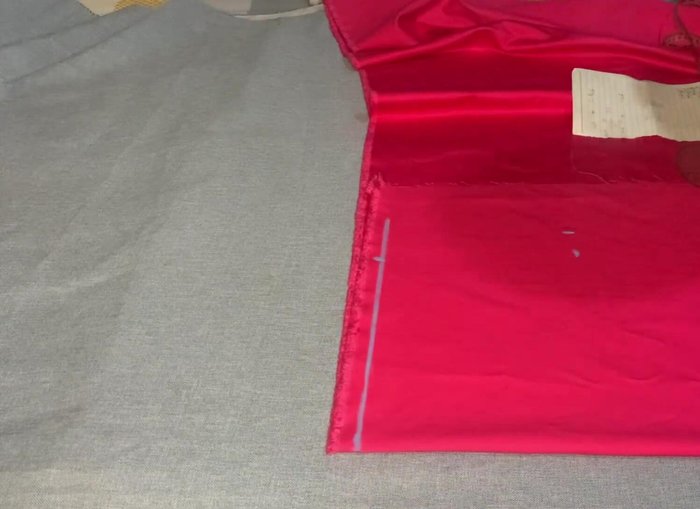
- Find the center for the waist and come down 4 inches for the dart length. Open the darts by 0.5 inches.

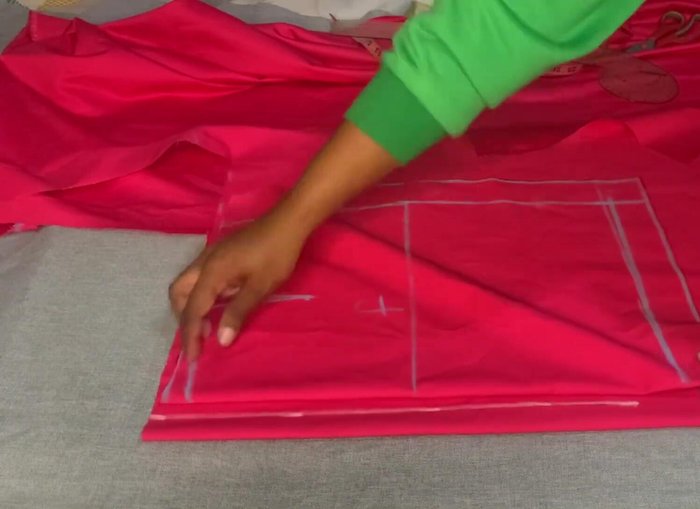
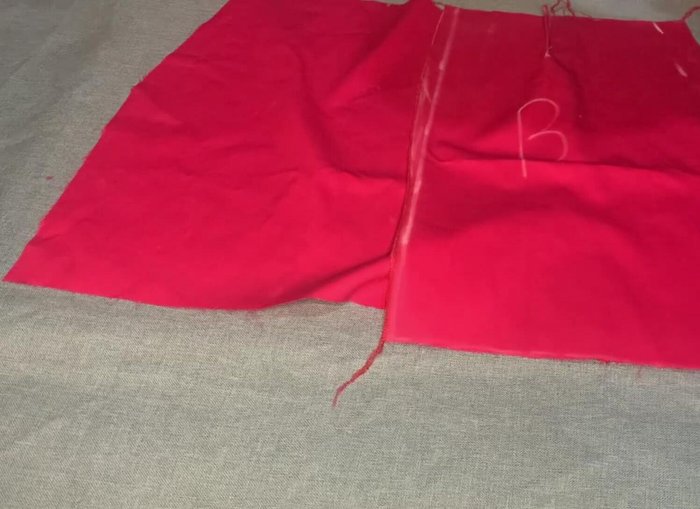
Create the Skirt Pattern - Mark 1 inch for zipper allowance on the waist measurement.
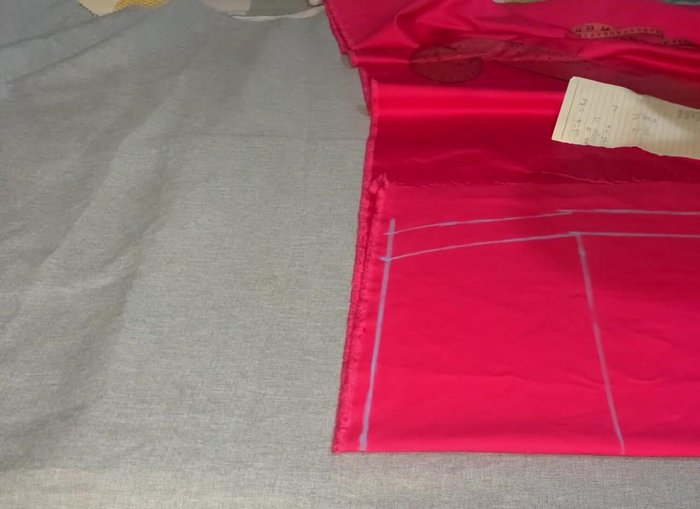
- Use the front pattern to trace the back pattern. From the hip line to the hemline, mark 0.5 inches for sewing allowance. From the waistline to the hip line, lift 1 inch for the zipper.
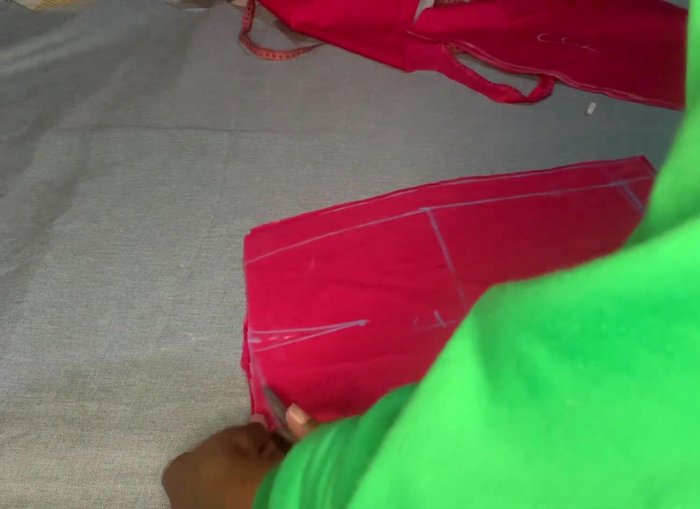
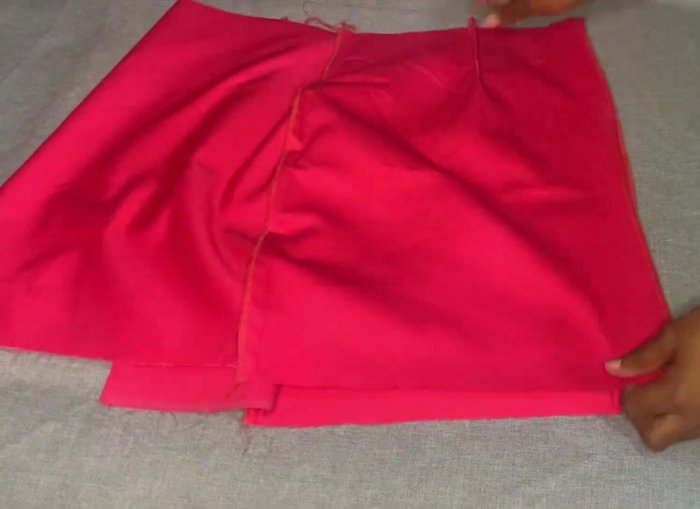
Create the Skirt Pattern Add the Slit
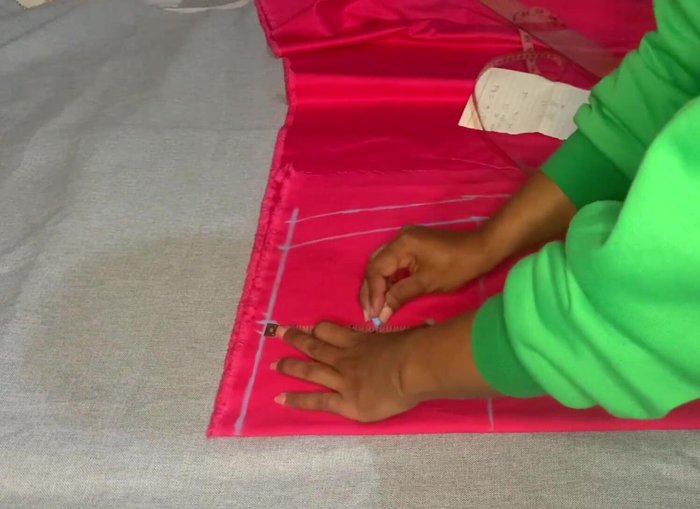
- For the slit, work through the darts. Come down 0.5 inch on the unfolded parts for a slight slide. Draw a straight line down to the hemline from the waistline to create the slit.
- Mark the desired slit length and pin everything. Create darts on the back pattern (don't forget this step!).
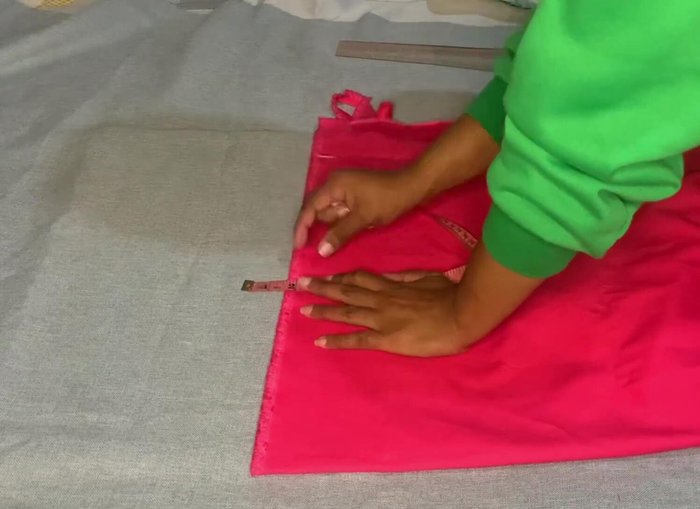
Add the Slit Prepare the Waistband
- For the waist belt, mark 4 inches (remember to add 1 inch for sewing allowance).
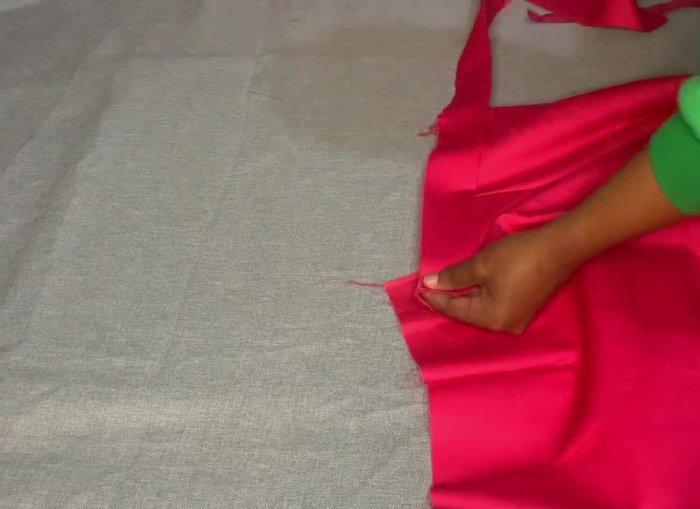
Prepare the Waistband Assemble the Skirt
- Pin and sew the waist belt. Overlock the edges for a clean finish.
- Place the back piece on top of the front and mark 1 inch sewing allowance. Repeat for both back pieces.
- Join all pieces together. Mark zipper and join the back. Leave 2 inches on the waistline for the waist belt. Mark 0.5 inch on the back and sew.
- Attach the waist belt (iron if necessary). Sew the zipper and hem the bottom of the skirt.
Assemble the Skirt

Read more: Raglan Sleeve Sewing Tutorial: A Step-by-Step Guide
Tips
- Add sewing allowance to all seams.
- Don't forget to add darts to the back pattern.
- Ironing the waist belt is optional, depending on fabric type.