Dive into a world of fun and creativity with this exciting DIY project! Ever dreamed of creating your own Mickey Mouse Clubhouse submarine, perfect for bath time adventures or a playful paddling pool escapade? This adorable floating toy is surprisingly simple to make, requiring only readily available materials and a touch of imagination. Imagine the joy on your child's face as they pilot their very own Mickey-themed vessel, embarking on underwater expeditions filled with giggles and splashes. This project is not only a fantastic way to bond with your little one but also a brilliant opportunity to foster their creativity and problem-solving skills.
This step-by-step guide will walk you through each stage of constructing this charming submarine, from assembling the basic structure to adding those iconic Mickey Mouse details. Get ready to unleash your inner craftsperson and create a memorable toy that's sure to become a cherished bath time companion. Let’s get started on building your very own floating Mickey Mouse Clubhouse submarine!
Preparation and Safety Guidelines
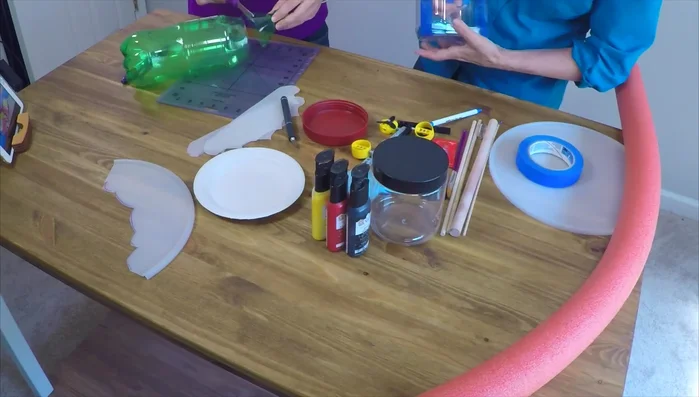
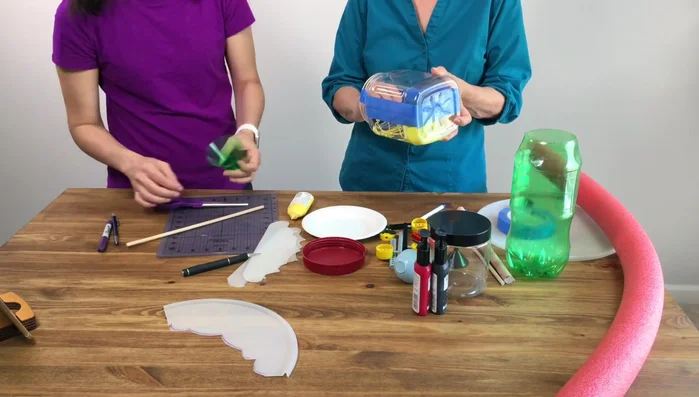
- Two plastic containers with lids
- 2-liter bottle
- Pool noodle
- Wood dowels
- Paint
- Painter's tape
- Hot glue (or E6000 for a stronger bond)
- Mickey charm
- Sugru (moldable waterproof glue)
- Puppy pads
- Adult supervision is required at all times while children are playing with the submarine. Never leave children unattended near water.
- Ensure all materials used are non-toxic and safe for children. Test any paints or adhesives in an inconspicuous area first.
- Do not allow the submarine to be used in deep water or strong currents. Only use in calm, shallow water under direct supervision.
Step-by-Step Instructions
Prepare the Submarine Body
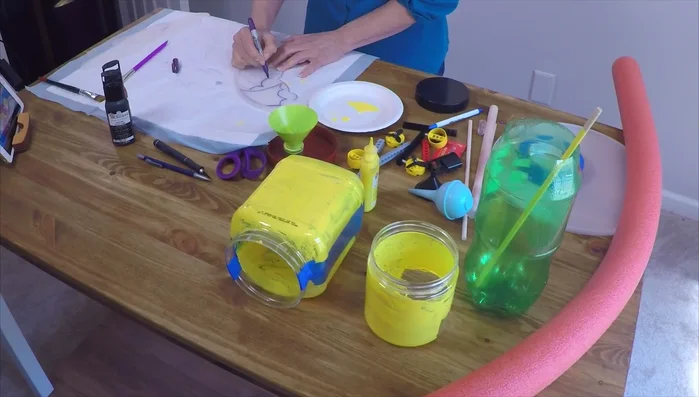
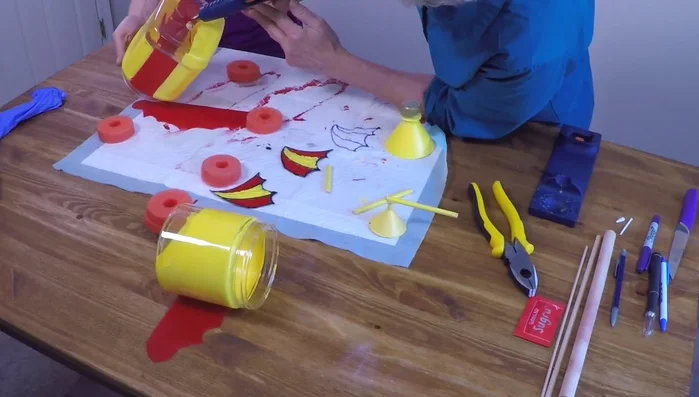
- Prepare the larger container for painting. Use painter's tape to create stripes (if desired).
- Cut the top off the 2-liter bottle to create a cone for the sub's top.
- Use waterproof paint if painting the exterior.

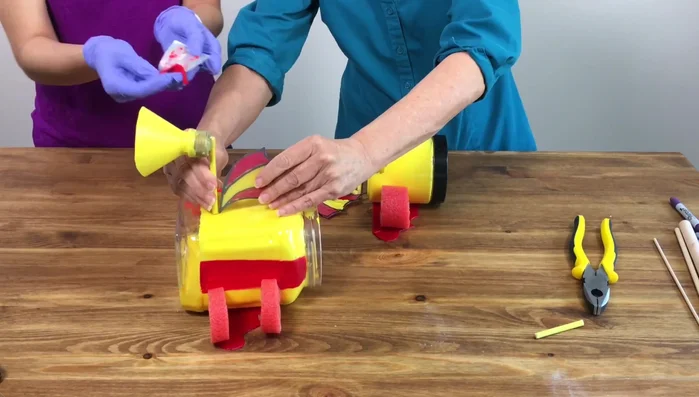
Prepare the Submarine Body Prepare the Submarine Fins and Decorations
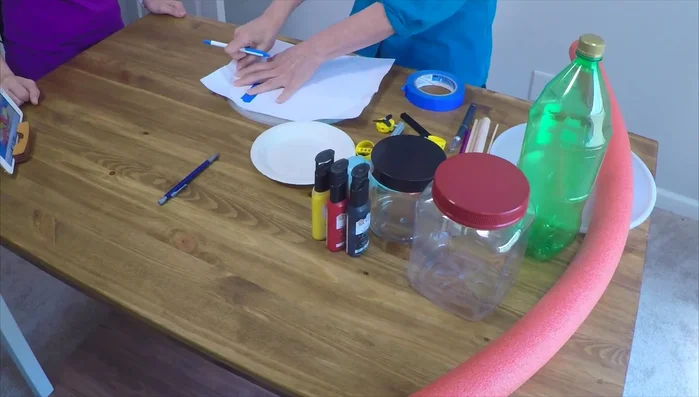
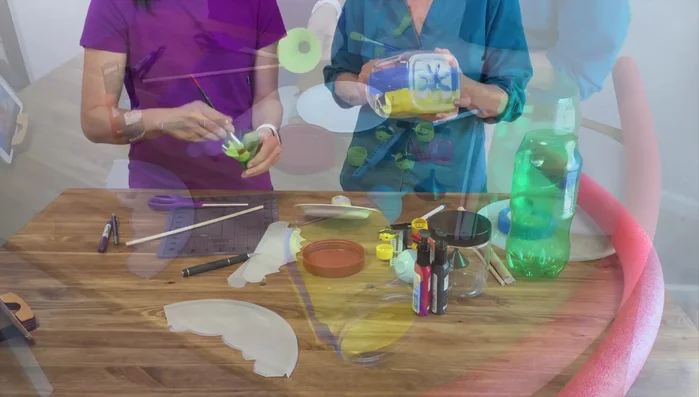
- Create a template from a plastic lid and cut out two identical sub fins.
- Trace and cut out the fins based on the Mickey Mouse Clubhouse submarine design. Paint the fins.
- Attach the Mickey charm to the front of the sub.
Prepare the Submarine Fins and Decorations Prepare the Submarine Wheels
- Cut slices from a pool noodle to create wheels.
Prepare the Submarine Wheels Prepare the Submarine Top
- Paint the smaller container and the dowel that will connect the cone to the roof.
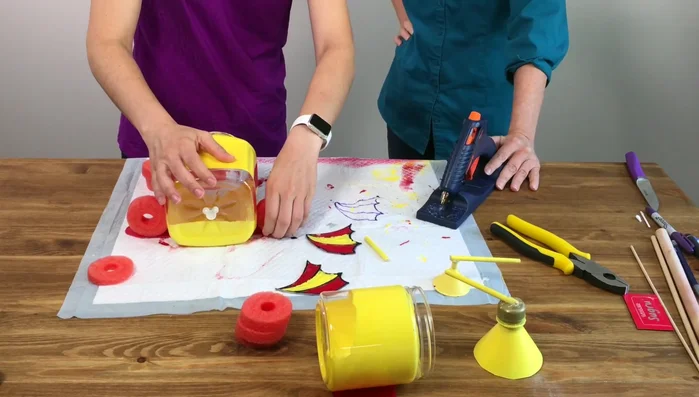
Prepare the Submarine Top Assemble the Submarine
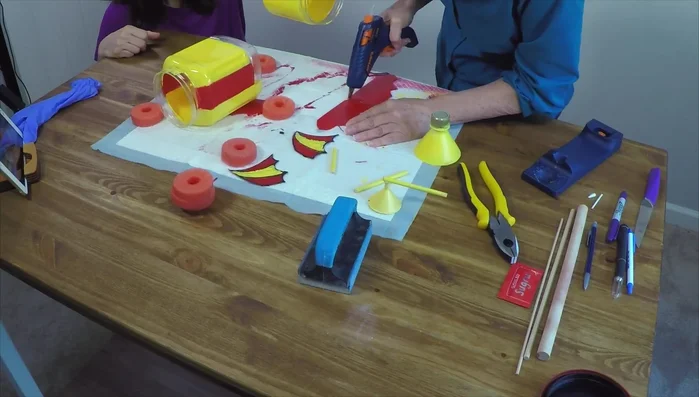
- Glue the fins to the containers. Use hot glue for quick adhesion, or E6000 for a more permanent and waterproof bond.
- Glue the pool noodle wheels in place.
- Use Sugru (moldable waterproof glue) to attach the remaining embellishments. Allow 24 hours to cure.
Assemble the Submarine


Read more: DIY Fluffy Duck Plushie Tutorial: A Step-by-Step Guide
Tips
- Use waterproof paint to ensure longevity, especially for exterior painting. If using non-waterproof paint, paint the inside of the containers.
- Use puppy pads as a painting surface to prevent paint from bleeding through and keep your workspace clean.
- For a stronger, more waterproof bond, use E6000 glue instead of hot glue.
- Sugru is a great option for attaching small details because it is moldable and waterproof.