Tired of overpriced, mass-produced messenger bags that lack personality and durability? Yearning for a stylish and functional laptop bag that perfectly reflects your own unique style? Then look no further! This comprehensive guide will walk you through the rewarding process of creating your own bespoke messenger bag, tailored to your exact specifications and crafted with materials you choose yourself. Forget generic designs and flimsy fabrics; we'll empower you to design and sew a messenger bag that's both a practical everyday carry and a testament to your DIY prowess.
This guide covers everything from choosing the right fabrics and hardware to mastering essential sewing techniques, ensuring a finished product you'll be proud to carry. We'll break down the process into easily manageable steps, complete with detailed instructions and helpful illustrations. Ready to transform your sewing skills and create the perfect laptop bag? Let's dive into the step-by-step process now!
Preparation and Safety Guidelines
- Cutting mat with grid
- 2 yards of fusible interfacing
- 3/4 yard lining fabric
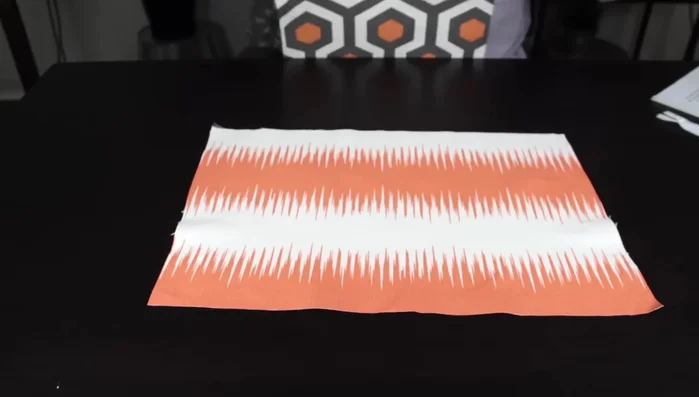
- 3/4 yard main fabric
- 7-9 inch zipper
- Two 1 1/4 inch D-rings
- Fabric ruler
- Pins
- Pair of scissors
- Yard stick
- Rotary cutter
- Fabric marker
- Stitch ripper
- Iron
- Always use sharp, well-maintained sewing machine needles and shears to prevent fabric damage and injury.
- Ensure your chosen fabric is strong enough to support the weight of your laptop and other items. Consider using interfacing for added structure and durability.
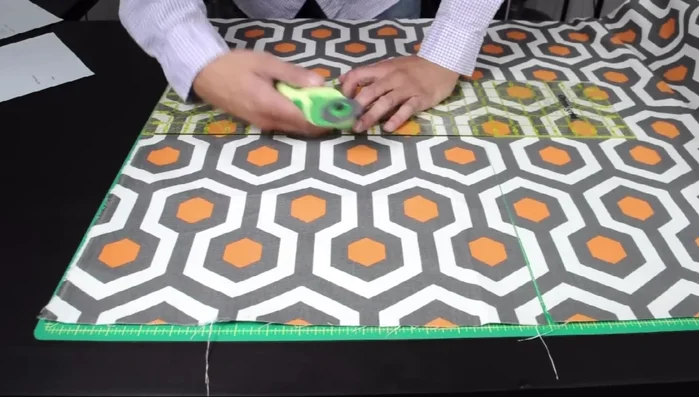
- Before cutting your fabric, double-check all measurements and patterns to avoid mistakes. Precise cutting is vital for a well-fitting bag.
Step-by-Step Instructions
Cut Fabric Pieces
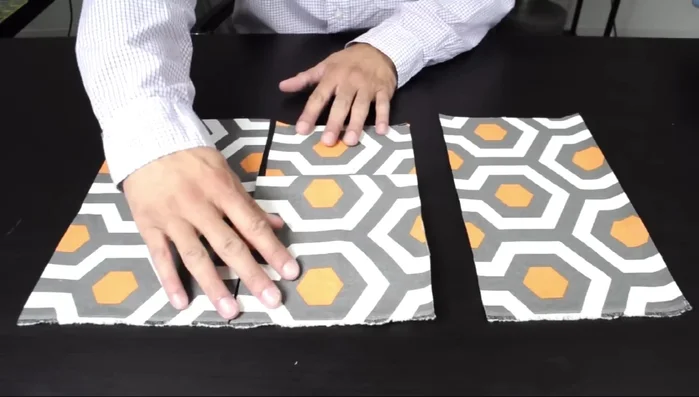
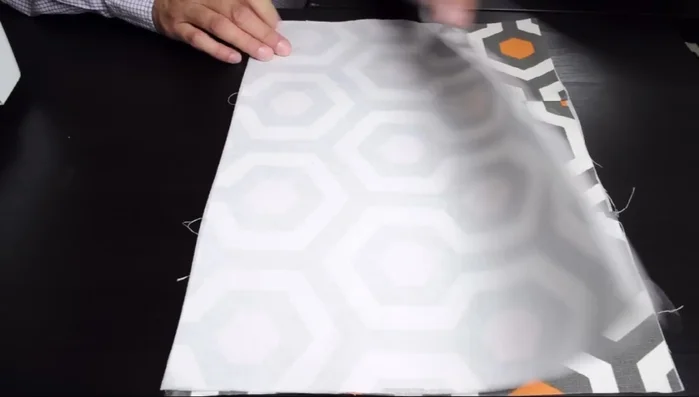
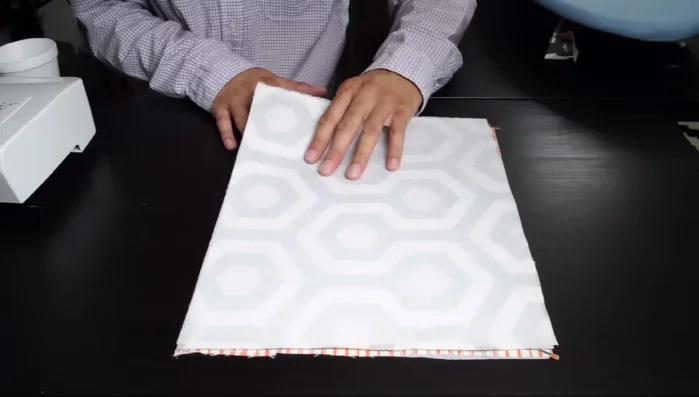
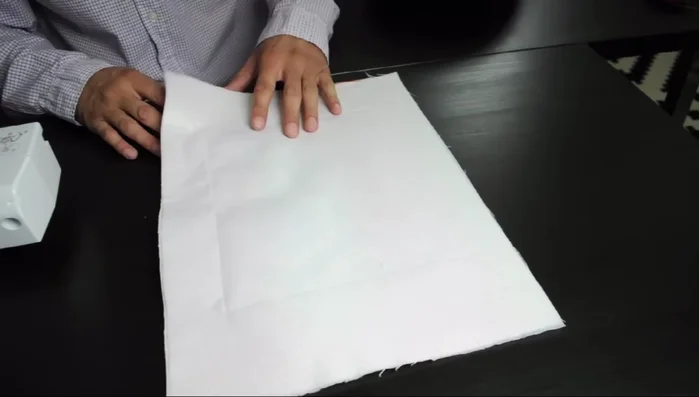
- Cut out all fabric pieces using pre-made templates.

Cut Fabric Pieces Assemble Front Panel
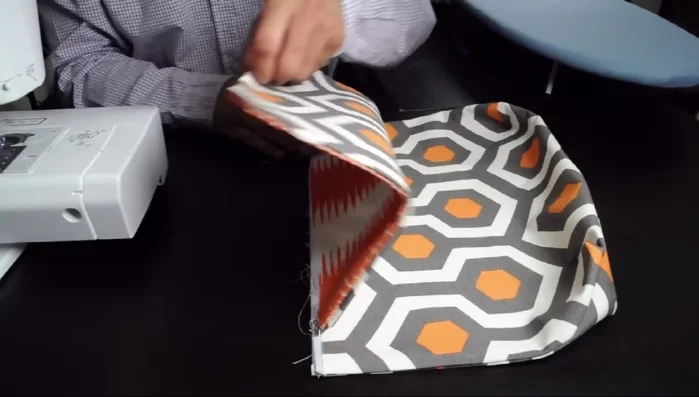
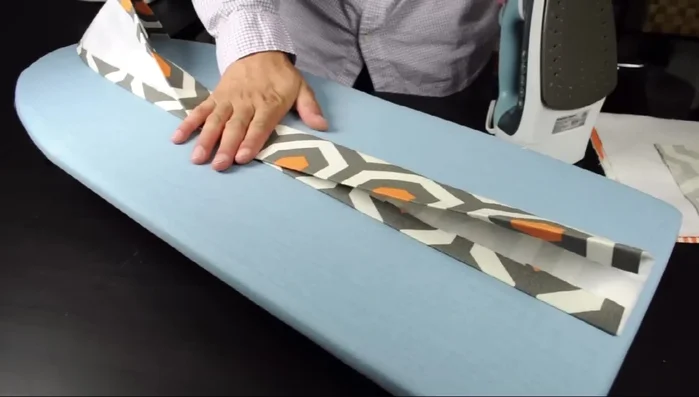
- Fold the 6 1/2 x 21 inch piece into a trifold to form a Z shape. Sew one side, then the other. Fuse interfacing to the back.
Assemble Front Panel Construct Inside Pockets
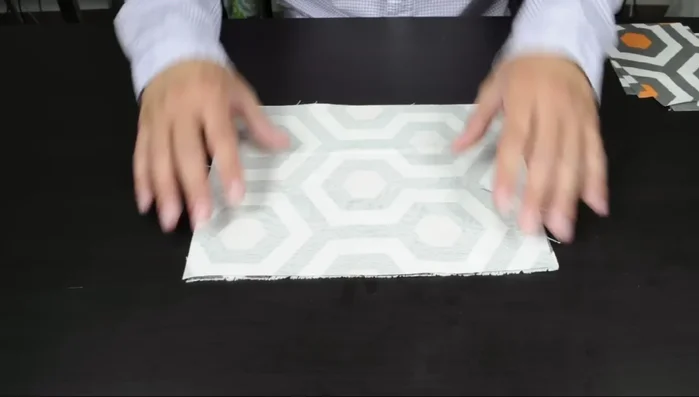
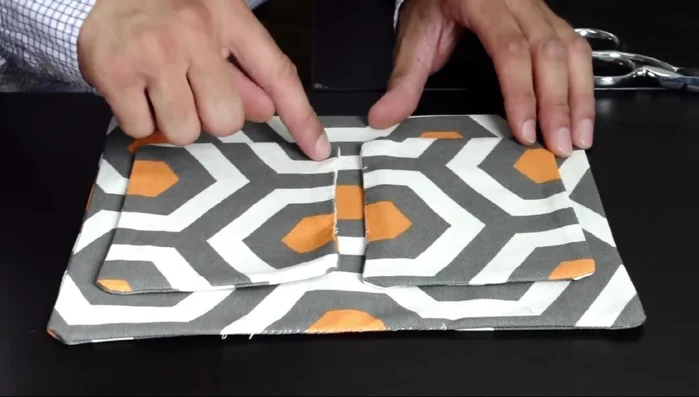
- Sew the lining fabric pieces (two 11 x 8 1/2 inch pieces and four 5 x 6 inch pieces) into pocket shapes, leaving openings to turn right side out.
- Attach smaller inside pockets to the inside front pocket.
- Sew the 11 x 8 1/2 inch piece to the back inside body piece.
Construct Inside Pockets Construct Zipper Pocket
- Sew the main fabric zipper pocket piece to the lining fabric inside body piece, creating a Y-shaped opening to turn right side out. Attach zipper.
Construct Zipper Pocket Sew Outer Bag Sides
- Sew the side pieces of the outer bag together, leaving the top open. Create a corner pleat at the bottom.
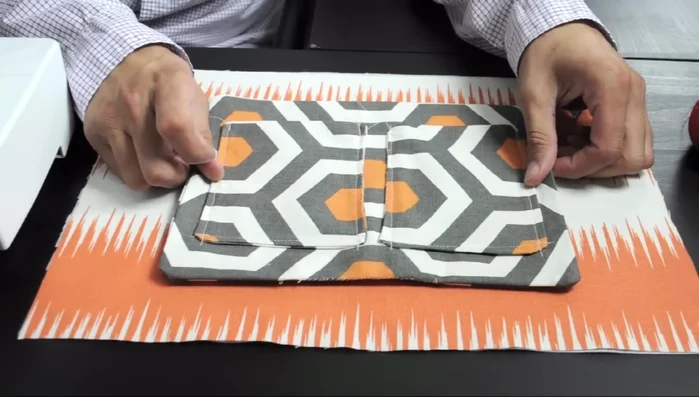
Sew Outer Bag Sides Construct Bag Flap
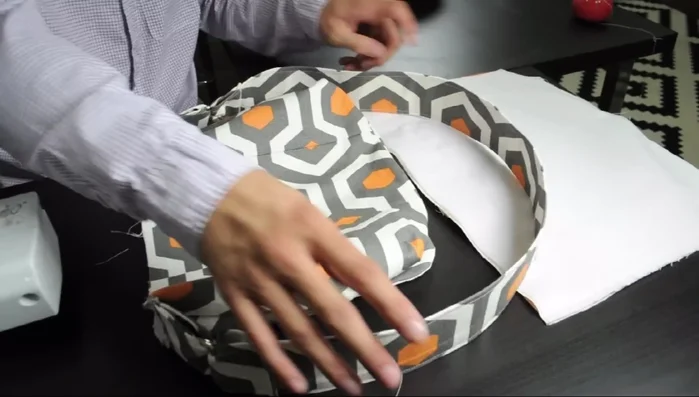
- Sew the main and lining fabric pieces together, creating rounded corners and a V-shape cut at the bottom corners. Turn right side out and iron.
Construct Bag Flap Attach Bag Flap
- Attach the flap to the bag using zigzag stitch; create bar tacks for support.
Attach Bag Flap Construct Bag Strap
- Sew together strap pieces and strap tabs. Attach D-rings and fold strap into D-rings. Attach strap tabs to the top of the bag using zigzag stitch and bar tacks.
Construct Bag Strap Sew Inside Lining
- Sew the inside body lining together. Leave a 4-inch opening in the middle to turn right side out.
Sew Inside Lining Attach Lining to Outer Bag
- Insert the outer bag into the lining, aligning edges and pinning. Sew together around the opening, removing pins as you go. Turn right side out.
Attach Lining to Outer Bag Finish Bag
- Close the opening using an invisible stitch. Iron and top-stitch the top of the bag and flap.
Finish Bag

Read more: DIY Quilted Makeup Pouch Tutorial: The Easiest and Fastest Method
Tips
- Using cardboard templates will speed up the cutting process.
- Use an iron to fuse the interfacing to the fabric; the soft side should face upwards.
- Trim corners and cut V-shapes to help flatten out fabric pieces and create rounded edges.
- Reversing stitches on corners forms bar tacks for extra support.
- Sew slowly when attaching the zipper to avoid mistakes.