Expecting a little one and want a comfortable, stylish maternity dress without the hefty price tag? Then you're in the right place! This tutorial guides you through creating your own gorgeous maternity maxi dress using a simple yet effective slashing technique. Forget complicated patterns and frustrating fitting – this project is designed for beginner sewers and requires minimal supplies, making it the perfect weekend crafting project. You’ll be amazed at how quickly and easily you can transform fabric into a beautiful, flattering garment that will see you through pregnancy and beyond.
The slashing technique allows for incredible flexibility and a perfectly customized fit, accommodating your growing bump with ease. We'll walk you through every step, from choosing your fabric and taking accurate measurements to the final touches of hemming and embellishment. Ready to get started and create your dream maternity maxi dress? Let's dive into the step-by-step sewing process!
Preparation and Safety Guidelines
- Fabric (5.5 yards off-white), Sewing Machine, Pins, Scissors, Tape, Ruler, Pencil, Marker, Bias Tape, Size 10 Sewing Needle, Thread
- Always use sharp, well-maintained sewing machine needles and sharp fabric shears to prevent injury and ensure clean cuts. Dull tools increase the risk of accidents and can lead to uneven stitching.
- Before cutting into your final fabric, create a muslin mock-up to test the pattern and fit. This allows for adjustments before committing to your chosen fabric and prevents potential waste.
- When working with fabric scissors, always point the sharp blades away from yourself and others. Exercise caution when using pins and needles to avoid accidental pricks.
Step-by-Step Instructions
Pattern Drafting and Modification
- Draft the body pattern (front and back blocks). A link to a separate tutorial for drafting is provided in the video description.
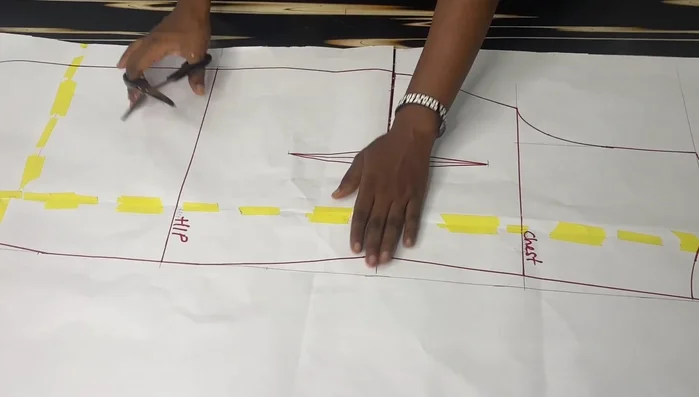
- Separate front and back blocks. Cut through the half-length line.
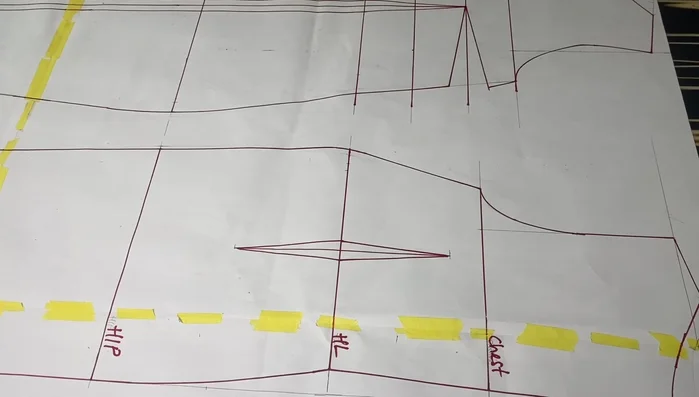
- Cut and crease the dart (DT) on the bust area, transferring it to the lower part of the blouse. Add 1.5 inches sewing allowance to the side, armhole, neckline, and shoulder.
- Crease the 1-inch dart on the front block to eliminate the dart on the lower part. Tape it down to secure the crease.

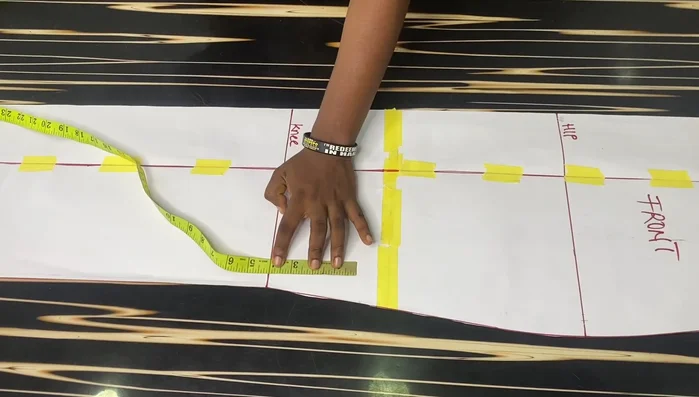
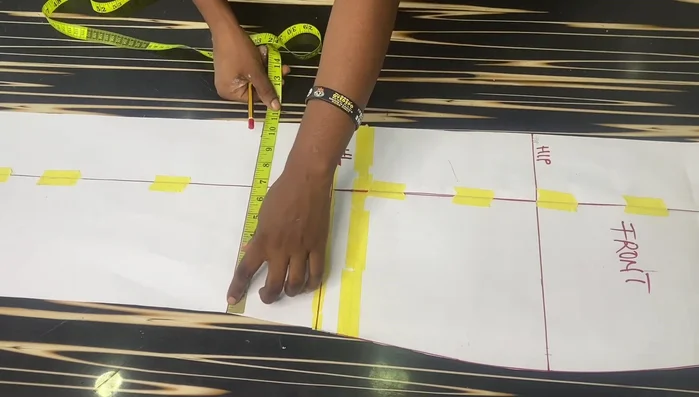
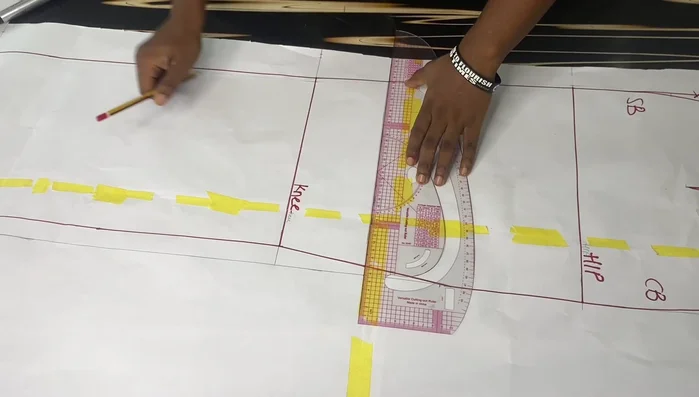
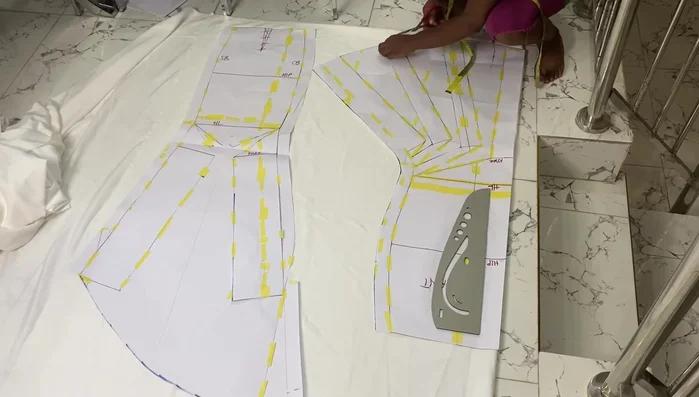
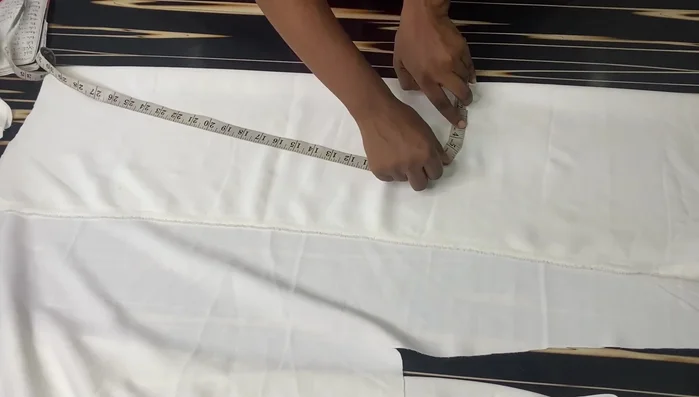
Pattern Drafting and Modification - Mark the half-length (4 inches up from the knee). Draw a straight line. Divide the knee line into four (or randomly select points, e.g., 2.5 inches apart). Divide the area between the knee and hem into three equal parts. Connect these points to create a curve.
- Divide the hemline using the same method as the knee line (2.5 inches apart). Mark these points.
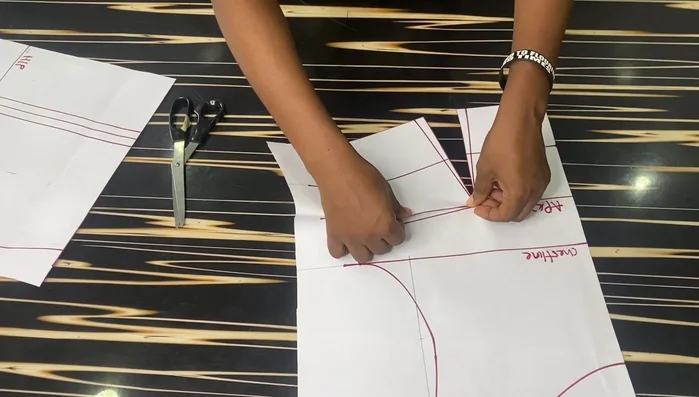
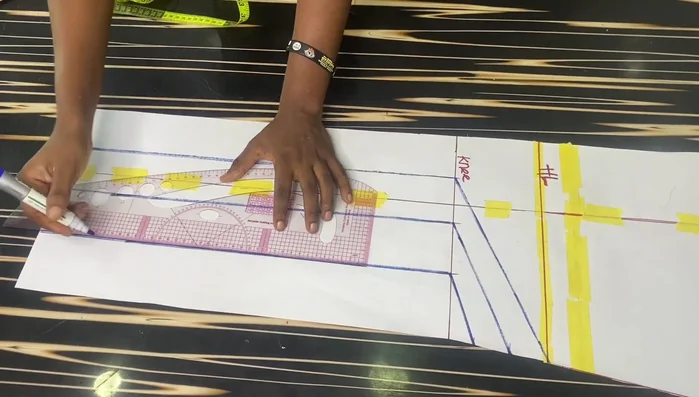
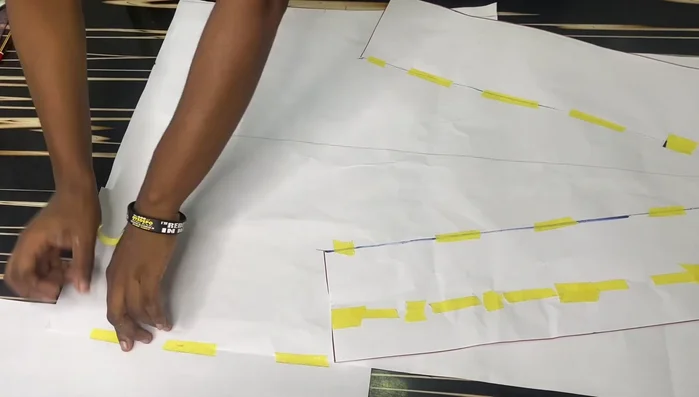
- Cut through the marked lines on the pattern, ensuring not to cut through the entire pattern piece. Add a new piece of paper underneath and tape it down. Spread the slashed pattern, adding 6 inches to the lower part of the pattern for each slash.
- Repeat step 7 for all slashes. Connect the points to create a rounded curve on the lower part of the pattern. Add a 1.5-inch sewing allowance.
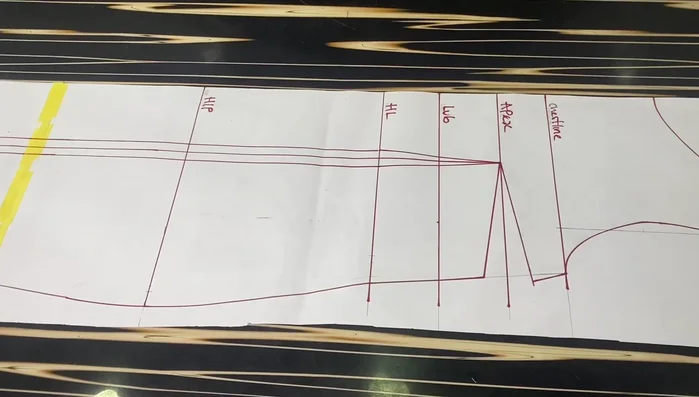
Pattern Drafting and Modification - Cut through the half-length line and add 1.5-inch sewing allowance (zipper side, neckline, shoulder). Eliminate the dart from the side back of the pattern. Mark center back and side back.
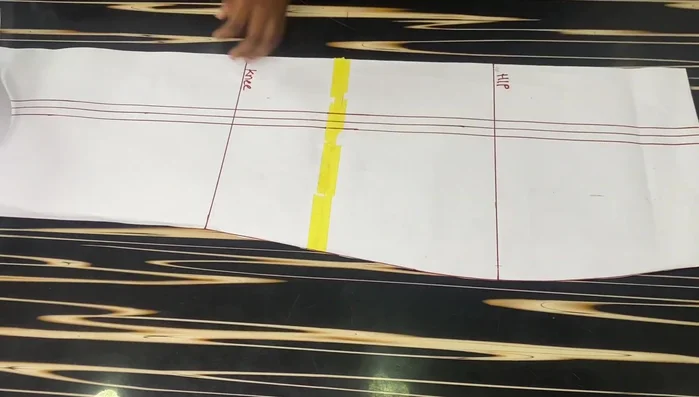
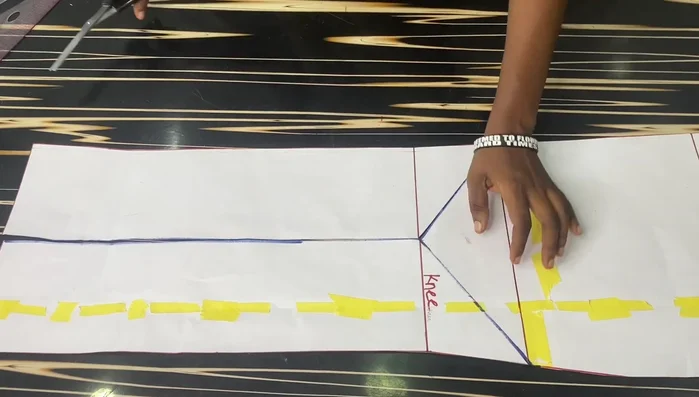
- Mark half-length (4 inches above the knee). Divide the knee line into two and the hemline into two. Connect these points to slash the pattern.
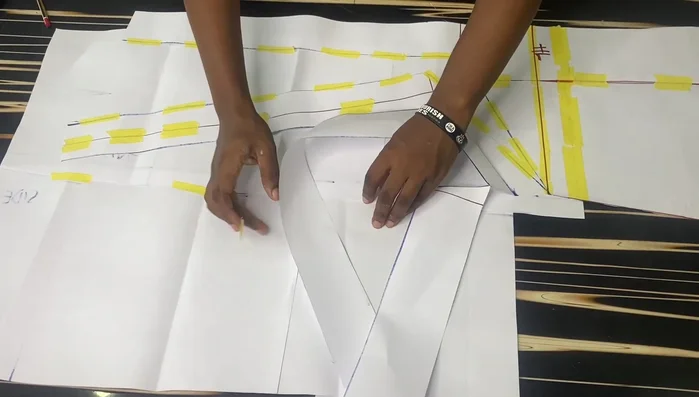
- Cut through the marked lines. Place scrap paper underneath and tape it down. Add 6 inches to each side, creating the spread, and tape it down.
- Extend the back pattern by 12 inches at the center back to create a longer back than front. Connect the points smoothly for a curved tail effect.
Pattern Drafting and Modification Fabric Cutting
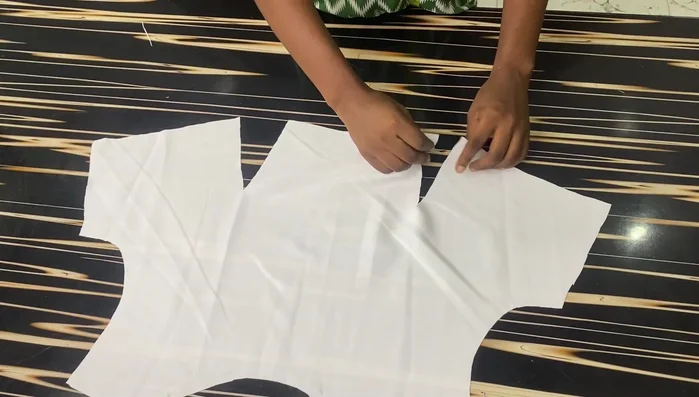
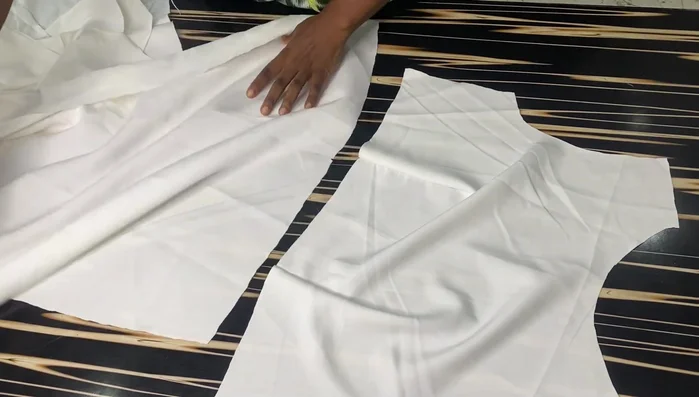
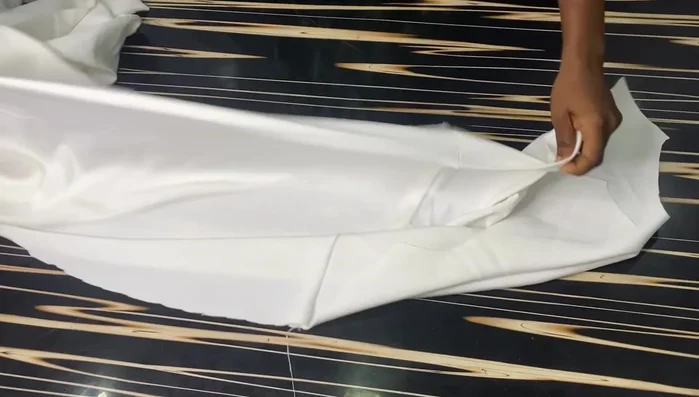
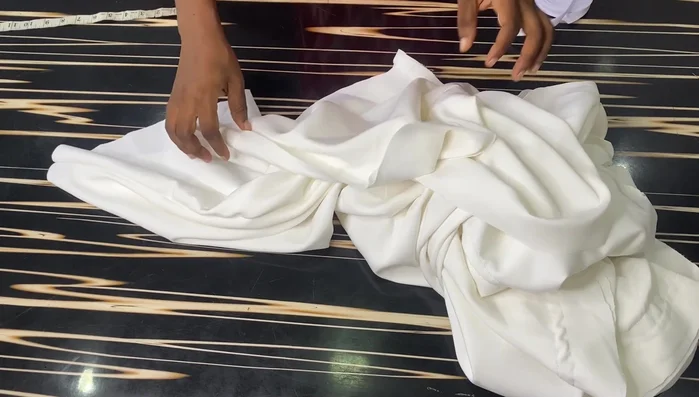
- Cut out fabric pieces based on the modified patterns. Only add a 0.5-inch allowance to the waistline for joining the upper and lower parts. Label all pieces clearly.
Fabric Cutting Sewing the Upper Body
- Sew the darts on the upper body (front and back) using a 0.5-inch seam allowance.
- Sew the shoulders using a 0.5-inch seam allowance.
Sewing the Upper Body Joining Upper and Lower Body
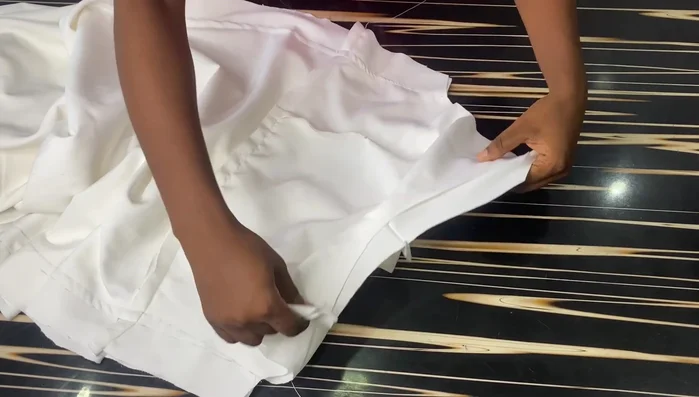
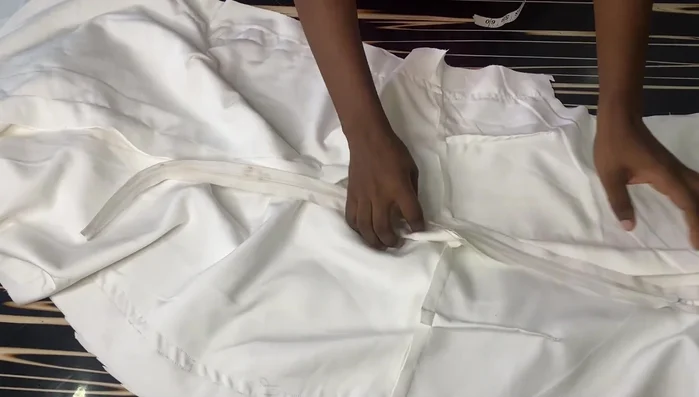
- Join the upper and lower parts of the front and back pieces using a 0.5-inch seam allowance.
Joining Upper and Lower Body Closing the Back and Finishing
- Close up the back using a 1.5-inch seam allowance.
- Finish the neckline using bias tape, and hand-stitch the inner seam to conceal the raw edges.
- Hem the lower part of the dress, using a hand-stitching technique on the inside to keep the seams invisible from the outside.
- Attach the zipper.
Closing the Back and Finishing Adding Sleeves
- Cut and attach sleeves.
Adding Sleeves

Read more: Raglan Sleeve Sewing Tutorial: A Step-by-Step Guide
Tips
- Label all your pattern pieces clearly to avoid confusion.
- Use a hand-stitching technique to finish the neckline and hem for a clean, professional finish.