Back pain? Aching lumbar region got you down? Then you're in the right place! This easy-to-follow tutorial will guide you through creating your very own custom lumbar support pillow, complete with a removable, washable cover and convenient handles for easy portability. Forget expensive, inflexible store-bought options; you'll be surprised at how simple it is to craft a supportive and comfortable pillow tailored precisely to your needs and preferences. Using readily available materials and basic sewing skills, you can personalize the size, firmness, and even the fabric to perfectly match your style and décor.
This DIY lumbar pillow project is perfect for beginners, requiring minimal sewing experience and readily accessible materials. We'll walk you through each step, from choosing the right filling to creating a perfectly fitted cover, and even adding those handy carrying handles. Ready to transform your comfort and ease those aches? Let’s dive into the step-by-step instructions!
Preparation and Safety Guidelines
- Fabric (cotton or other preferred material)
- Sewing machine or needle and thread
- Stuffing (cotton, beads, etc.)
- Pins
- Scissors
- Always use sharp scissors and a sewing machine needle appropriate for your fabric to avoid injury. Handle needles and pins with care.
- Before cutting your fabric, double-check your measurements to ensure accurate pillow size and avoid wasting materials.
- When using a sewing machine, keep your fingers clear of the needle and presser foot to prevent accidental punctures.
Step-by-Step Instructions
Create the Pillow Insert
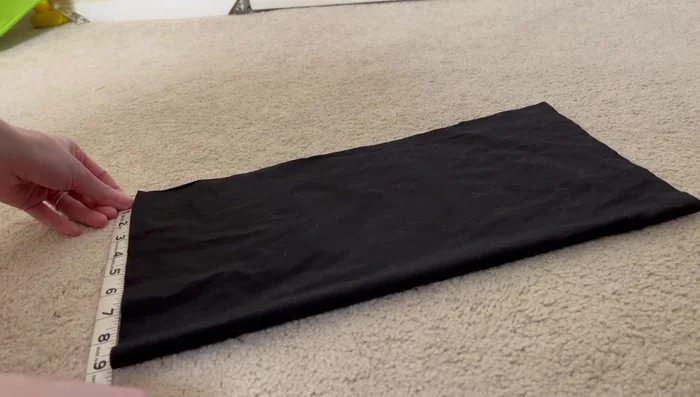
- Cut out a single piece of fabric (18in x 15in) for the pillow insert.
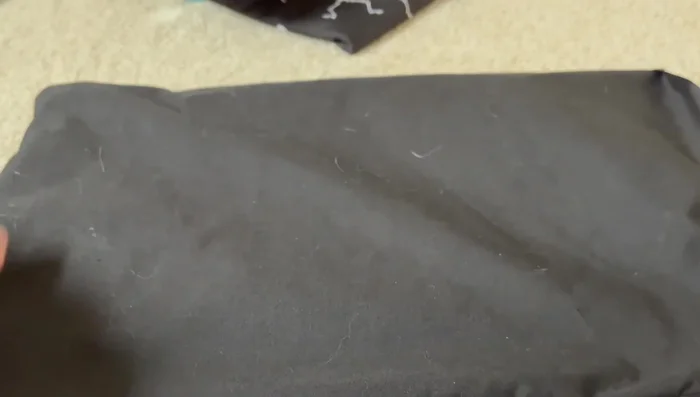
- Fold the fabric in half lengthwise (15in side). Sew two and a half sides, leaving an opening for stuffing.
- Trim excess fabric, turn right side out, and stuff the pillow. Adjust stuffing until firmness is desired.
- Whip stitch or machine stitch the opening closed.

Create the Pillow Insert Prepare the Pillow Cover Pieces
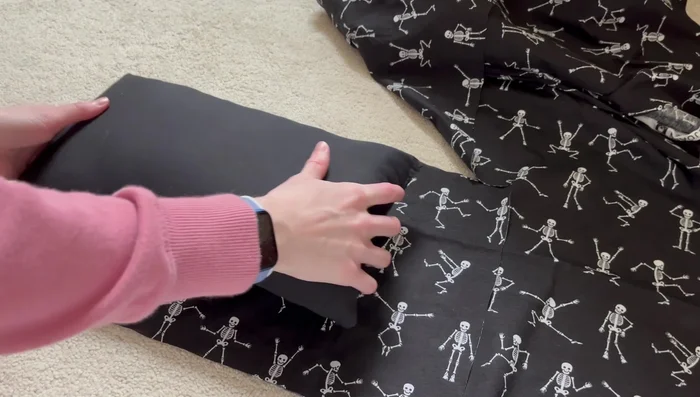
- Cut out fabric for the pillow cover, adding 3 inches to the pillow's length.
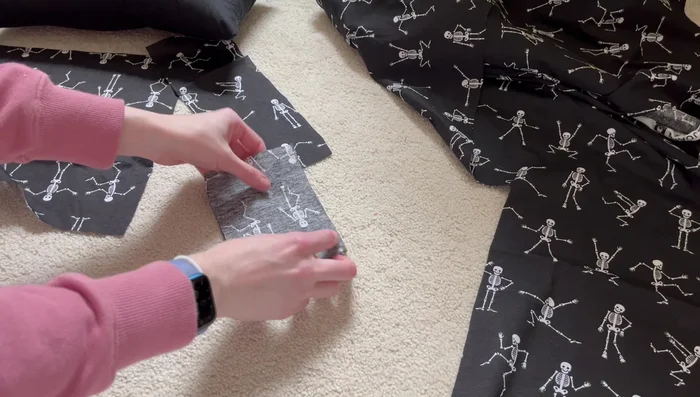
- Cut out two additional pieces for handles. These are made from the excess fabric from the pillow cover.
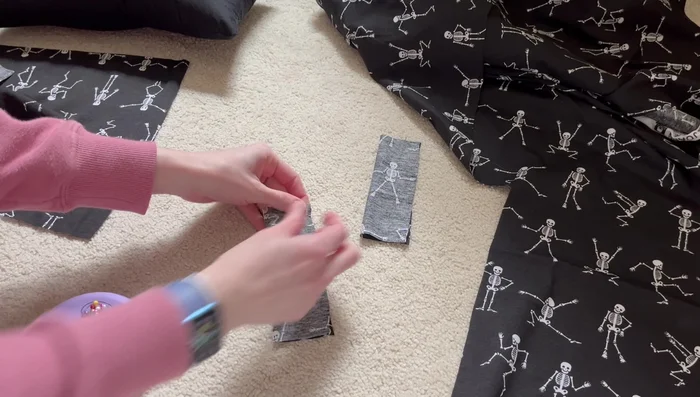
Prepare the Pillow Cover Pieces Construct the Handles
- Fold the handle pieces in half, right sides together, and sew along the long edge. Repeat for the second handle.
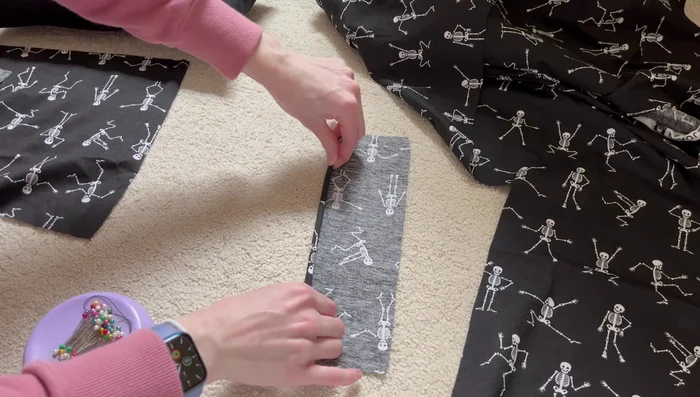
Construct the Handles Finish the Cover Fabric Edges
- Create a rolled hem along one edge of the remaining cover fabric piece. Repeat for the short edge of the second fabric piece.
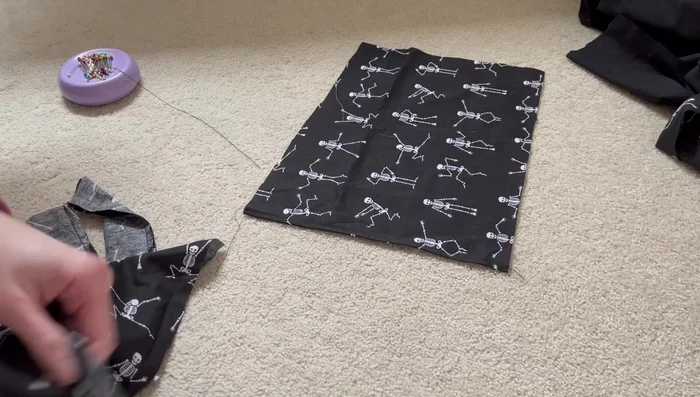
Finish the Cover Fabric Edges Assemble the Pillow Cover
- Sew all the cover pieces together, leaving an opening for inserting the pillow. Remember to insert the handles between the front and back cover pieces during this step.
Assemble the Pillow Cover Complete the Pillow Cover and Insert Pillow
- Turn the pillow cover right side out through the opening. Insert the pillow and close the opening.
Read more: King Size Quilt Tutorial: Efficient Chain Piecing Method
Tips
- Use any fabric you like for the inner pillow, as it will be hidden inside the cover.
- Experiment with different stuffing materials to achieve your preferred pillow firmness.
- Adding handles to your pillow cover makes it easy to move around.
- A rolled hem on the cover edges creates a clean and professional finish.