Valentine's Day is just around the corner, and what better way to show your love (or self-love!) than with a charming, handmade touch? This year, ditch the generic store-bought gifts and craft something truly unique: an adorable lip-shaped accent pillow! This delightful project is surprisingly simple, perfect for beginners and experienced crafters alike, and guarantees a touch of playful romance to any room. Imagine the fun of snuggling up with this quirky, personalized pillow, adding a whimsical element to your space while showcasing your creativity.
Forget expensive, impersonal gifts; this DIY project lets you express your affection in a fun, handmade way. With just a few readily available materials and some basic sewing skills, you can create this cute lip-shaped pillow in no time. Ready to transform fabric scraps into a delightful Valentine's Day decoration? Let's dive into the step-by-step instructions to create your own pouty, plush companion.
Preparation and Safety Guidelines
- Cardboard
- Red Fabric (or fabric of your choice)
- Scissors
- Pen/Pencil/Sharpie
- Sewing Machine (optional)
- Pins
- Polyfill or old pillow stuffing
- Wooden stick (optional)
- Hot glue gun (optional)
- Always supervise children when using sewing machines, needles, or scissors. Keep them away from small craft items that could be choking hazards.
- Use caution when handling hot glue. Allow ample time for the glue to cool before touching and keep it away from flammable materials.
- If allergic to any materials (fabrics, fillings, etc.), choose alternative supplies and wear a mask if necessary to avoid skin irritation or respiratory issues.
Step-by-Step Instructions
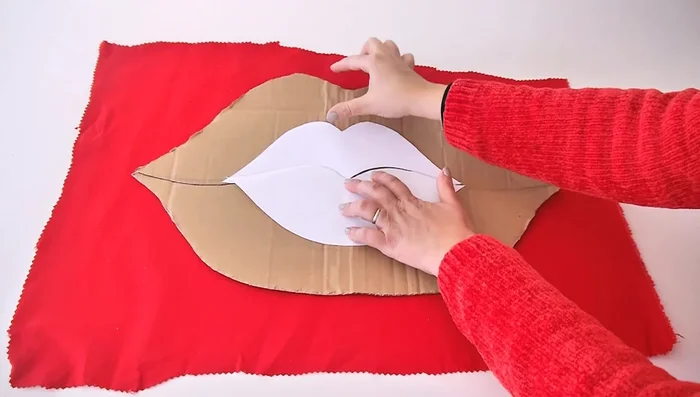
Prepare the Template
- Download the free template (link in description), print it, and trace it onto cardboard, enlarging it by 2-3 inches.

Prepare the Template Cut Fabric Lip Shapes
- Trace the enlarged cardboard template onto your fabric, leaving a 1-2cm/inch seam allowance. Cut out two identical lip shapes.
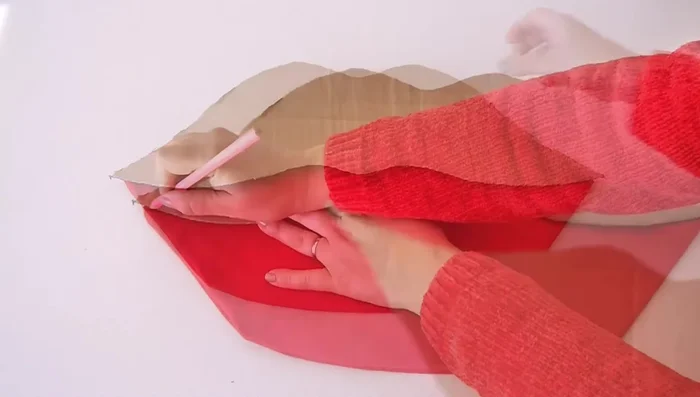
Cut Fabric Lip Shapes Cut Backing Fabric
- Place one of the cut fabric pieces onto your backing fabric and trace it, adding the same seam allowance. Cut out this piece.
Cut Backing Fabric Sew Pillow Pieces
- Place the two lip pieces right sides together, pin, and sew around the edges, leaving gaps at the top and bottom of the lips.
Sew Pillow Pieces Cut Seam Notches
- Cut small indents into the seam allowance to prevent bulkiness when turning the pillow right-side out.
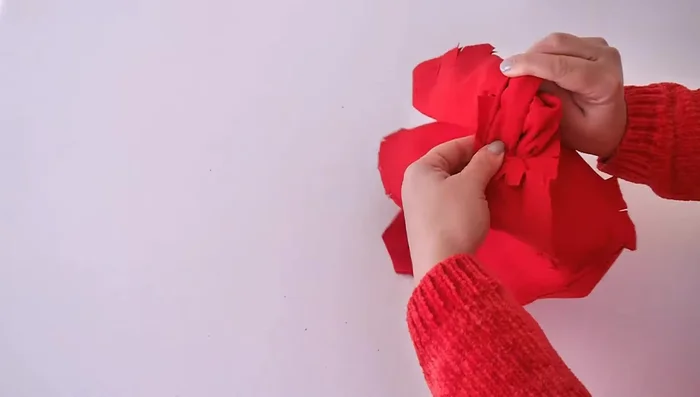
Cut Seam Notches Turn Pillow Right Side Out
- Turn the pillow right side out through the gaps.
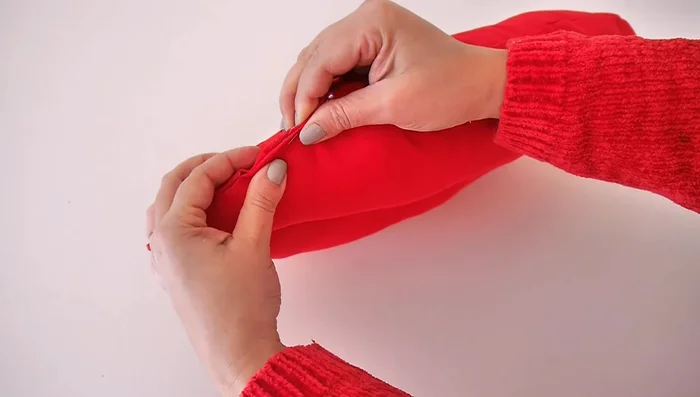
Turn Pillow Right Side Out Mark and Sew Center Line
- Use one half of the original template to mark the center line of the pillow. Sew a straight stitch along this line to close up the pillow.
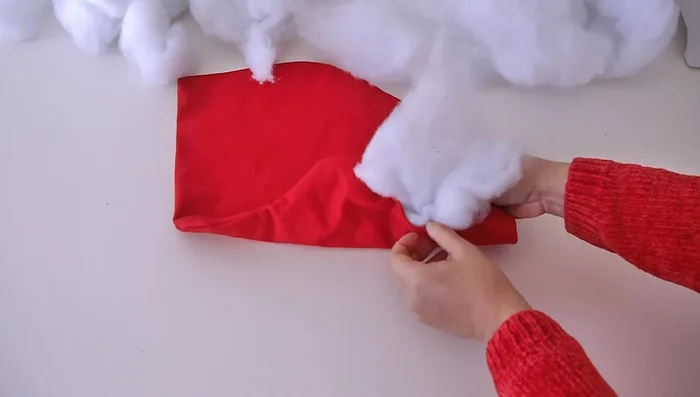
Mark and Sew Center Line Fill the Pillow
- Stuff the pillow with polyfill or other stuffing material using a wooden stick to help push it into every corner.
Fill the Pillow Close Gaps
- Close the gaps at the top and bottom using either an invisible stitch or hot glue.
Close Gaps


Read more: King Size Quilt Tutorial: Efficient Chain Piecing Method
Tips
- Use any fabric you like! Velvet or shimmery fabrics look particularly nice.
- Using a sewing machine makes stitching much faster.
- Mark the gaps clearly to avoid accidental stitching.
- Don't cut through the stitching when creating the notches!
- Fill the pillow firmly to achieve the best lip shape.