Tired of flimsy plastic bags ripping at the grocery store? Ready to embrace a more sustainable and stylish way to carry your groceries? Then get ready to sew your own durable and adorable lined shopping tote bag! This easy-to-follow tutorial will guide you through the process of creating a reusable tote that's both practical and personalized, perfect for farmers markets, everyday shopping trips, or even as a thoughtful handmade gift. Forget about expensive, mass-produced bags – you'll be surprised at how simple it is to make your own.
This DIY project requires minimal sewing experience and readily available materials, making it ideal for beginners and experienced crafters alike. We'll walk you through each step, from choosing your fabric to adding a sturdy lining, ensuring a beautiful and functional finished product. So grab your sewing machine (or needle and thread!), your favorite fabrics, and let's get started with the step-by-step instructions below.
Preparation and Safety Guidelines
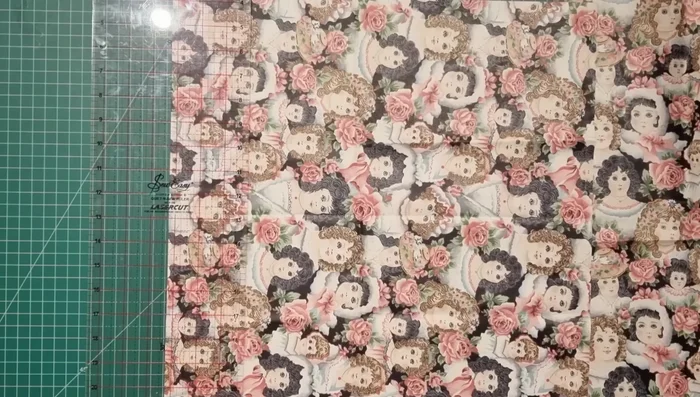
- Fabric (outer and lining)
- Ruler
- Chalk/Pen
- Scissors
- Sewing machine
- Thread
- Strapping for handles
- D-ring
- Optional: Press studs/snaps
- Always use sharp sewing machine needles and pins to prevent fabric damage and ensure clean stitches. Dull needles can cause skipped stitches or broken threads.
- Be cautious when using scissors and rotary cutters. Keep fingers away from the blades to avoid cuts and injuries.
- If using a sewing machine, unplug it before changing needles, making adjustments, or cleaning it to prevent electric shock.
Step-by-Step Instructions
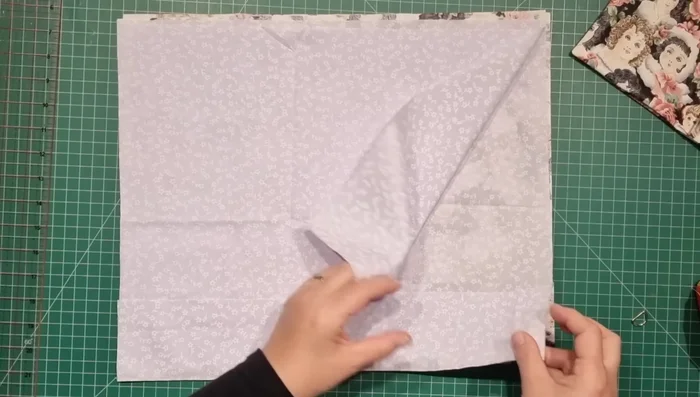
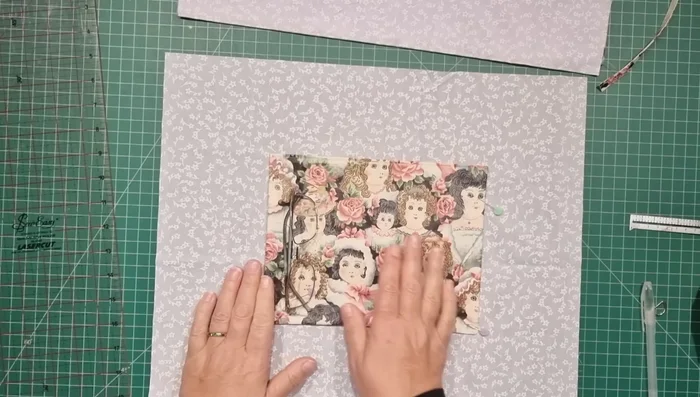
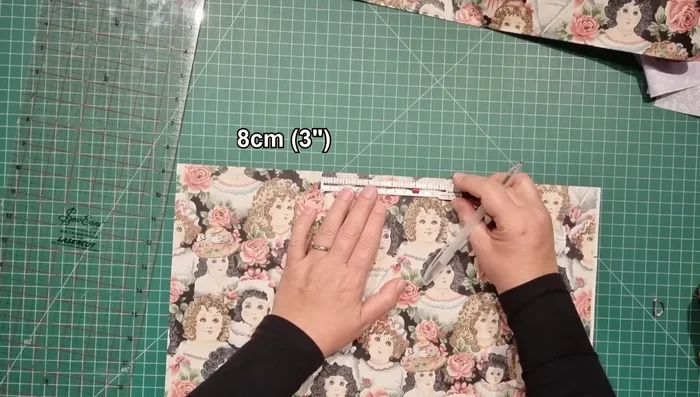
Prepare Fabric
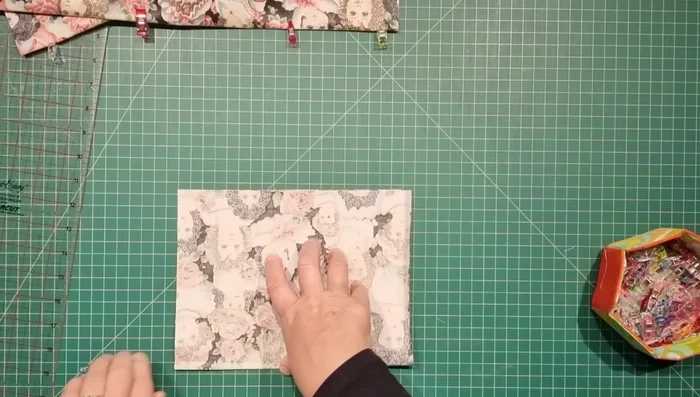
- Measure and mark 3 1/4 inches (8 cm) from the bottom edge of both outer and lining fabric pieces. Fold the fabric up to the marked line and press.

Prepare Fabric Create Pocket (Optional)
- Fold the pocket fabric in half, sew the sides, clip corners, turn right side out, and topstitch the folded edge.
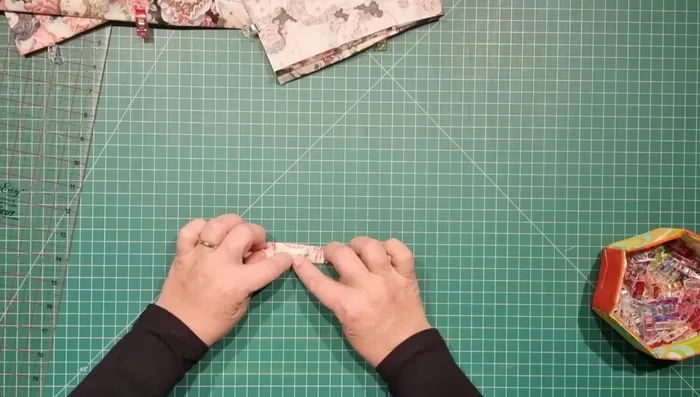
Create Pocket (Optional) Create Tabs (Optional)
- Cut fabric strips, fold in half lengthwise, fold raw edges to the center, fold in half again, and stitch along the long edges.
Create Tabs (Optional) Prepare Bag Pieces
- Topstitch the folded edges of all fabric pieces (outer and lining) about 1/8 inch from the edge.
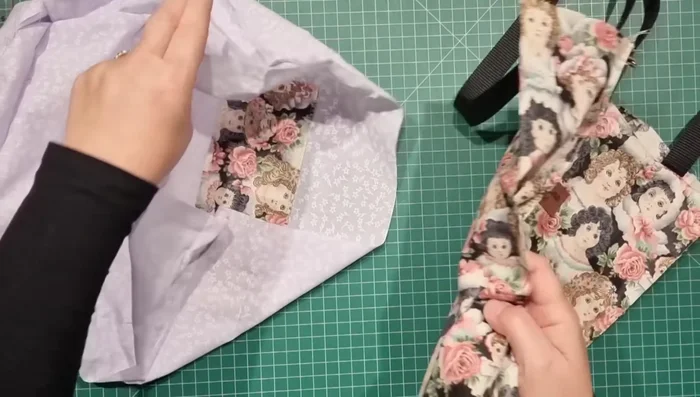
Prepare Bag Pieces Attach Pocket to Lining
- Center the pocket on one lining piece, 4 inches (10 cm) from the top edge, and stitch around, leaving an opening at the bottom for turning.
Attach Pocket to Lining Create Channel (Optional)
- Stitch a channel above the pocket to hold pens and glasses.
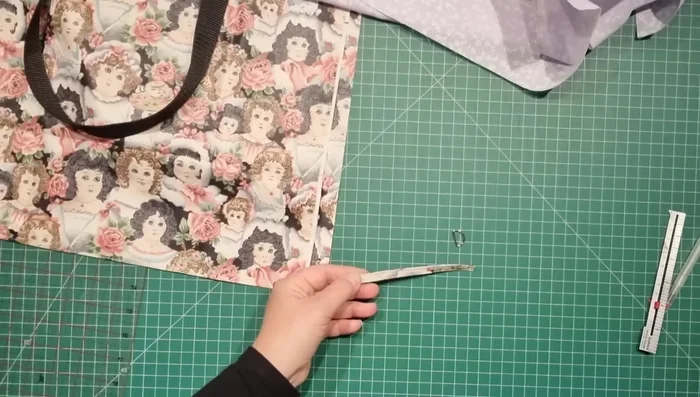
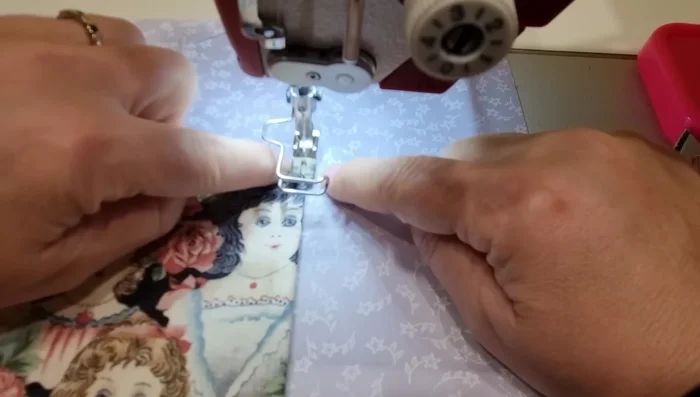
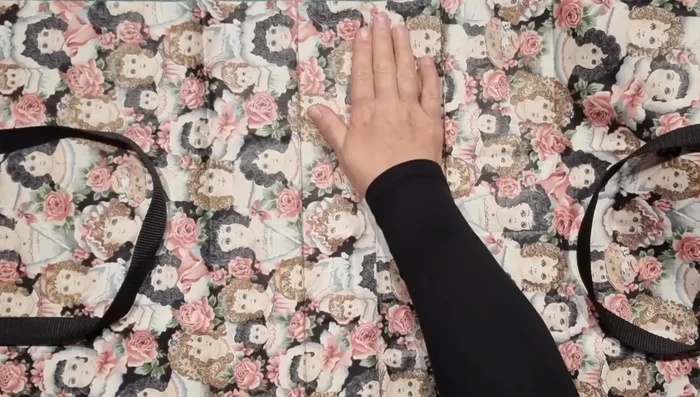
Create Channel (Optional) Attach Handles
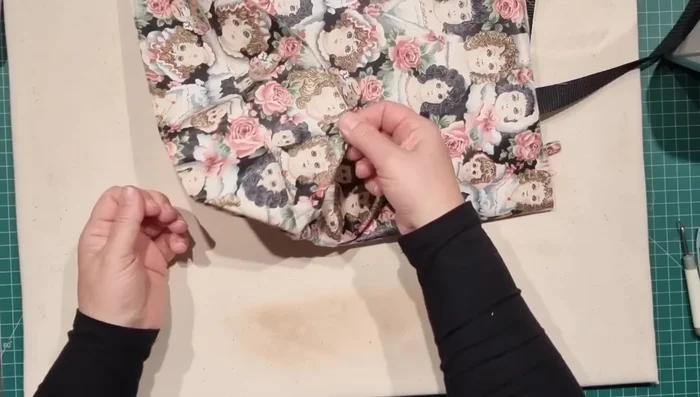
- Measure and mark handle placement (3 inches from center) on the outer fabric. Sew handles in place.
Attach Handles Attach D-ring Tab (Optional)
- Attach a small tab with a D-ring to one side of the handles.
Attach D-ring Tab (Optional) Sew Bag Bottom
- Sew the pocket and tab onto the lining. Place the outer and lining pieces together with right sides facing, lining up the bottom edges and side seams. Sew around the bottom.
Sew Bag Bottom Reinforce Bottom Seam
- Topstitch the bottom seam allowance to one side for added support.
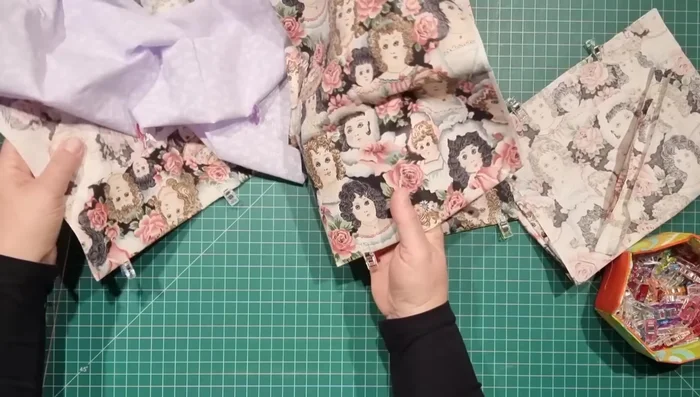
Reinforce Bottom Seam Sew Side Seams
- With right sides together and pleated edges aligned, sew the side seams of both the outer and lining fabrics. Leave an opening in one side of the lining.
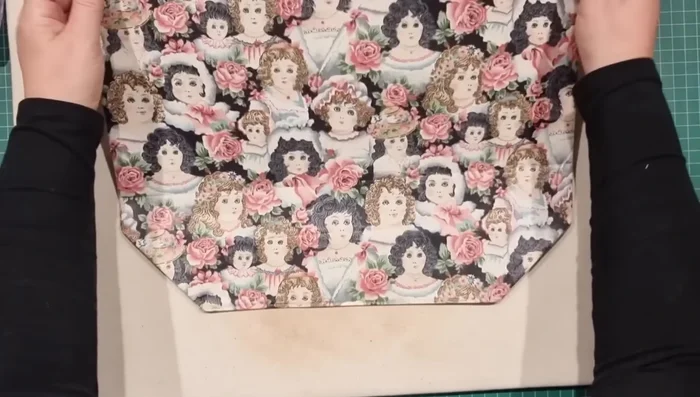
Sew Side Seams Turn and Press
- Turn the bag right side out through the lining opening. Press the seams. Create boxy corners by pressing the side seams and bottom edges flat.
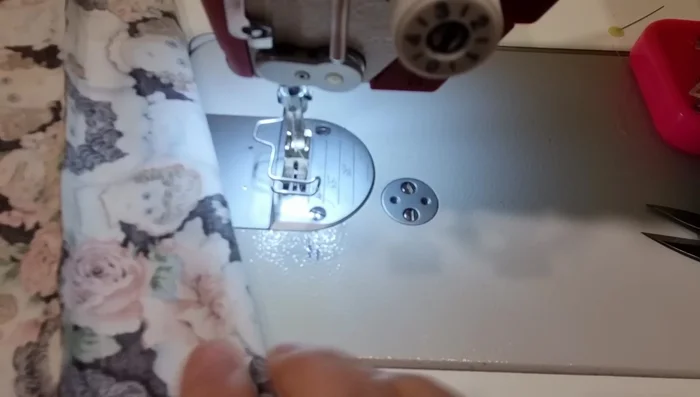
Turn and Press Topstitch Sides
- Topstitch along the side edges of both the outer and lining fabrics to create a clean finish.
Topstitch Sides Assemble and Finish
- Place the lining inside the outer bag, aligning the seams. Topstitch around the top edge, securing the lining and outer fabrics together.
Assemble and Finish
Read more: DIY Quilted Makeup Pouch Tutorial: The Easiest and Fastest Method
Tips
- Use sturdy fabric for better bag structure.
- Marking chalk lines on the outside makes folding and pressing easier.
- Triple stitch at high-stress points (like corners and handle attachments).
- Ensure seams on outer and lining fabrics are in opposing directions for a flatter finish.
- To make a reversible bag, carefully plan tab placement for inside and outside access.