Looking for a fun and easy sewing project that yields a practical and stylish accessory? Then look no further! This tutorial will guide you through creating your own lined drawstring backpack using just four fat quarters of fabric. Perfect for beginners, this project requires minimal sewing skills and offers a fantastic opportunity to personalize your everyday carry. Imagine the possibilities – vibrant prints for a summery look, cozy flannels for autumn, or sophisticated solids for a more refined style. The best part? You'll likely already have most of the supplies at home!
This simple four-fat-quarter design makes creating a lined drawstring backpack surprisingly quick and efficient. Forget expensive store-bought bags – let's dive into the step-by-step process of making your own unique, durable, and completely customizable backpack. Get ready to learn how to sew this charming bag in a flash!
Preparation and Safety Guidelines
- Four fat quarters
- Straight edge
- Rotary cutter or scissors
- Pins
- Four yards of paracord
- Lighter
- Coordinating thread
- Sewing machine
- Iron
- Always use sharp scissors or a rotary cutter to prevent fabric slippage and ensure clean cuts. Dull blades can lead to uneven seams and injury.
- When using a sewing machine, keep your fingers clear of the needle. Use a seam guide or fingertip guard to maintain a safe distance.
- If using hot glue, work in a well-ventilated area and avoid touching the glue until it cools completely to prevent burns.
Step-by-Step Instructions
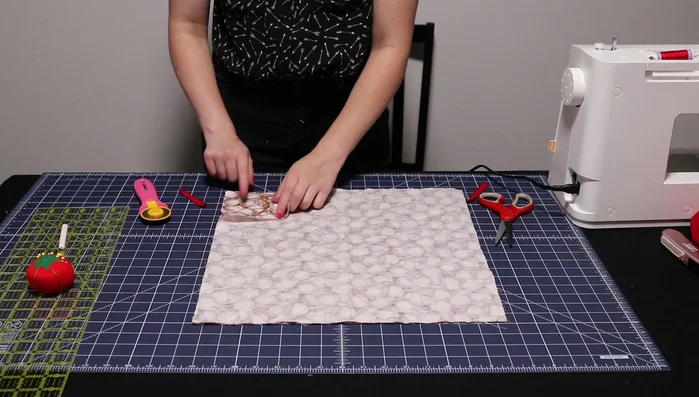
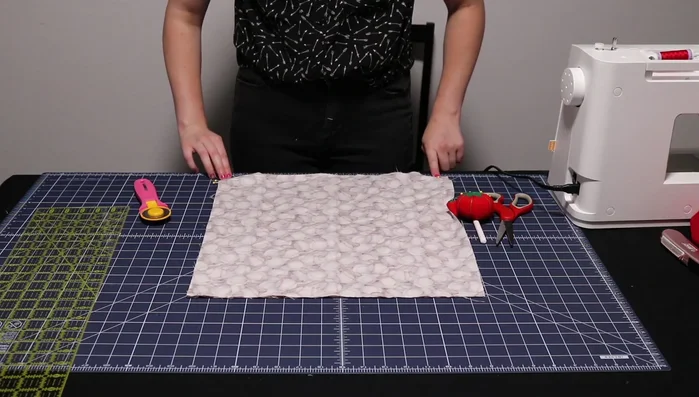
Prepare Fabrics
- Wash, dry, and iron all fabrics.
- Cut each fat quarter to 16 inches by 17 inches.

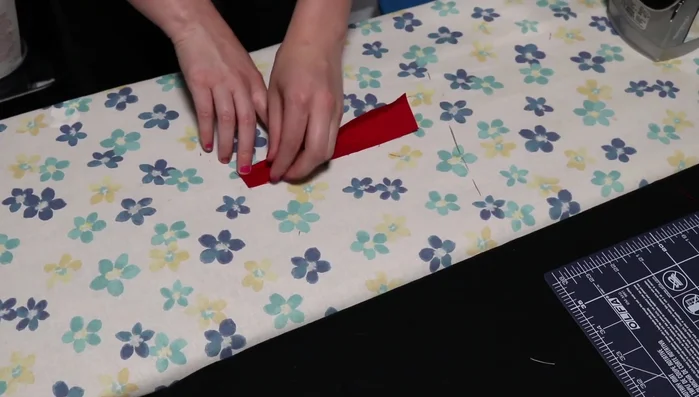
Prepare Fabrics Create Drawstring Loops
- Make fabric loops (1.5 x 7 inch rectangle, folded and sewn).
Create Drawstring Loops Assemble Outer Bag
- Pin loops to outside fabric (0.5 inch from bottom of 17-inch side).
- Stitch a 1/4 inch seam around three sides of the outside fabric, securing loops.
Assemble Outer Bag Assemble Inner Lining
- Sew the inside lining similarly, leaving a 3-inch gap for turning.
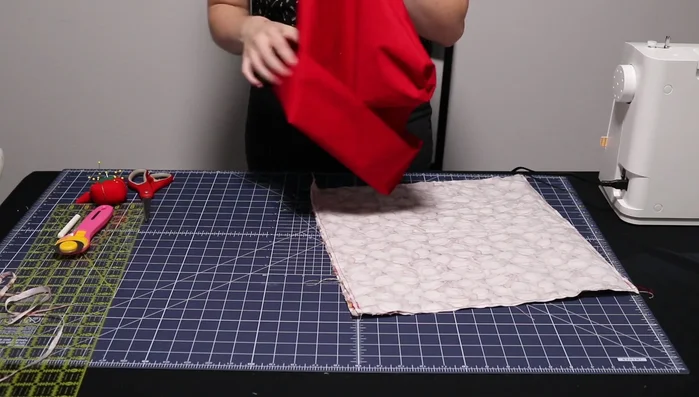
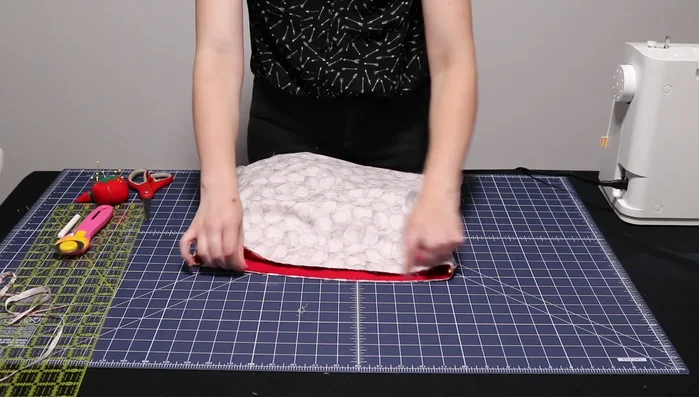
Join Outer and Inner Bags
- Turn the lining right side out and place inside the outside pouch (wrong side out).
- Pin and stitch along the top edge (1/8 inch seam).
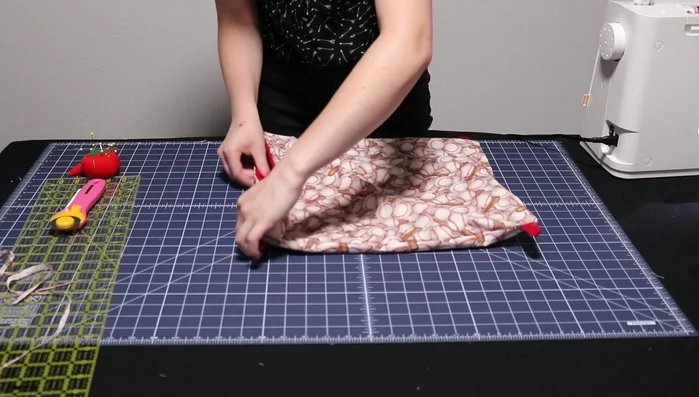
Join Outer and Inner Bags Finish and Turn
- Trim excess fabric and thread. Turn the bag right side out.
- Press the edges and stitch the opening on the lining closed.
- Place lining inside the bag.
Finish and Turn Create Drawstring Channels
- Stitch two lines along the top edge (one at the very top, another one inch below) to create channels for the drawstring.
Create Drawstring Channels Prepare Drawstring
- Cut paracord into two 72-inch pieces, seal the ends with a lighter.
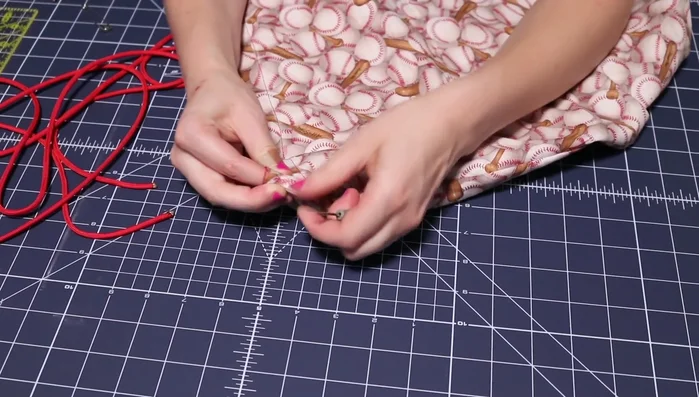
Attach Drawstring
- Create openings between the top and lower stitches. Thread paracord through using a safety pin.
- Melt and press the ends together.
Attach Drawstring


Read more: DIY Quilted Makeup Pouch Tutorial: The Easiest and Fastest Method
Tips
- Backstitch over the loops several times for extra security.
- Use a safety pin to easily thread the paracord through the channels.
- Melt the ends of the paracord to prevent fraying.