Tired of the same old throw pillows? Yearning for a touch of rustic charm and sustainable style in your home? Then get ready to transform discarded leather scraps and reclaimed lumber into a truly unique and eye-catching accent piece! This DIY project combines the rugged texture of reclaimed wood with the luxurious feel of upcycled leather to create a lumber pillow that’s both chic and environmentally conscious. Forget mass-produced décor; this project empowers you to craft a personalized statement piece that reflects your individual style and commitment to eco-friendly living.
This incredibly rewarding project is surprisingly simple, even for beginner DIY enthusiasts. We'll guide you through every step, from selecting your materials and prepping the wood to sewing the leather cover and assembling your stunning new lumber pillow. Ready to get started? Let’s dive into the detailed, step-by-step instructions below!
Preparation and Safety Guidelines
- Old leather bag/pack
- Rotary cutter (optional)
- Sewing machine
- Zipper
- Chalk
- Heavy object (e.g., metal foot, book)
- Sewing clips
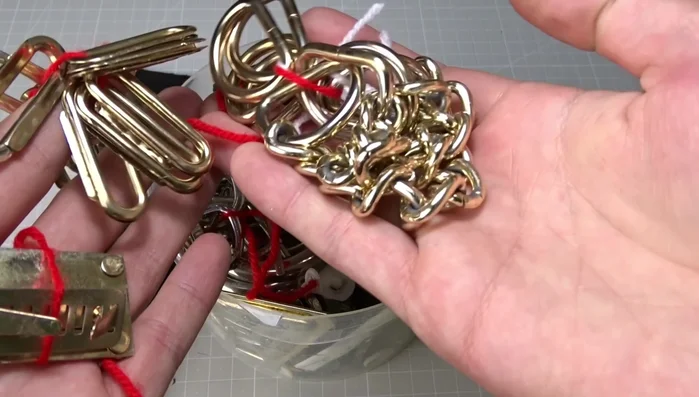
- D-shaped metal rings
- Leather straps
- Scissors
- Stuffing
- Black string/elastic band
- Always use sharp, well-maintained tools to avoid injury. Leather can be surprisingly tough to cut through, so take your time and use appropriate cutting mats to protect your work surface.
- When working with leather scraps, be mindful of potential sharp edges or loose threads. Wear gloves to protect your hands and use caution when handling.
- Proper ventilation is essential, especially when using any adhesives or finishing products. Work in a well-ventilated area or wear a respirator mask as recommended by the product instructions.
Step-by-Step Instructions
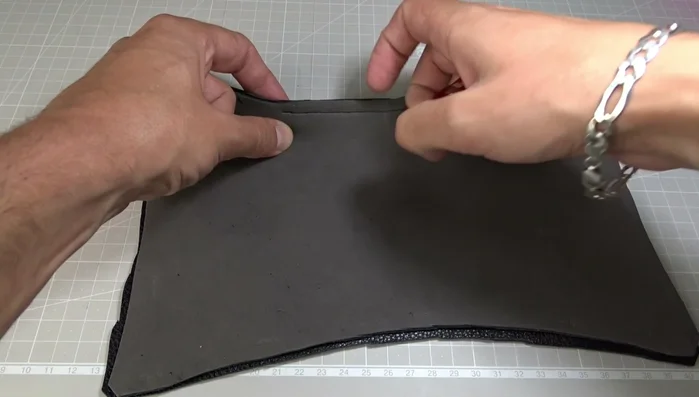
Prepare the Leather
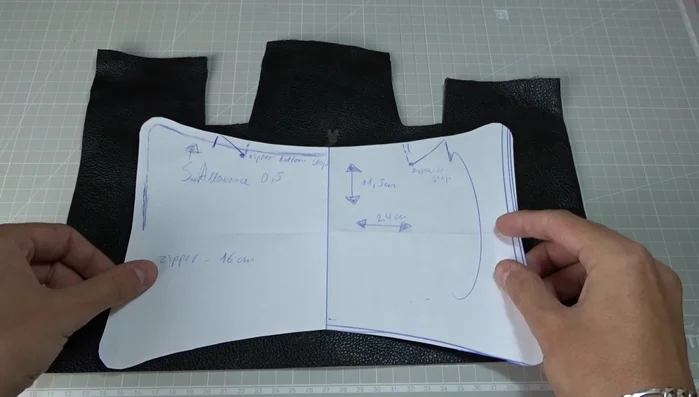
- Download and cut out the free pattern.
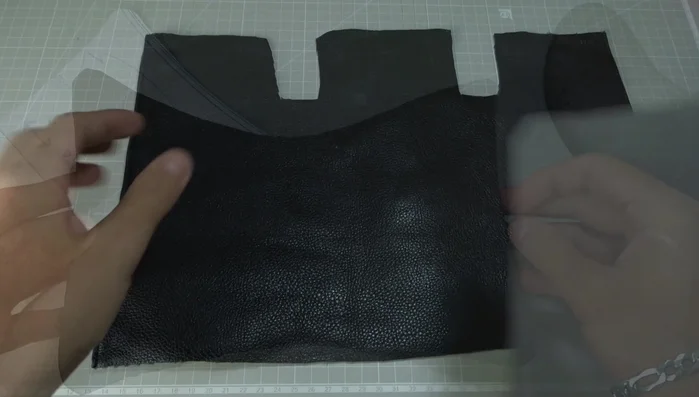
- Place the pattern on the leather and weigh it down to prevent movement.
- Cut out the leather pieces. (You can use a rotary cutter for efficiency).
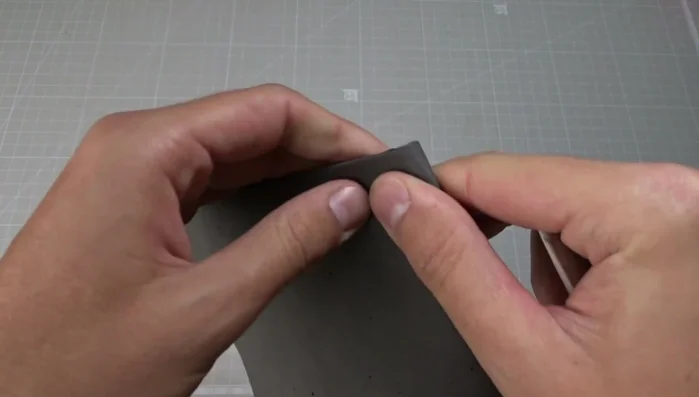
- Fold the leather pieces in half and mark the middle with chalk.

Prepare the Leather Attach the Zipper (Side 1)
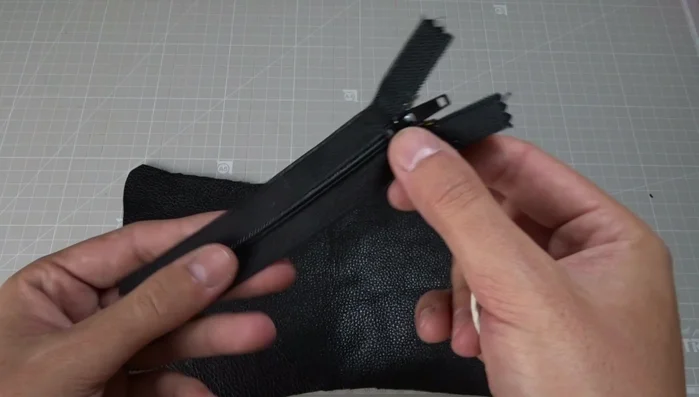
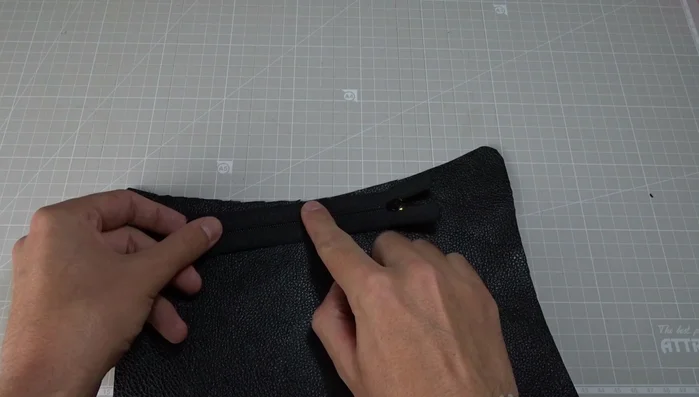
- Fold the zipper in half and mark the middle.
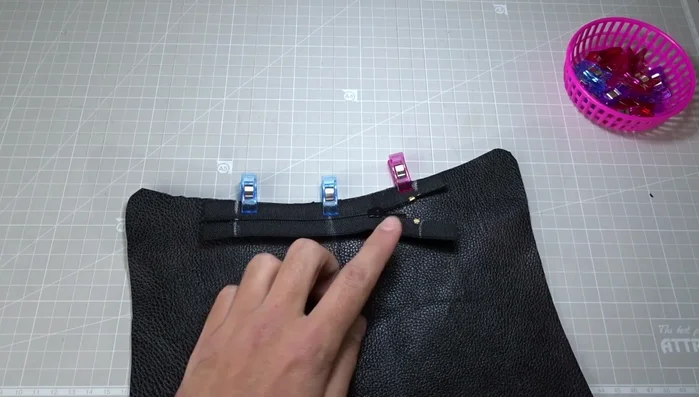
- Align the middle of the zipper with the middle of the first leather piece and secure with clips.
- Sew the zipper to the first leather piece from the bottom stop to the top stop, using long stitches and a zipper foot. Remember to backstitch at the beginning and end. Lower the needle and raise the presser foot to open the zipper halfway for easier sewing.
Attach the Zipper (Side 1) Attach the Zipper (Side 2)
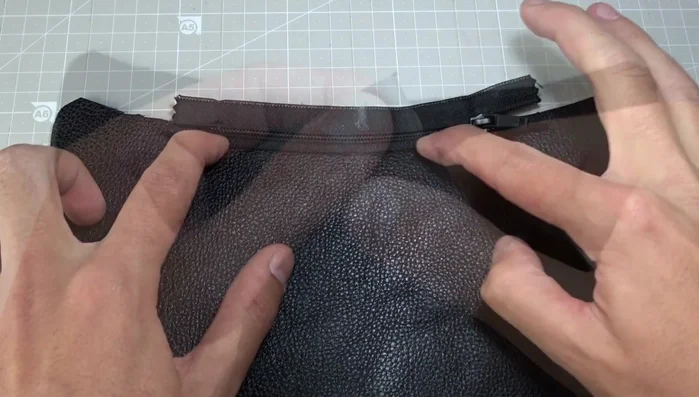
- Unfold the zipper, place the second leather piece on top, aligning middles, and secure with clips.
- Mark the beginning and end of the seam with chalk, ensuring the zipper is open halfway before sewing. Sew the zipper to the second leather piece. Repeat the step of lowering the needle and opening the zipper halfway to sew around the zipper.
Attach the Zipper (Side 2) Prepare for Final Seam
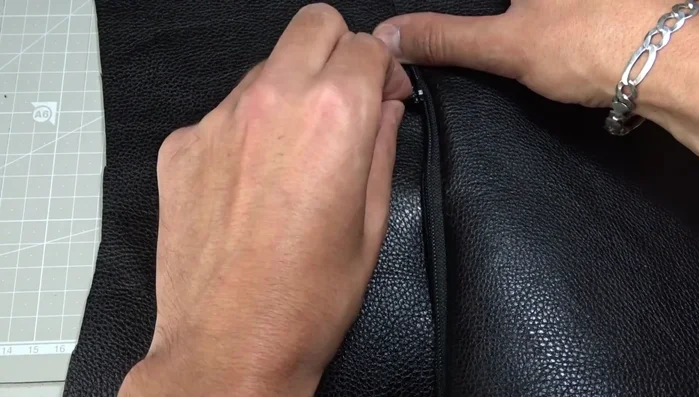
- Open the zipper, align the edges of the leather, and clip the edges together. Mark the seam line and add more clips to secure all sides. Pull the zipper ends to the outside.
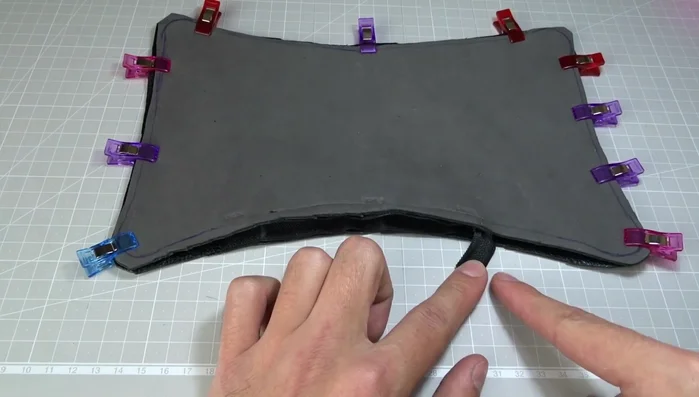
Prepare for Final Seam Sew the Pillow Closed
- Sew around the perimeter of the pillow. Handle thick leather sections with care, potentially using a paper backing to reinforce the seam and prevent damage to the sewing machine.
Sew the Pillow Closed Attach Straps
- Attach the straps with metal rings.
- Position straps between leather pieces, ensuring they're centered and visible only at the ends. Sew around the pillow again, carefully managing the thickness of the materials and making notches to reduce bulk.
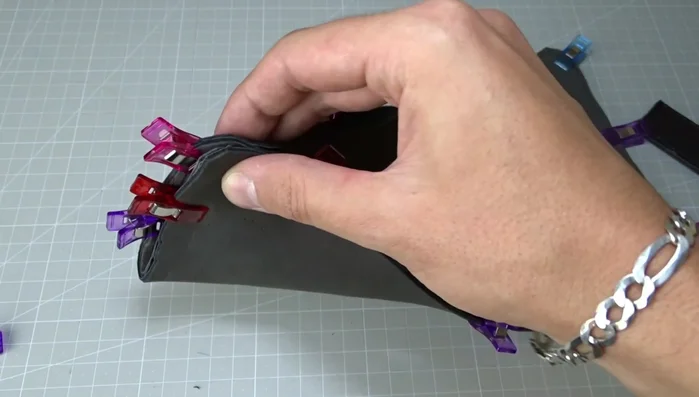
Attach Straps Finishing Touches
- Cut threads, remove the paper backing, and make small notches in the corners. Turn the pillow right side out, using a tool to help with the corners.
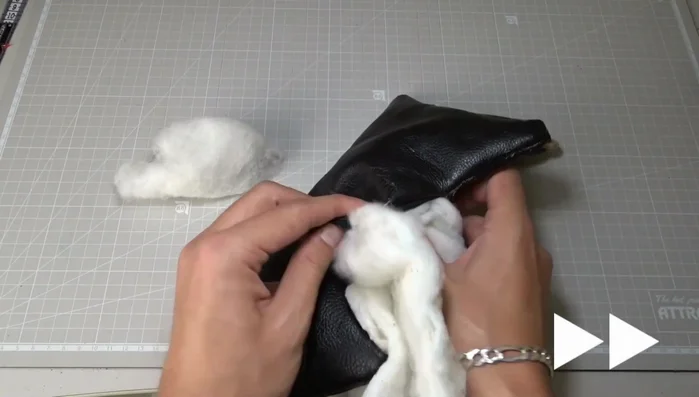
- Fill the pillow with stuffing, close the zipper, and tie it securely.
Finishing Touches


Read more: King Size Quilt Tutorial: Efficient Chain Piecing Method
Tips
- Use a rotary cutter for faster and more accurate cutting of leather.
- Use long stitches when sewing thick materials.
- Use a zipper foot for easier zipper sewing.
- Backstitch at the beginning and end of each seam for durability.
- Lower the needle and open/close the zipper halfway during sewing for even seams.