Tired of your laptop bouncing around unprotected in a flimsy bag, or paying exorbitant prices for a stylish carrying case? Then get ready to unleash your inner crafter! This easy sewing tutorial will guide you through creating your own personalized laptop bag, complete with a handy side pocket for your phone, charger, or other essentials. Forget generic, mass-produced bags; this project lets you choose your favorite fabrics, colors, and even add unique embellishments to truly make it your own. It’s a surprisingly simple project, perfect for beginners and experienced sewers alike.
This DIY laptop bag boasts a sleek, functional design, and the added side pocket ensures all your tech accessories are neatly organized and within easy reach. We'll walk you through each step, from cutting the fabric to adding the finishing touches, using clear instructions and helpful images. Ready to get started? Let's dive into the step-by-step process and create the perfect laptop bag for your needs!
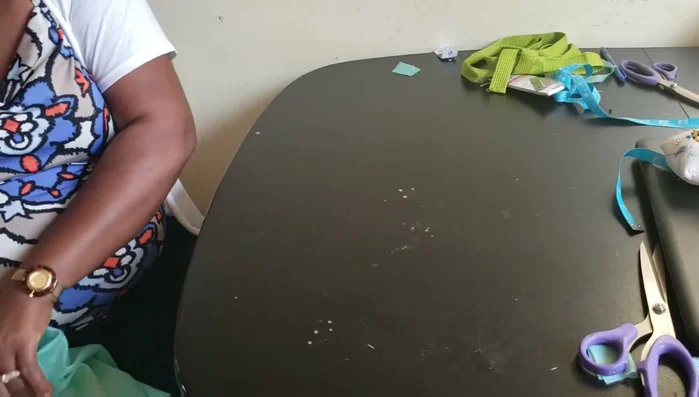
Preparation and Safety Guidelines
- Fabric
- Tape measure
- Zipper
- Sewing machine (optional, needle and thread as alternative)
- Laptop
- Iron (optional)
- Always use sharp, well-maintained sewing machine needles and pins to prevent fabric snags and injuries. Blunt needles require more force, increasing the risk of accidents.
- When working with the sewing machine, keep your fingers clear of the needle and presser foot to avoid serious injury.
- Ensure your laptop fits comfortably within the finished bag's dimensions before sewing the final seams to avoid needing to redo your work.
Step-by-Step Instructions
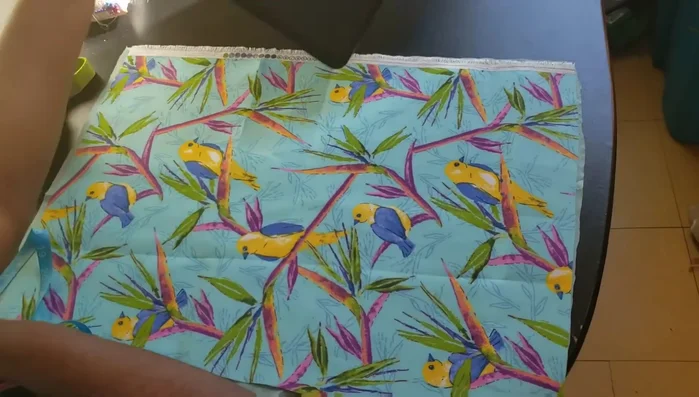
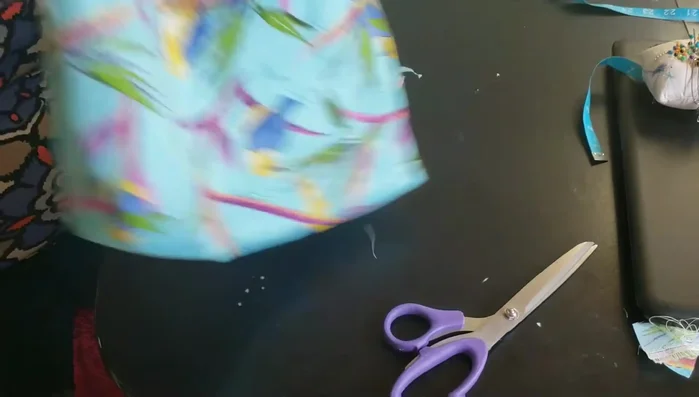
Prepare the Fabric
- Measure and cut fabric. Use your laptop to determine the dimensions, adding seam allowance.
- Cut out lining fabric (optional) using the same measurements as the main fabric.

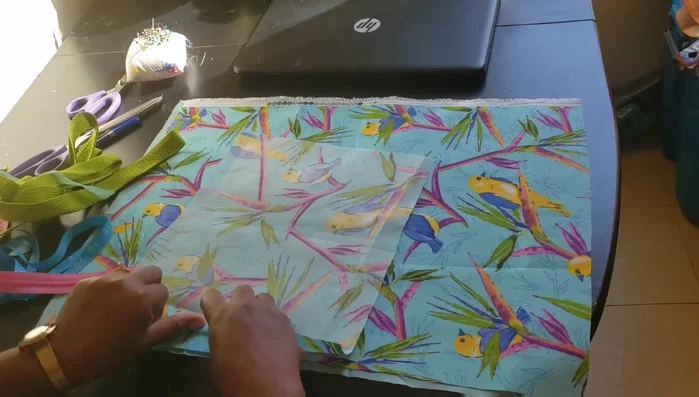
Prepare the Fabric Attach the Zipper
- Attach zipper. Place the zipper between the right sides of the main fabric and lining, pin, and sew securely. (Double stitch if using needle and thread).
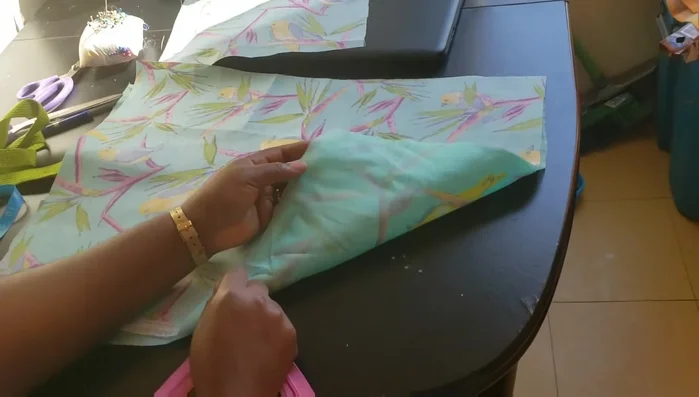
Attach the Zipper Create and Attach Side Pocket (Optional)
- Create and attach side pocket (optional). Cut out your desired pocket shape, iron edges, and pin it to the bag’s front panel at the appropriate location. Sew down before attaching to the main bag.
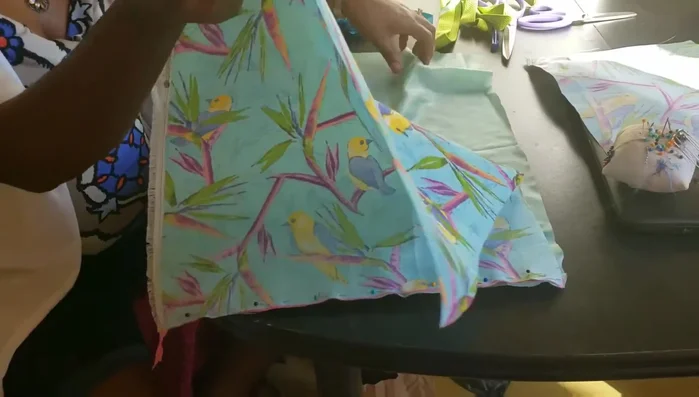
Create and Attach Side Pocket (Optional) Sew the Main Bag
- Sew the main bag panels. Sew the two sides of the zipper (with fabric and lining attached) together. Leave a gap to turn the bag right side out.
Sew the Main Bag Turn and Shape the Bag
- Turn the bag right side out. Carefully turn the bag through the gap left in step 5.
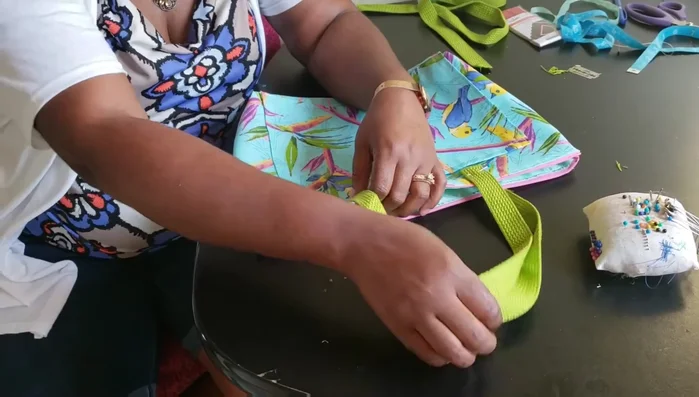
Turn and Shape the Bag Attach the Handles
- Attach handles/straps. Measure and cut the straps, making sure that the straps are properly measured to your liking. Place straps on the top edge of the bag, pin and stitch.
Attach the Handles Finish the Bag
- Finish the bag. Sew down the remaining openings to create a clean finish and secure the lining. You're done!
Finish the Bag

Read more: DIY Quilted Makeup Pouch Tutorial: The Easiest and Fastest Method
Tips
- Always add seam allowance when cutting your fabric.
- Double stitch seams, especially on the zipper, for extra durability.
- Use an iron to press seams for a neater look.
- When using a zipper, ensure it is positioned correctly between the main fabric and lining.