Embark on a cuddly crafting adventure and learn how to create your very own adorable koala soft toy! This project blends the charm of handmade toys with the exciting world of gelato painting, offering a unique and textured finish that sets your koala apart from the rest. Forget mass-produced plush; this guide empowers you to bring a personalized, one-of-a-kind koala to life using readily available materials and simple techniques. You'll discover how the fluidity of gelato paints allows for stunning, marbled effects on the fabric, adding depth and character to your creation.
Prepare for a delightful journey into textile art as we explore different techniques to build texture and dimension into your koala's fur. From simple stitching to clever fabric manipulation, we'll guide you through each step, ensuring a rewarding and fun experience. Ready to get started on your fluffy friend? Let's dive into the step-by-step instructions and bring your adorable, gelato-painted koala to life!
Preparation and Safety Guidelines
- Fabric
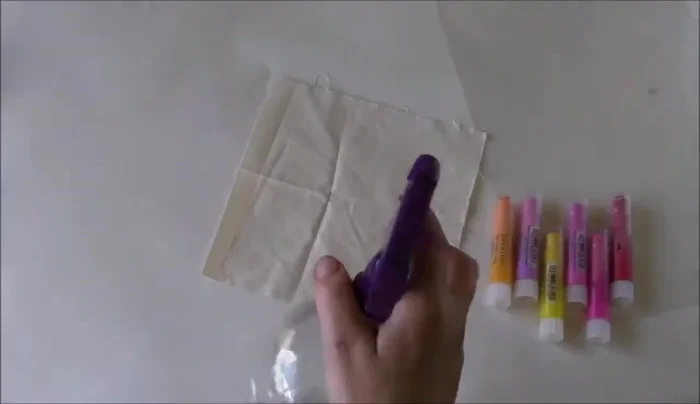
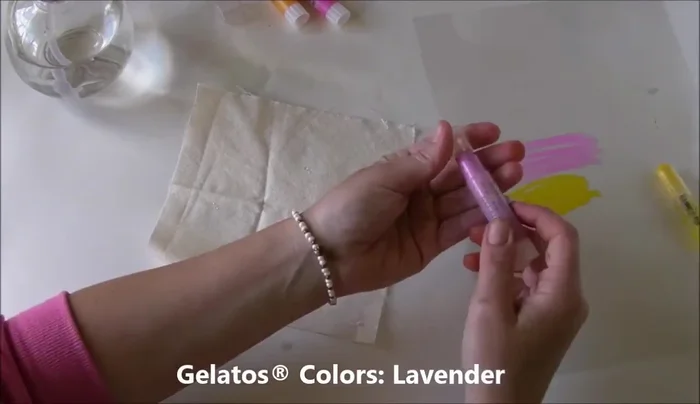
- Gelatos
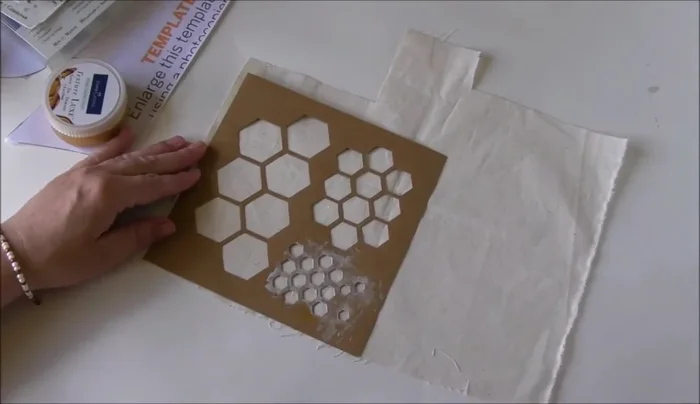
- Stencils
- Palette knife
- Pencil
- Water
- Fluffy filling
- Permanent black pen
- Textured tools (gold & pearl)
- Acetate or nonstick craft sheet
- Adult supervision is required at all times, especially when using sharp tools like scissors and needles. Young children should not handle these materials unsupervised.
- Ensure the fabric used for the koala is safe for children, preferably pre-washed and free from harmful chemicals. Check labels for appropriate certifications.
- Always use non-toxic paints and sealants when decorating your koala. Allow adequate drying time before handling to prevent ingestion or skin irritation.
Step-by-Step Instructions
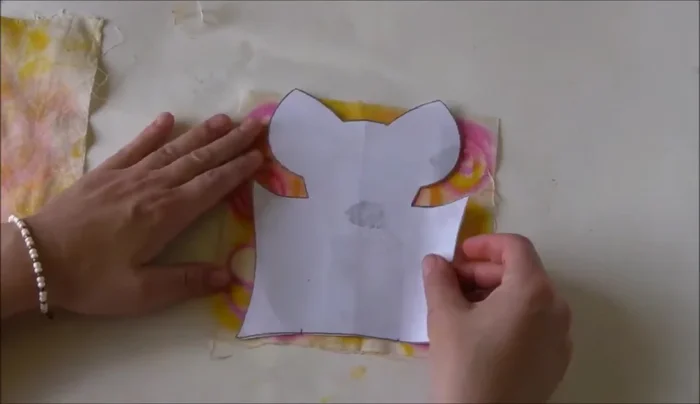
Prepare Fabric
- Trace and cut out koala shapes from fabric (two for front and back).
- Prepare fabric for painting by lightly spraying with water.

Prepare Fabric Gelato Painting: Front Piece
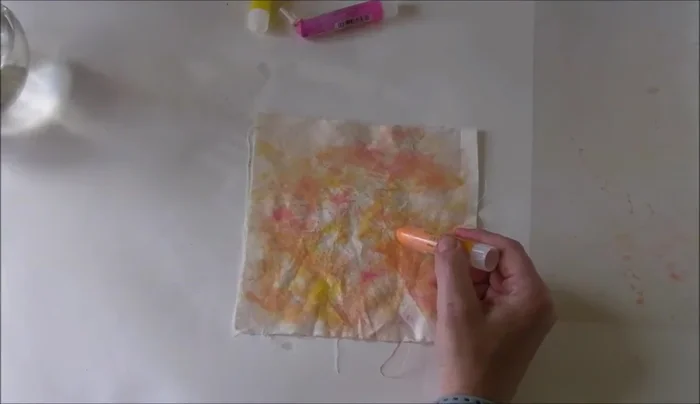
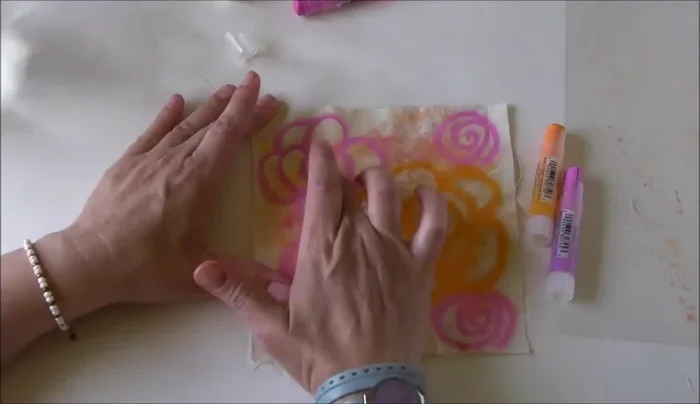
- Apply gelatos to acetate/craft sheet and scribble with water to create a background wash on the fabric.
- While wet, add simple doodles or use stencils for designs with gelatos.
- Smudge gelatos to blend colors and add more color as desired.
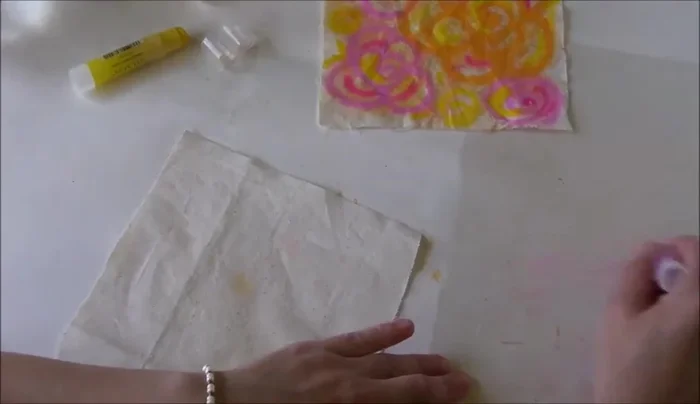
Gelato Painting: Front Piece Gelato Painting: Back Piece
- Repeat steps 2-5 for the back piece of fabric, potentially using a different design.
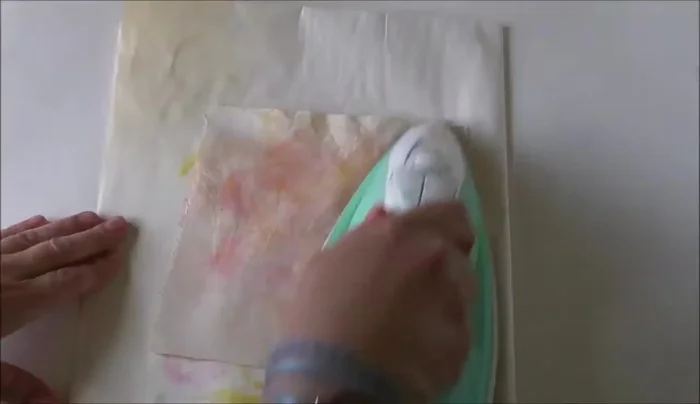
Gelato Painting: Back Piece Dry and Cut
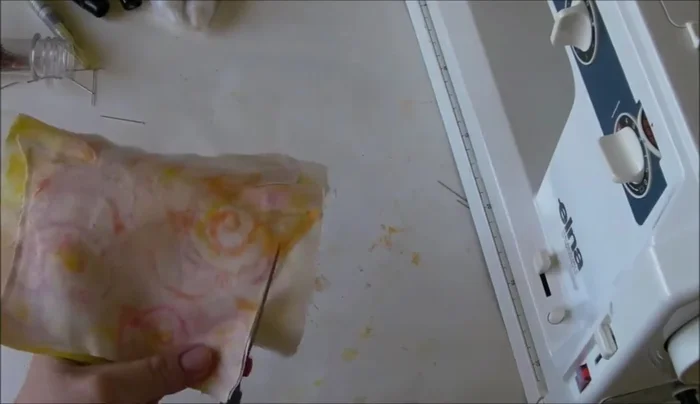
- Let the fabric dry completely to set colors.
- Cut out the koala shape from the painted fabric, leaving the back piece uncut.
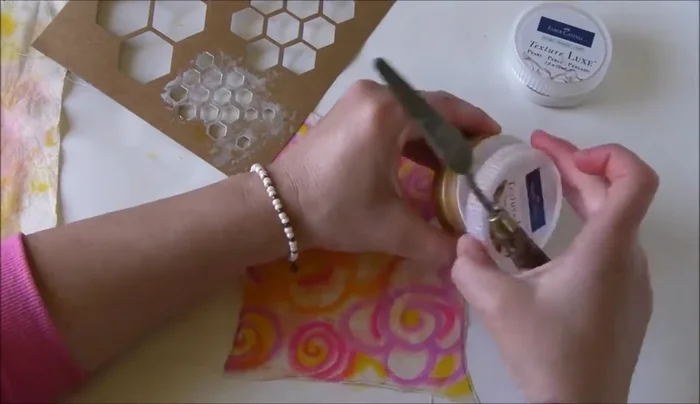
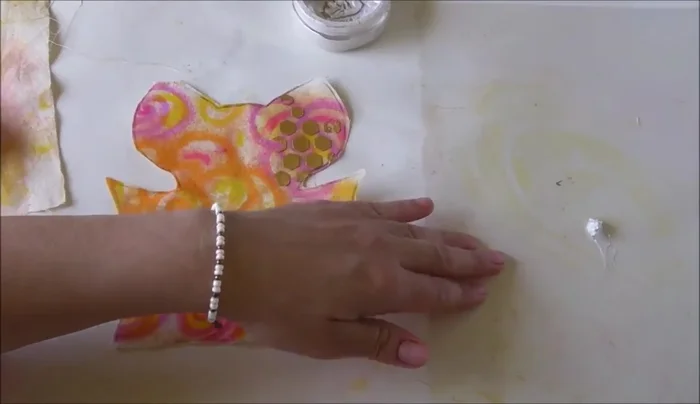
Dry and Cut Add Texture: Gold
- Apply gold textured tool to one corner using stencils for added detail.
Add Texture: Gold Add Texture: Pearl
- Apply pearl textured tool, mixing with darker gelatos for a pink shade, using additional stencils.
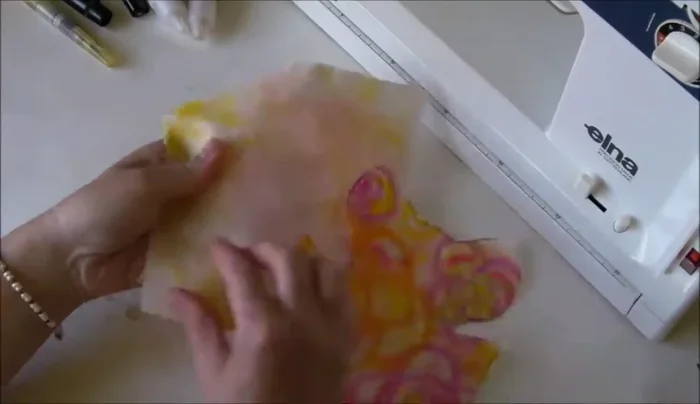
Add Texture: Pearl Dry and Assemble
- Set aside to dry.
- Pin the front and back pieces together, leaving a small opening at the bottom.
- Sew around the edges, leaving the bottom opening for stuffing.
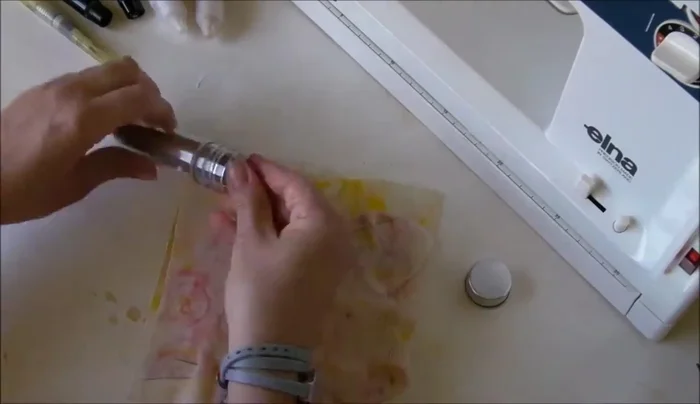
Dry and Assemble Stuff and Embellish
- Stuff with fluffy filling.
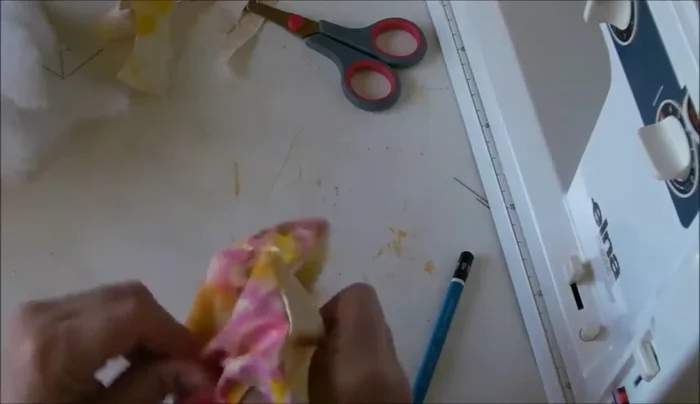
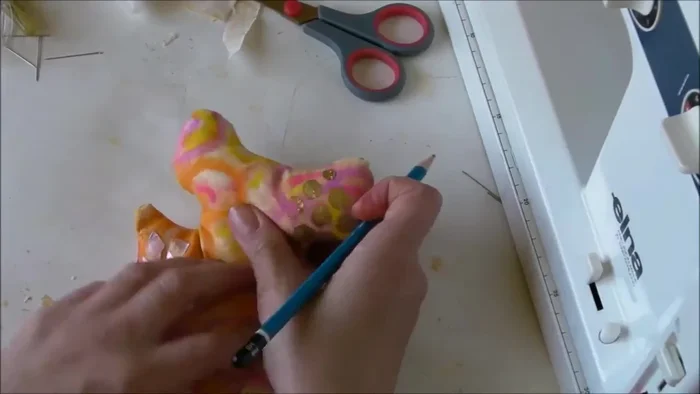
- Draw facial features (nose and eyes) using a pencil.
- Outline and fill facial features with a black permanent pen or gelatos.
- Add final details using textured gems, setting aside to dry overnight.
Stuff and Embellish


Read more: DIY Fluffy Duck Plushie Tutorial: A Step-by-Step Guide
Tips
- Don't mix warm and cold colors from the color wheel for a harmonious look.
- Experiment with different doodles or stencils for unique designs.
- Use a piece of paper underneath while applying gelatos to prevent the colors from bleeding through.
- Use small amounts of textured tools for crisp details and a lovely shining effect.
- Draw the features after stuffing for accurate placement.