Are you looking for a fun and rewarding crafting project that results in a stylish and practical accessory? Then look no further! This easy DIY tutorial will guide you through the creation of a charming kiss clasp C-purse, perfect for holding coins, small jewelry, or even emergency cash. Forget expensive store-bought purses – you can create a personalized and unique piece that perfectly matches your style, all with minimal effort and readily available materials. This project is ideal for beginners, requiring only basic sewing skills and a few simple tools.
This adorable coin purse utilizes a convenient kiss clasp closure, adding a touch of elegance to its compact design. You'll be surprised how quickly and easily you can stitch this little gem together. Ready to transform fabric scraps into a beautiful, functional keepsake? Let’s dive into the step-by-step process and create your very own kiss clasp C-purse!
Preparation and Safety Guidelines
- Faux leather
- Kiss clasps
- Needle with large eye
- Embroidery floss
- Template
- Scissors
- Optional: Super glue
- Always supervise children if they are participating in any part of this project, especially when using sharp tools like scissors or the kiss clasp.
- Use caution when working with the kiss clasp. The edges can be sharp. Handle it gently to avoid injury.
- Ensure the fabric you choose is strong enough to hold the weight of your coins and withstand regular use. Avoid delicate or easily-torn materials.
Step-by-Step Instructions
Prepare Materials and Initial Stitching
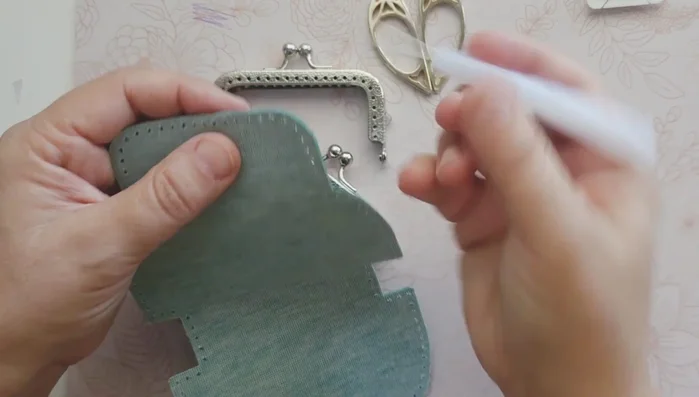
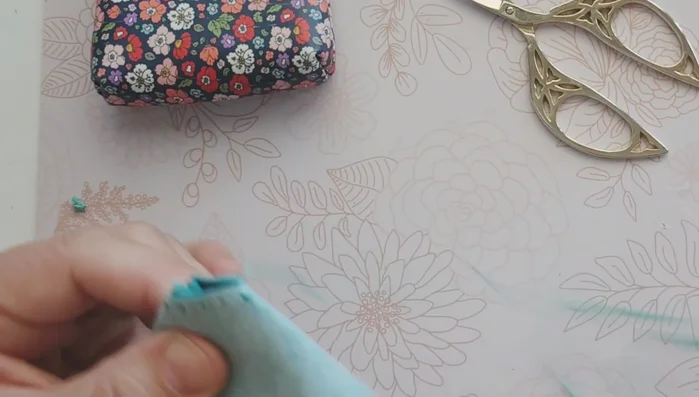
- Cut out the faux leather template.
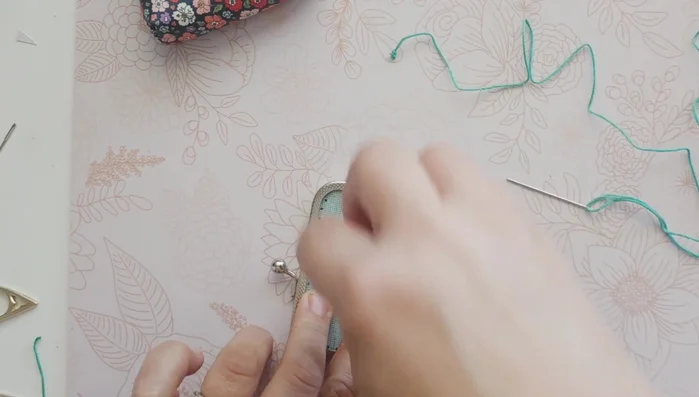
- Knot the embroidery floss and begin stitching the bottom hole of the template.
- Sew up and back down through the holes, ensuring stitches are tight but not too tight to avoid splitting the faux leather.
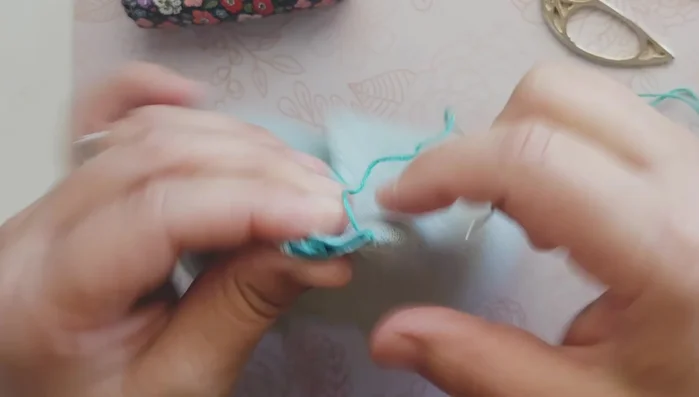
- Reinforce the corners by stitching two times around.

Prepare Materials and Initial Stitching - Continue stitching along the edge, creating a solid stitch.
Prepare Materials and Initial Stitching Close the Bottom
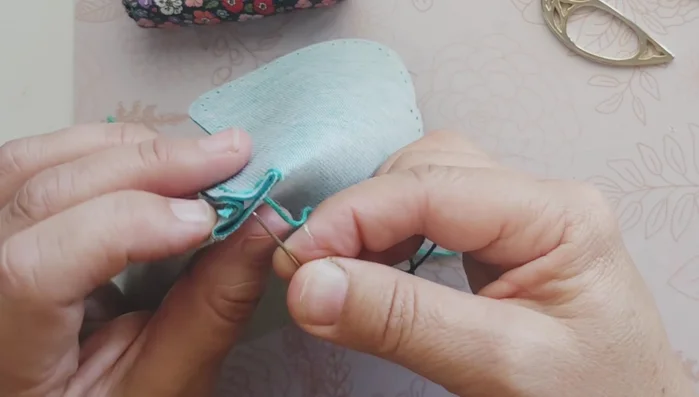
- Squash the template to make it flat and sew across the back through the five holes.
- Sew through two holes on either side, reinforcing the corners.
- Create a loop around the end of the fold and continue stitching.
- Repeat steps 6-8 on the other side.
Close the Bottom Turn and Finish
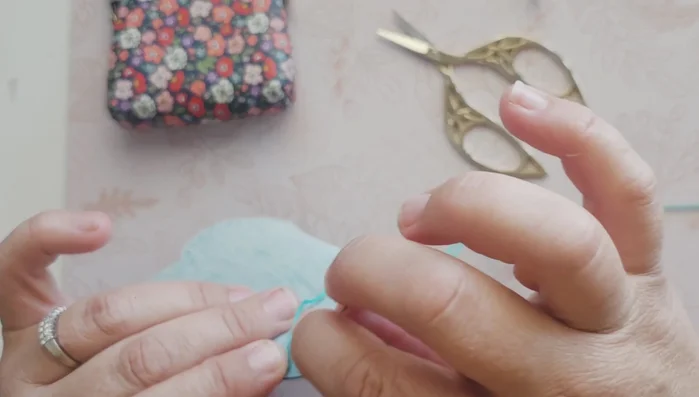
- Tie off the embroidery floss by creating a loop and pulling it tight.
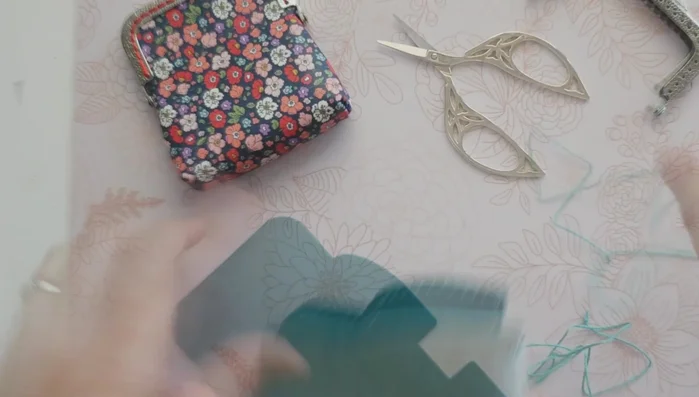
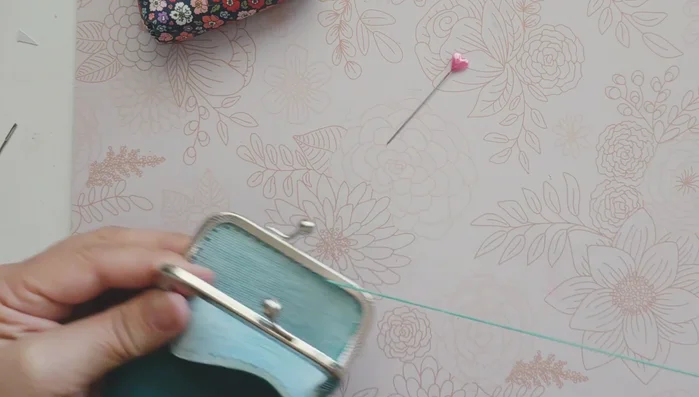
- Turn the purse inside out carefully using a blunt object to help push out the corners.
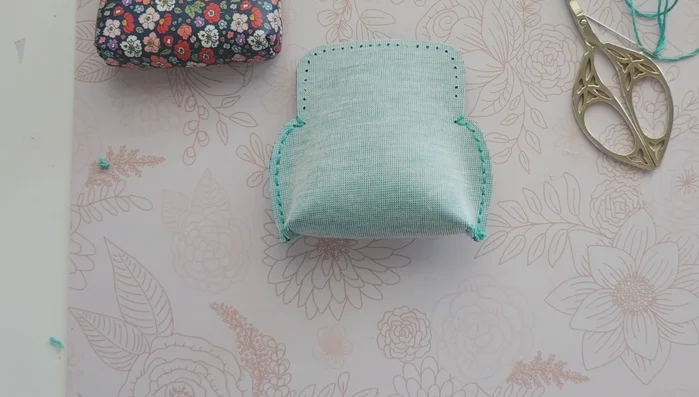
Turn and Finish Stitch the Top Edge
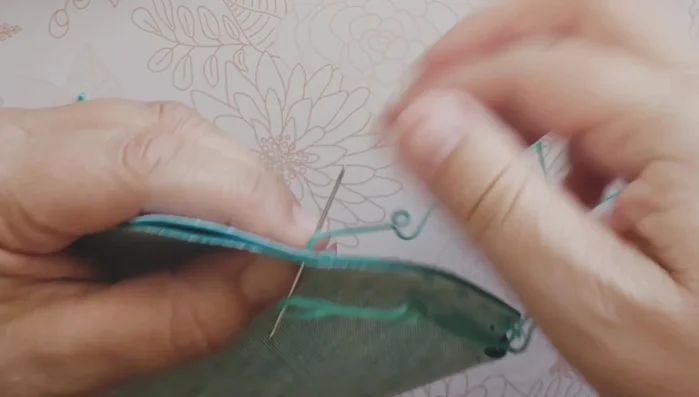
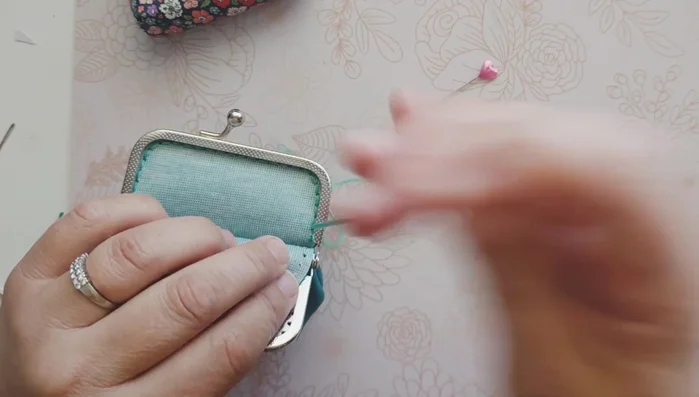
- Slide the embroidery floss to hold the top and begin stitching the top edge.
- Continue stitching the top edge all the way around.
- Tie off the embroidery floss, creating a knot and securing it with super glue.
Stitch the Top Edge


Read more: DIY Quilted Makeup Pouch Tutorial: The Easiest and Fastest Method
Tips
- Use high-quality, thick faux leather to prevent splitting during stitching.
- Don't pull stitches too tight to avoid damaging the faux leather.
- Use a needle with a large eye to easily thread the embroidery floss.
- Reinforce the corners with extra stitches for added durability.
- Use a blunt object to help turn the purse inside out without damaging the stitches.