Kimonos, with their elegant drape and effortless style, have become a wardrobe staple. But the thought of creating one yourself might seem daunting, especially for beginners. Fear not! This tutorial demystifies the process, guiding you through the creation of a beautiful and comfortable kimono top with minimal sewing experience required. We'll use simple techniques and readily available materials, making this project accessible to everyone, regardless of their sewing skill level. You'll be surprised at how quickly and easily you can craft a stylish garment perfect for summer days or layering in cooler weather.
Forget complicated patterns and hours of intricate stitching. This easy DIY kimono top project is perfect for those just starting their sewing journey, requiring only basic sewing skills and a few essential supplies. Ready to transform a simple rectangle of fabric into a chic and wearable top? Let's dive into the step-by-step process and create your own unique kimono!
Preparation and Safety Guidelines
- Fabric
- Chalk
- Measuring tape
- Scissors
- Sewing machine
- Elastic
- Iron
- Pins
- Needle
- Thread
- Optional: Bias tape or fusible interfacing
- Always use sharp sewing shears or scissors to prevent fabric from fraying and ensure clean cuts. Dull blades can lead to accidents.
- If using a sewing machine, be mindful of your fingers and keep them away from the needle at all times. Use a finger guard if needed.
- Before cutting your fabric, double-check your measurements and pattern pieces to avoid mistakes. It's always best to pre-wash your fabric to prevent shrinkage after the garment is finished.
Step-by-Step Instructions
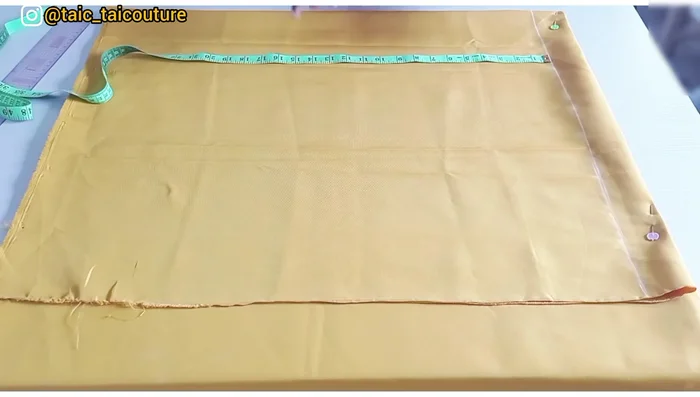
Prepare the Fabric
- Fold fabric into four. This allows for cutting the front and back pieces simultaneously.
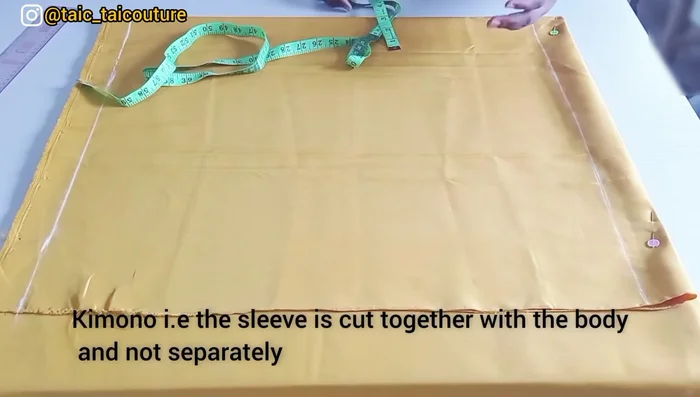
Mark the Length and Width
- Measure and mark the desired length (23 inches + 2 inches for elastic casing = 25 inches) from the chalked starting point, ensuring sufficient allowance for shoulder seams.
- Determine the width. Include shoulder measurement (8 inches), sleeve length (14.5 inches), and sleeve opening (double your elbow measurement, e.g., 12 inches for a total of 24 inches when opened).

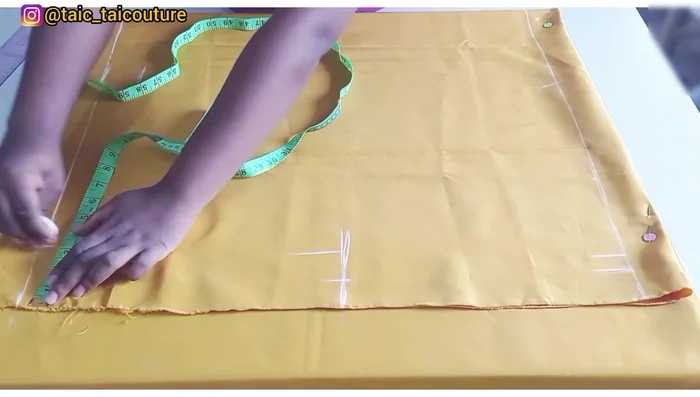
Mark the Length and Width Mark and Prepare the Neckline
- Mark the neckline opening. The video recommends 8 inches unfolded (16 inches when opened) rather than the initially planned 5.5 inches, as the latter proved too small.
- Add a 1-inch seam allowance at the top edge of the neckline opening.
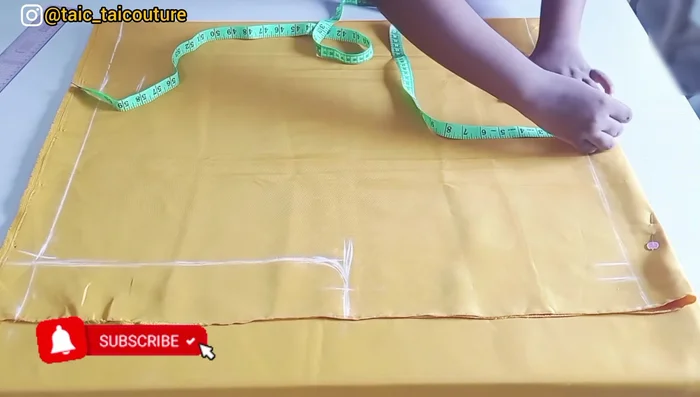
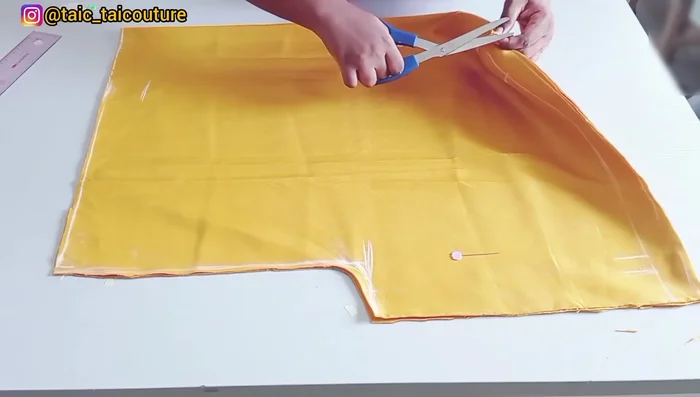
Mark and Prepare the Neckline Cut the Fabric
- Cut the fabric, remembering to only notch (don't cut completely) the initial 5.5-inch neckline marking.
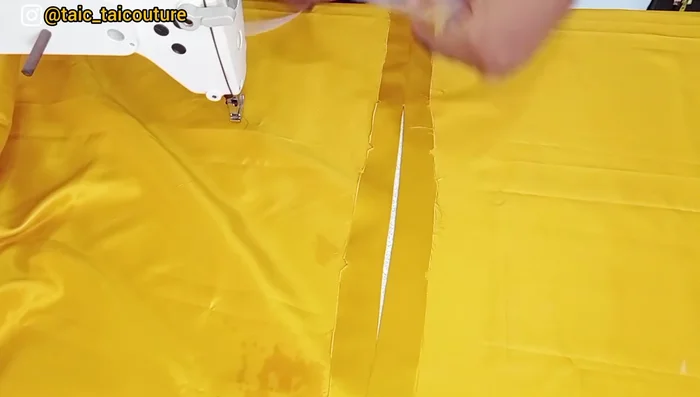
Cut the Fabric Sew the Shoulders
- Sew the shoulder seams, from the 8-inch neckline marking to the sleeve opening, using the 1-inch seam allowance. Repeat for the other side.
Press Seams
- Press the seams open with an iron.
Press Seams Finish the Neckline
- Finish the neckline. Fold the neckline edge over by 1/2 inch and stitch, or use bias tape/fusible interfacing.
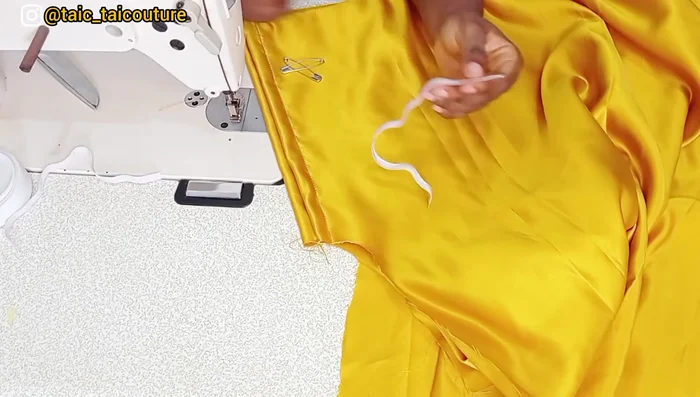
Finish the Neckline Create and Attach Sleeve Elastics
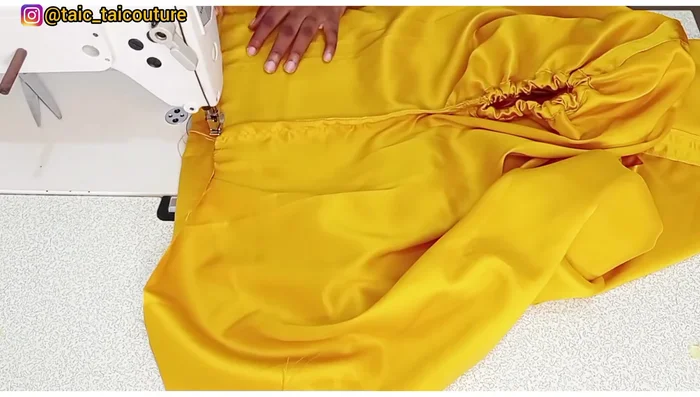
- Create the elastic casings at the sleeve openings and bottom hem.
- Insert elastic into the sleeve casings and stitch closed. The elastic should be 1 inch shorter than your elbow measurement.
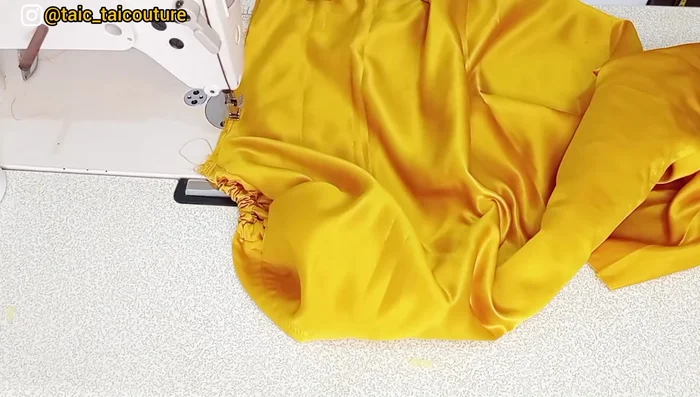
Create and Attach Sleeve Elastics Sew Side Seams
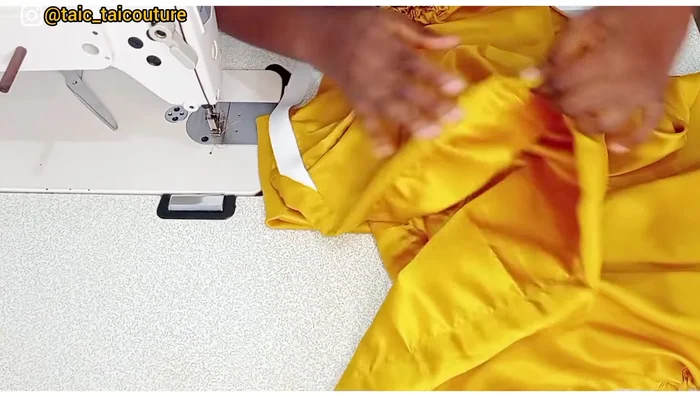
- Sew the side seams using a French seam to finish raw edges neatly.
Sew Side Seams Create and Attach Bottom Hem Elastic
- Create the elastic casing at the bottom hem, leaving a 2-inch gap for inserting the elastic.
- Insert elastic (1 inch shorter than your waist measurement) into the bottom casing, stitch closed, and close the 2-inch opening.
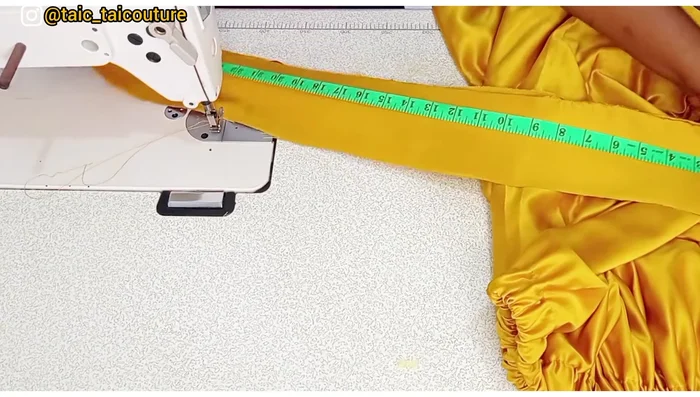
Create and Attach Bottom Hem Elastic Create and Attach Belt
- Create and attach the belt. The dimensions are 30 inches by 4 inches. Sew the belt, leaving an opening for turning it right side out. Press, then stitch the opening closed. Stitch or hand-sew the belt to the top, ensuring even distribution of the elastic.
Create and Attach Belt

Read more: Raglan Sleeve Sewing Tutorial: A Step-by-Step Guide
Tips
- Add extra fabric length for a balloon effect.
- Use a wider elastic for a more comfortable fit.
- Adjust neckline opening size (at least 7.5 inches unfolded) as needed for your comfort.
- Use a French seam for a professional finish.
- Ensure even distribution of elastic before stitching it down.