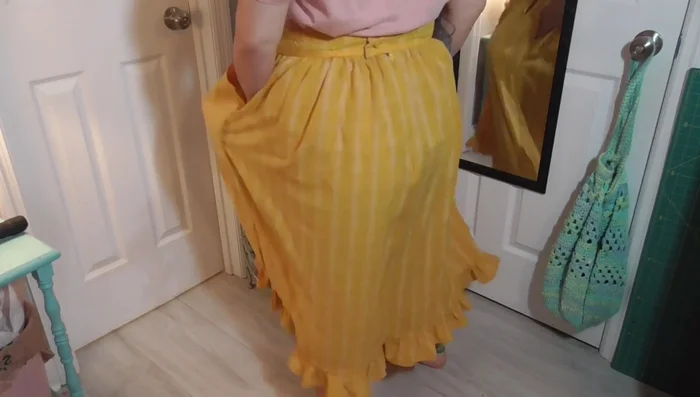
High-waisted skirts are a timeless wardrobe staple, effortlessly chic and flattering on a variety of body types. But who says you need to spend a fortune on designer labels or wrestle with complicated sewing patterns to achieve this classic look? This guide will show you how to craft your own stunning, high-waisted skirt completely from scratch – and without needing a single pattern piece! Whether you're a seasoned seamstress or a complete beginner, this project is surprisingly accessible and incredibly rewarding. Imagine the satisfaction of wearing a unique garment you created yourself, perfectly tailored to your own measurements and style.
Forget frustrating pattern instructions and complicated measurements; we'll walk you through a simple, intuitive method using readily available materials. This straightforward approach ensures a comfortable and stylish skirt, tailored to your exact preferences. Ready to transform a simple piece of fabric into a chic new addition to your wardrobe? Let's dive into the easy step-by-step process!
Preparation and Safety Guidelines
- Fabric (light to medium weight linen recommended)
- Zipper (7-9 inches)
- Thread (matching & non-matching)
- Button/Snap/Hook & Eye
- Fabric Scissors
- Ruler (rigid & flexible)
- Iron
- Lightweight Interfacing (iron-on)
- Bias Tape (optional)
- Decorative Pieces (optional)
- Fabric Marking Tools (chalk recommended)
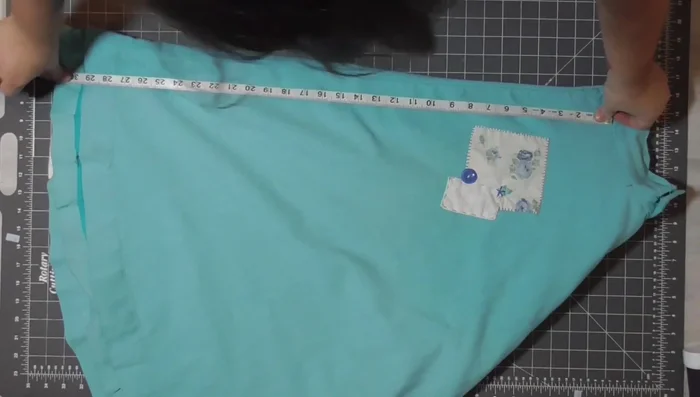
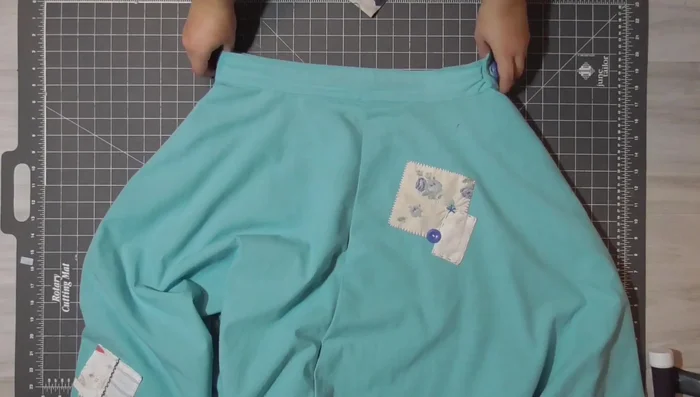
- Well-fitting skirt (for measurements)
- Always use sharp scissors and a rotary cutter (if using one) to prevent accidents and ensure clean cuts. Dull blades increase the risk of slipping and injury.
- Be mindful of your fabric type. Stretchy fabrics require different cutting and sewing techniques than woven fabrics. Consider using a walking foot or ballpoint needle for knits to avoid skipped stitches or fabric damage.
- Before cutting into your final fabric, create a test garment from a scrap piece to ensure your measurements are accurate and you're happy with the fit and construction method.
Step-by-Step Instructions
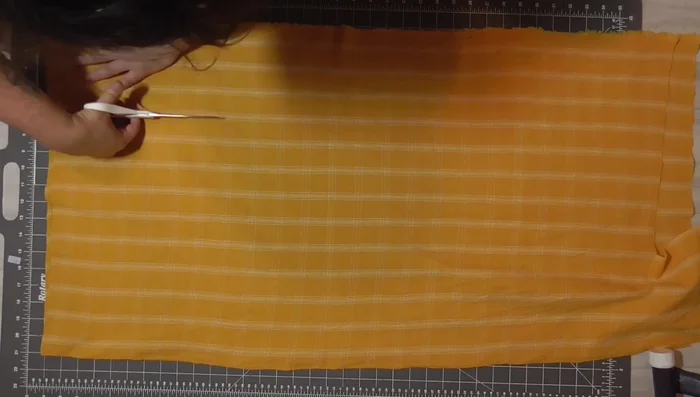
Measure and Plan
- Measure your existing skirt for desired length (add seam allowance).
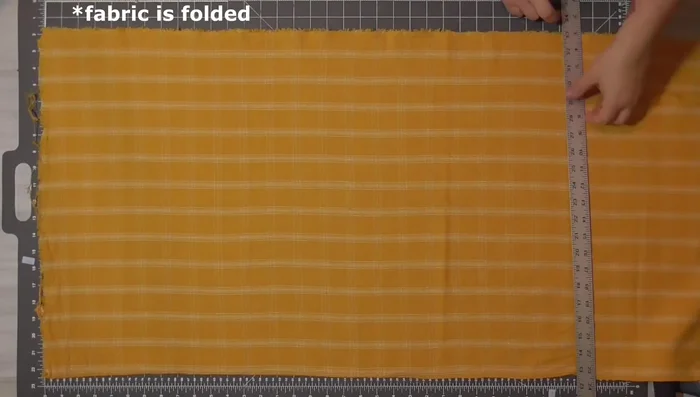
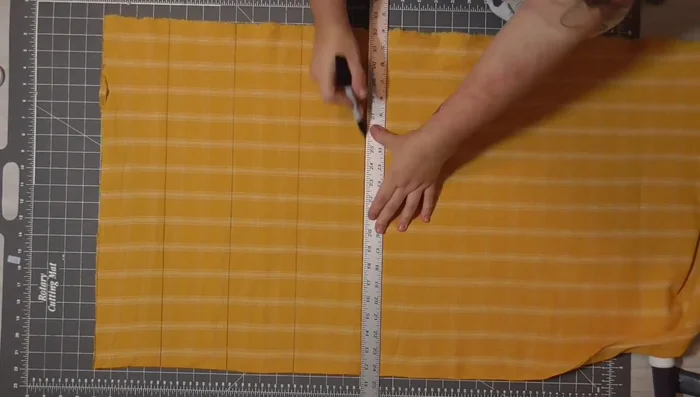
- Calculate fabric width needed for skirt panels (2.5-3 times desired length). Cut salvage to salvage.
- Measure and cut waistband pieces (front & back, adding seam allowance).
- Cut ruffle pieces (4 inches wide, length of fabric).

Measure and Plan - Cut straps (if desired, at least 4.5 inches wide).
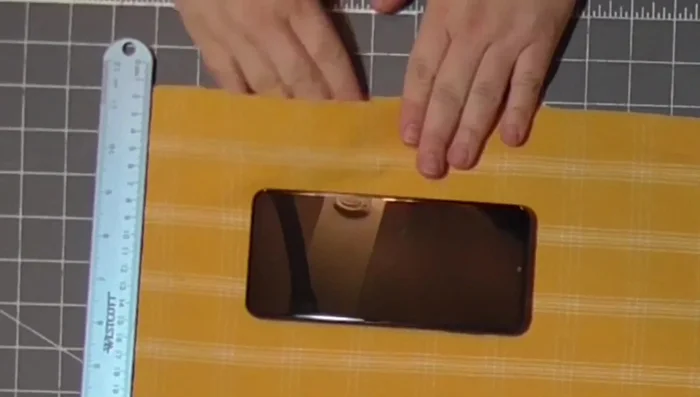
- Cut pocket pieces (consider size and placement).
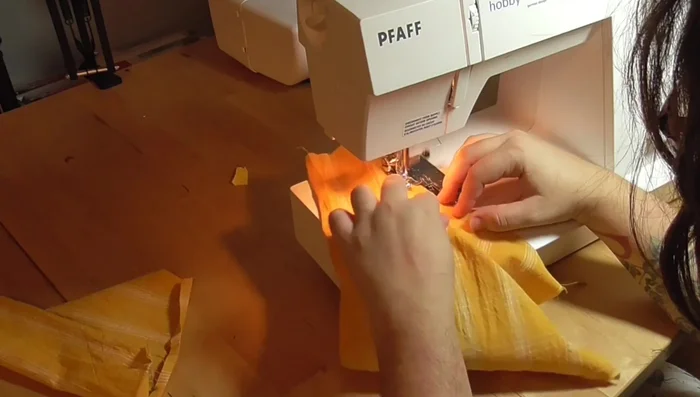
Measure and Plan Assemble Skirt Body
- Attach pockets to front and back panels.
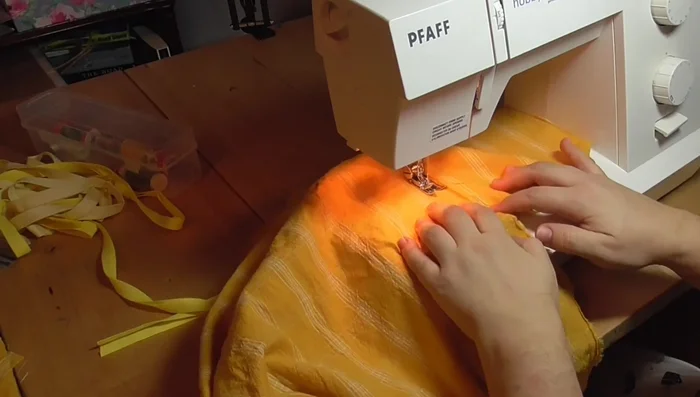
- Insert zipper into back panel.
- Sew side seams together, including pockets.
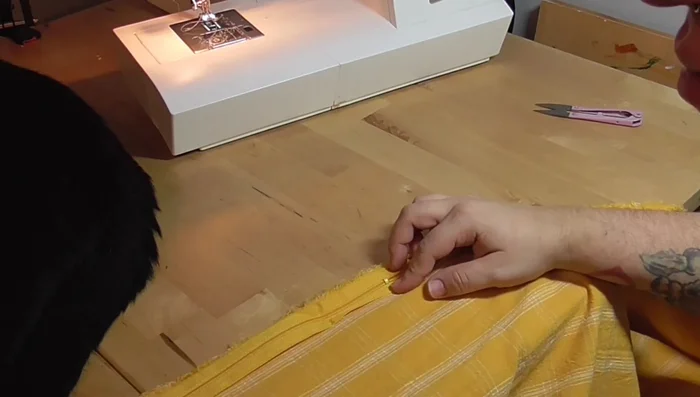
Assemble Skirt Body Create and Attach Ruffle Hem
- Join ruffle strips and sew a loose stitch along the top.
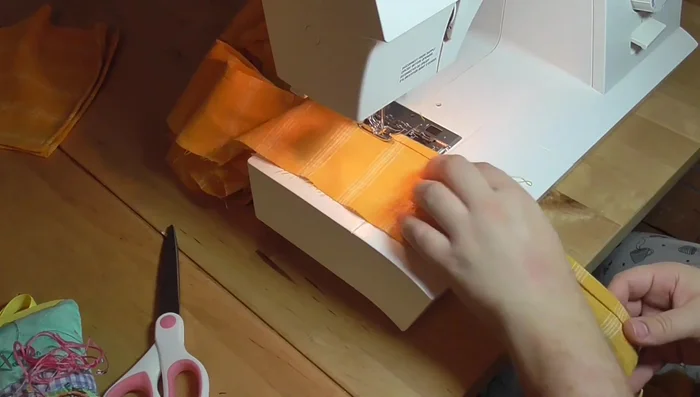
- Gather and attach the ruffle to the skirt hem. Finish with bias tape or hand-stitching.
Create and Attach Ruffle Hem Prepare and Attach Waistband
- Interface the front waistband piece.
- Decorate the waistband and sew it to the skirt top.
Prepare and Attach Waistband Finishing Touches
- Attach straps (if desired).
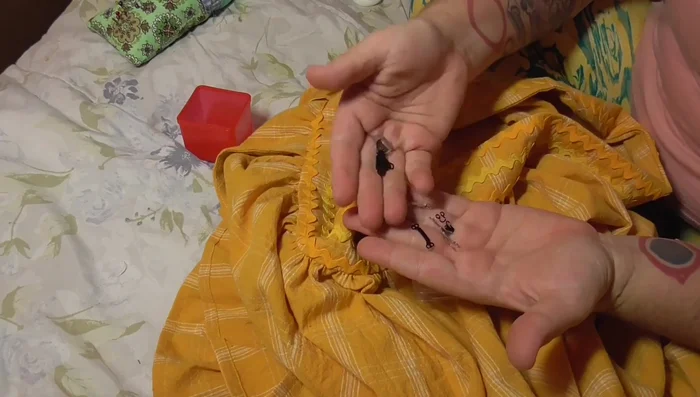
- Add closures (button, hook and eye, or clasps).
Finishing Touches
Read more: Raglan Sleeve Sewing Tutorial: A Step-by-Step Guide
Tips
- Use chalk for marking darts and pleats to avoid bleed-through.
- For gathering, cut fabric 2.5-3 times the final length.
- Baste seams before final stitching for adjustments.
- Use a slip stitch and embroidery thread for invisible seam finishing.