Are you dreaming of a stylish, high-neckline dotted dress but dreading the price tag? Don't despair! This beginner-friendly sewing tutorial will guide you through creating your own charming and effortlessly chic dress, all from the comfort of your own home. Forget expensive boutiques and frustrating online orders; with a few simple steps and readily available materials, you can craft a beautiful garment perfectly tailored to your taste and figure. The polka dot print is endlessly versatile, perfect for a picnic in the park or a night out with friends, ensuring your new dress becomes a cherished addition to your wardrobe.
This DIY project requires minimal sewing experience, making it ideal for newcomers to the craft. We'll walk you through every step of the process, from choosing the right fabric to mastering the finishing touches. Ready to transform your fabric scraps into a stunning, wearable masterpiece? Let's dive into the step-by-step instructions and start sewing your own high-neckline dotted dress!
Preparation and Safety Guidelines
- Fabric (crepe, cotton lining)
- Pattern paper
- Scissors
- Sewing machine
- Iron
- Zipper
- Measuring tape
- Pins
- Marker
- Always use sharp sewing machine needles and pins to prevent fabric damage and ensure smooth stitching. Dull needles can cause skipped stitches and fabric breakage.
- Before starting to sew the final garment, create a test sample using scrap fabric to check your stitch settings and ensure you are happy with the fit and look. This prevents mistakes on your main fabric.
- Handle your sewing machine and sharp tools with care. Keep fingers clear of the needle and presser foot while the machine is operating to prevent injury.
Step-by-Step Instructions
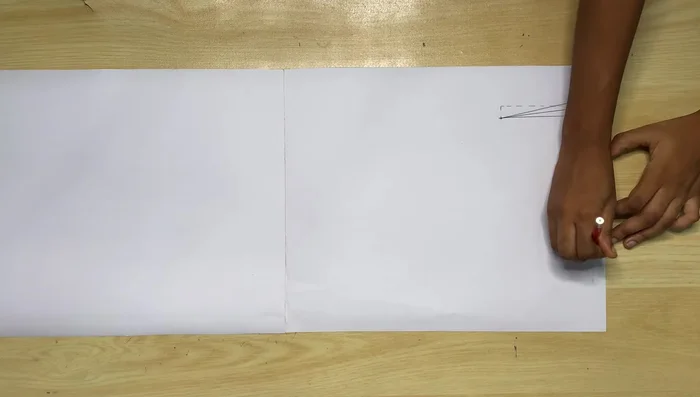
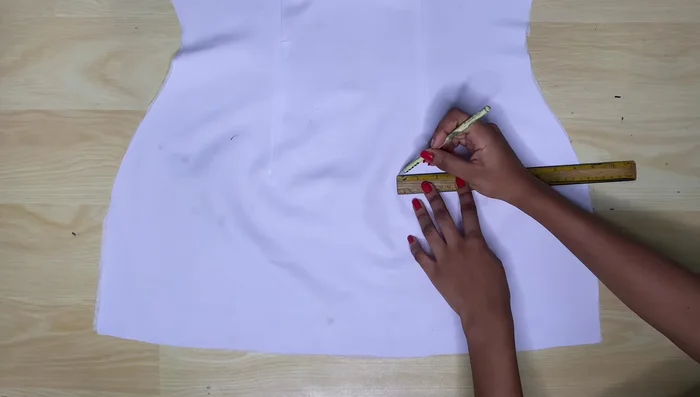
Drafting the Pattern: Front Piece
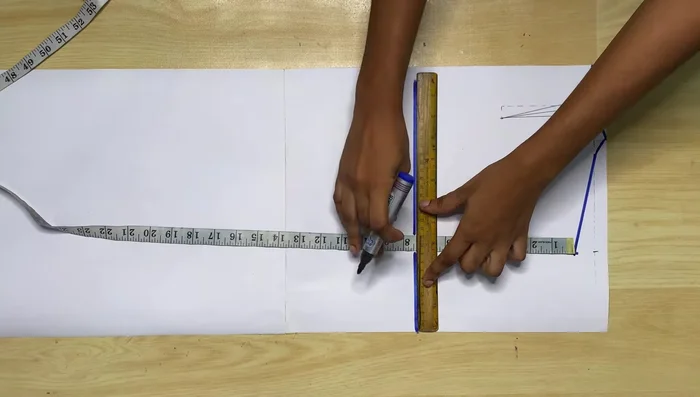
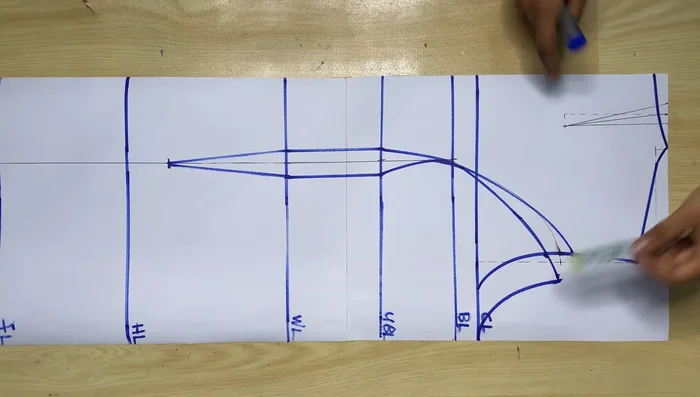
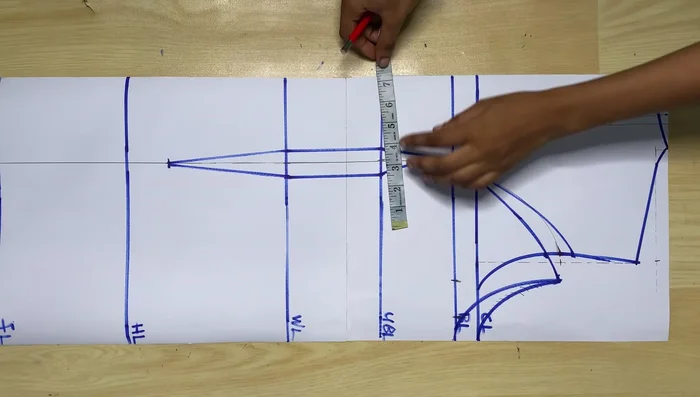
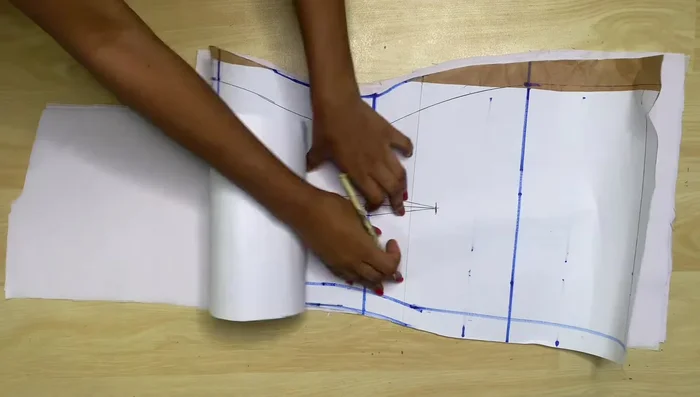
- Create a high neckline with neckline dots. Take 2 inches away from the center front, and make the DT (design template) 5 inches long. Extend the lower part of the DT by half an inch to create a slanted neckline, making it 1 inch wide at the top.
- Add 1 inch to your normal neckline width to compensate for the inch taken at the neckline. Adjust shoulder line: Go down by half an inch from the neckline width point to create a new shoulder line, accommodating the high neckline.
- Divide shoulder width by two, add 1 inch, and go down by 1 inch from the new shoulder line to form the slope. Connect it to about 1 inch after the neckline width and curve it to the top of the pattern paper.
- Go in by half an inch at the center front and connect it to the neckline width.

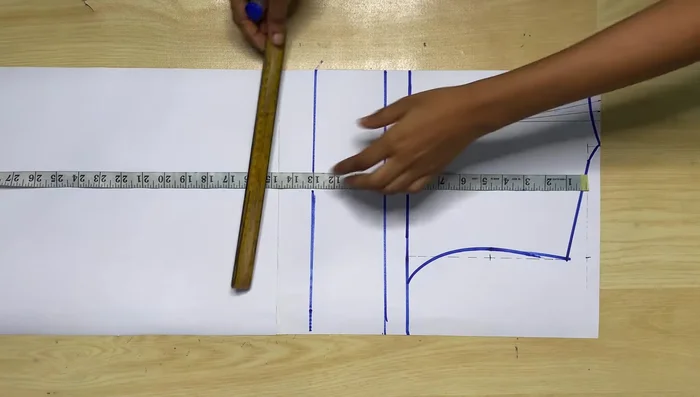
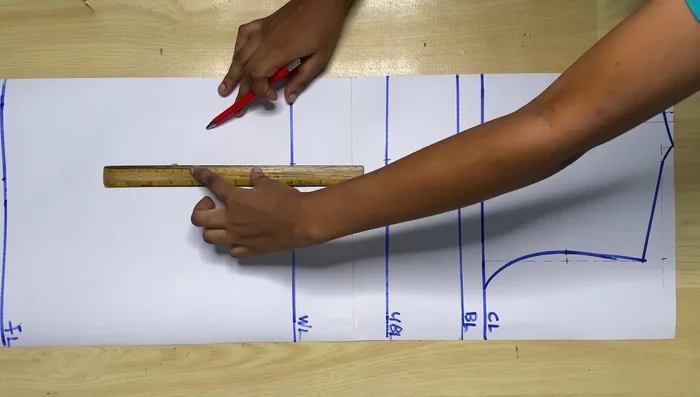
Drafting the Pattern: Front Piece - Use an armhole length of 7.5 inches. Take in half an inch at the middle of the armhole length for the front piece only.
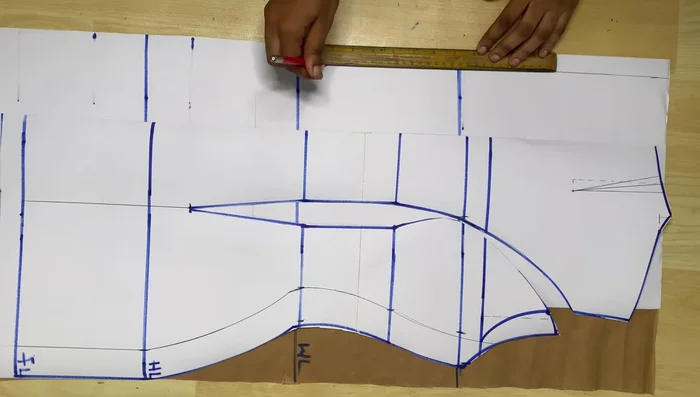
- Mark chest line, bust line, under bust line, waist line, and hip line. Adjust for princess seams: Create princess seams starting from the armhole and stopping at the pocket line (4 inches from center front).
- Take in half an inch at the waistline, under bust line, and armhole, on both sides of the DT line. Shape the DT to give shape to the dress, ensuring both sides are even in length.
- Add back the 1 inch taken earlier for the DT at the armhole to restore the armhole length.
Drafting the Pattern: Front Piece Drafting the Pattern: Back Piece
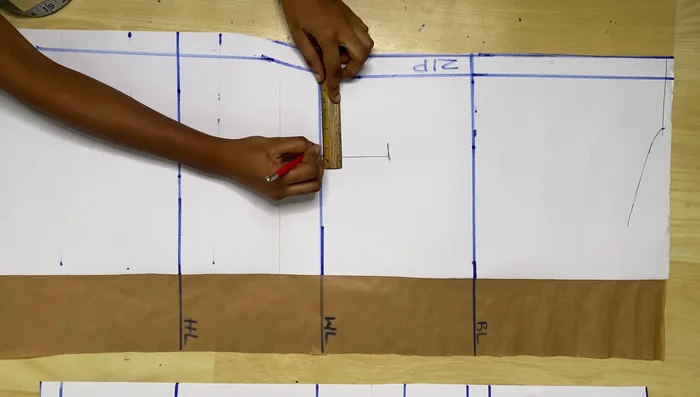
- Instead of a curved neckline like the front, use a straight neckline. Make it narrower than the front neckline (subtract 1 inch for the dot). Transfer shoulder line from the front piece, subtracting 1 inch. Create a 1-inch space from neckline to waistline for shaping.
- Position the dot 4 inches away from the zip allowance, 7 inches long (3.5 inches above and below the waistline), and 1 inch wide.
Drafting the Pattern: Back Piece Sleeve Pattern Creation
- Cut the sleeve pattern (4 inches long). Divide round sleeve measurement by two and add a 1.5-inch seam allowance. Bring the corner down by 1 inch for better fit, and form the sleeve cap with a 2.5-inch curve. Use a 9.5-inch armhole measurement to attach the sleeve.
Sleeve Pattern Creation Measurements and Adjustments
- Divide bust, under bust, waist, and hip circumferences by four. Add seam allowance (1.5 inches) and account for the 1 inch taken in for the DT (for waist and under bust). Add 10 inches to the hip measurement for an oversized fit.
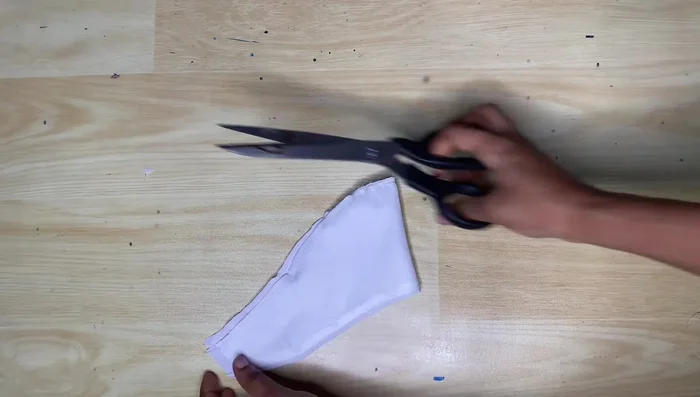
Measurements and Adjustments Cutting Fabric
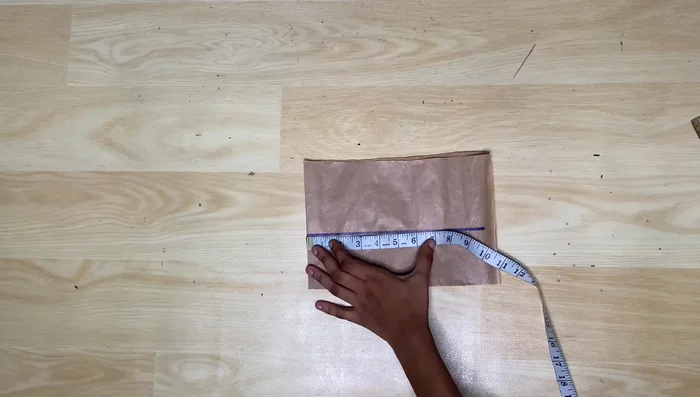
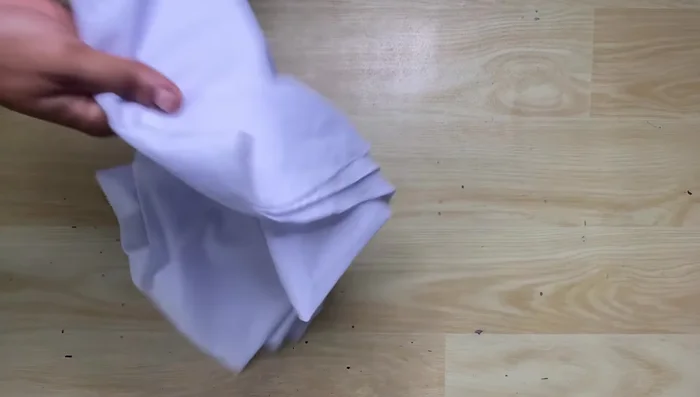
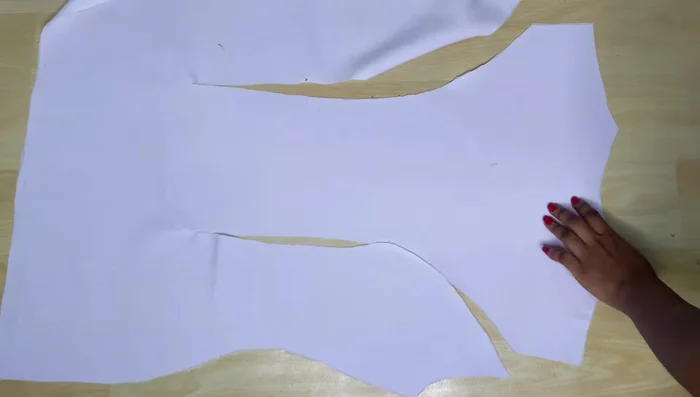
- Cut out pattern pieces from crepe, cotton lining, and interfacing, adding a 1 cm seam allowance.
Cutting Fabric Preparing Fabric
- Iron interfacing onto the main fabric pieces.
Sewing the Front and Back Pieces
- Sew the DT lines together for both main fabric and lining pieces separately.
- Transfer and sew the DT lines on both main and lining back pieces. Sew the neckline and bottom of the front and back pieces using lining pieces.
Sewing the Front and Back Pieces Adding Pockets
- Create a double welt flap pocket (5.5 inches wide). Attach pocket bag and flap.
Adding Pockets Closing and Finishing the Dress
- Close the edges of the front and back pieces, leaving the shoulder and armhole open for the back piece. Attach the zipper.
- Join front and back pieces by the shoulder, using the armhole opening on the back. Join the side seams and trim the allowance.
- Sew the bottom sleeve hem, then attach the top to the armhole, closing the sleeve seam. Trim allowances.
Closing and Finishing the Dress


Read more: Raglan Sleeve Sewing Tutorial: A Step-by-Step Guide
Tips
- Ironing is crucial throughout the process for a neat finish.
- Use a light fabric for the pocket bag for easier lapping.
- Trim seam allowances to prevent bulkiness, especially with a wide hip area.
- Consider using a longer zipper than you might initially think, particularly with a tightly fitted waist.