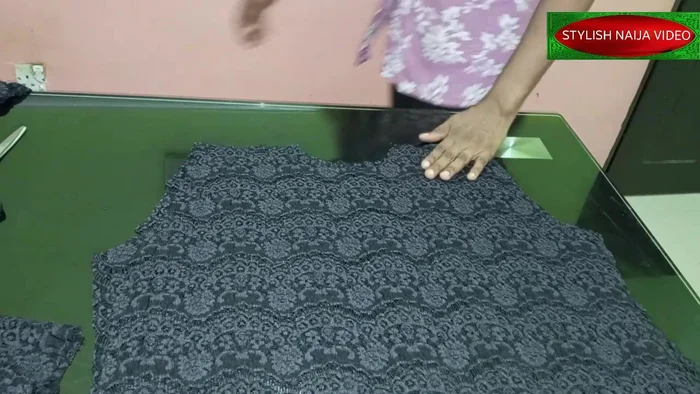
Lace blouses exude timeless elegance, effortlessly elevating any outfit from casual to chic. However, the price tag on designer lace blouses can often be prohibitive. This tutorial empowers you to create your own stunning high-low lace blouse, blending sophistication with affordability. By utilizing readily available materials and easy-to-follow instructions, you'll craft a unique garment perfectly tailored to your style and size, avoiding the compromises often associated with off-the-rack clothing. The delicate beauty of lace combined with the trendy high-low hemline creates a piece that’s both fashionable and surprisingly simple to make.
This DIY project is perfect for intermediate sewists comfortable with basic sewing techniques. No specialized tools are required, making it an accessible and rewarding endeavor. Prepare to be amazed by how quickly and easily you can transform inexpensive lace fabric into a beautiful, wearable masterpiece. Ready to get started? Let's dive into the step-by-step process and create your own high-low lace blouse!
Preparation and Safety Guidelines
- Lace fabric (2 yards)
- Pattern paper
- Scissors
- Measuring tape
- Sewing machine
- Bias tape (black)
- Pins
- Always use sharp sewing shears and needles to prevent fabric damage and injuries. Keep your work area clear and well-lit.
- When working with lace, handle it gently to avoid snags and tears. Use a fine needle and thread appropriate for the delicate fabric.
- If using a sewing machine, ensure you are familiar with its operation and safety features before starting. Always keep your fingers away from the needle.
Step-by-Step Instructions
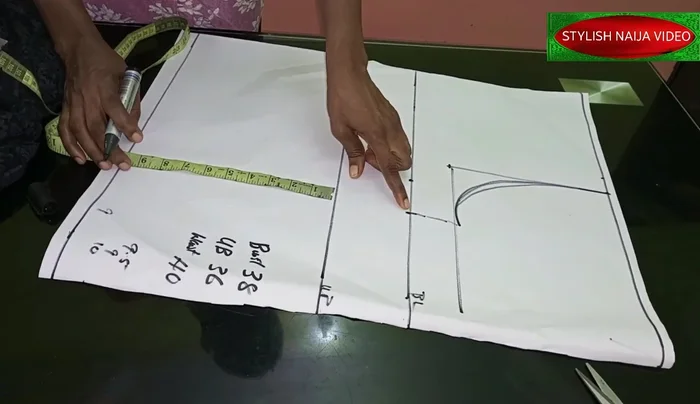
Taking Measurements
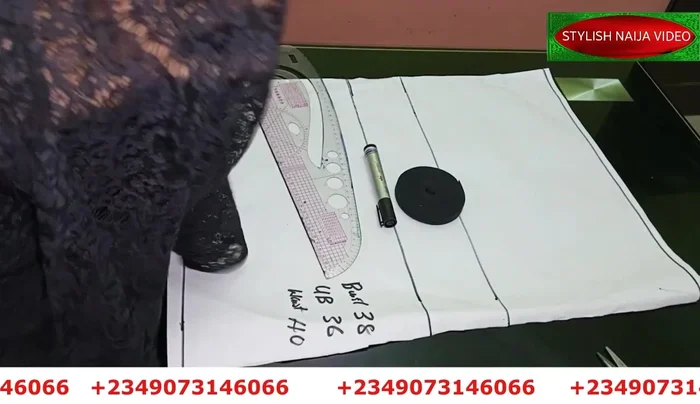
- Bust (38 inches), Underbust (36 inches), Waist (30 inches).

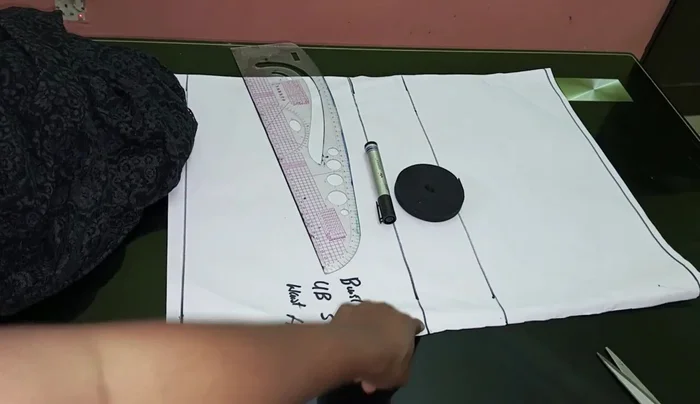
Taking Measurements Drafting the Blouse Pattern
- Draft the pattern on pattern paper (not directly on the fabric due to transparency). Start with the shoulder measurement (14 inches, divided by 2 = 7 inches + 1 inch seam allowance).
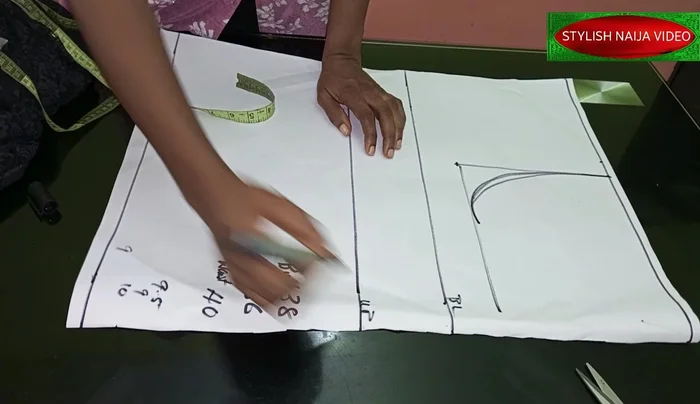
- Mark the armhole (8 inches, divided by 2 = 4 inches), creating a curve.
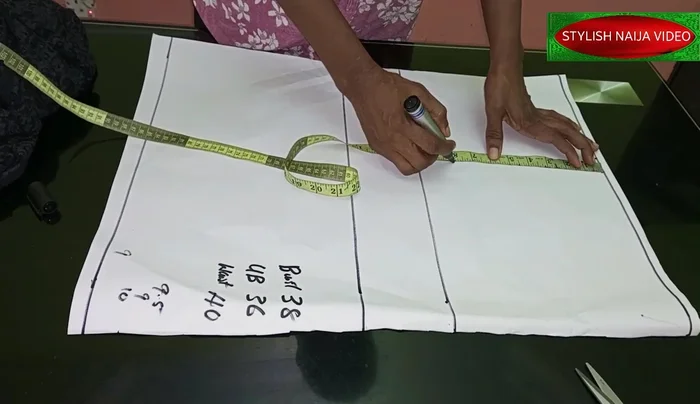
- Mark the bust line (38 inches, divided by 4 = 9.5 inches + 2 inches seam allowance).
- Mark the underbust line (36 inches, divided by 4 = 9 inches + 2 inches seam allowance).
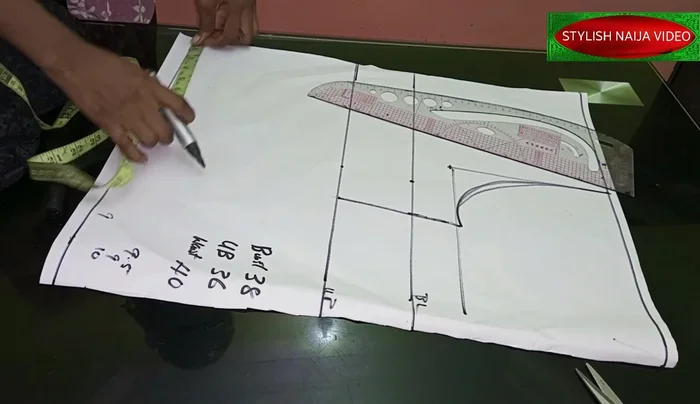
Drafting the Blouse Pattern - Mark the waistline (40 inches, divided by 4 = 10 inches + seam allowance).
- Cut out the neckline (2.5 inches wide for the front and back; 1 inch depth for the back, 2.5 inches for the front). Create a shoulder slope of 0.5 inch.
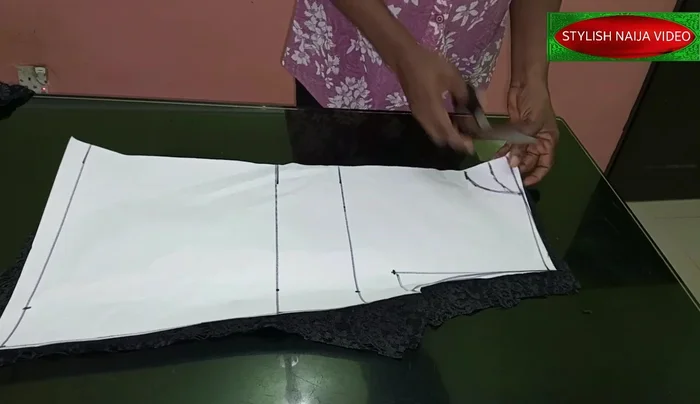
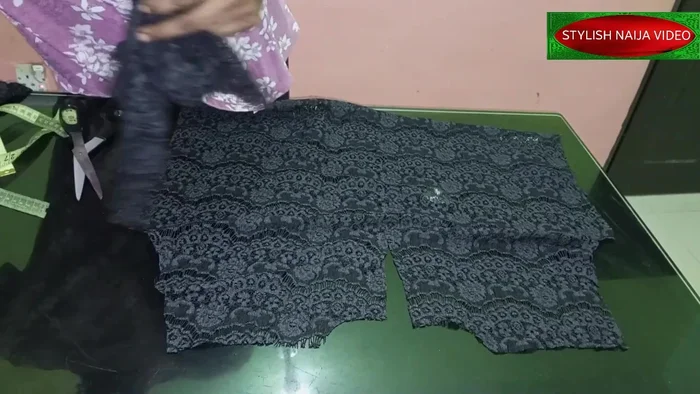
Drafting the Blouse Pattern Cutting the Blouse Pieces
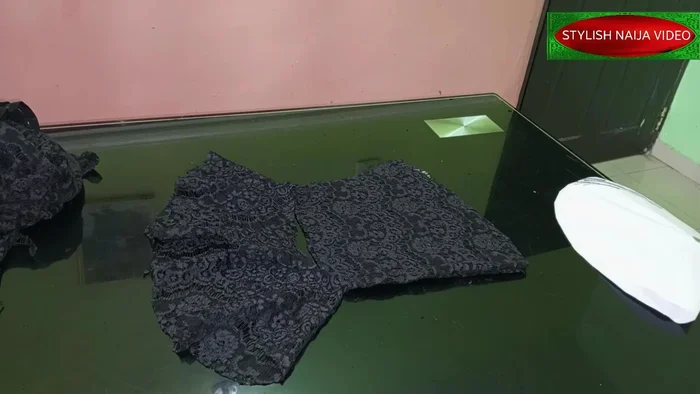
- Cut out the front and back pieces of the blouse.
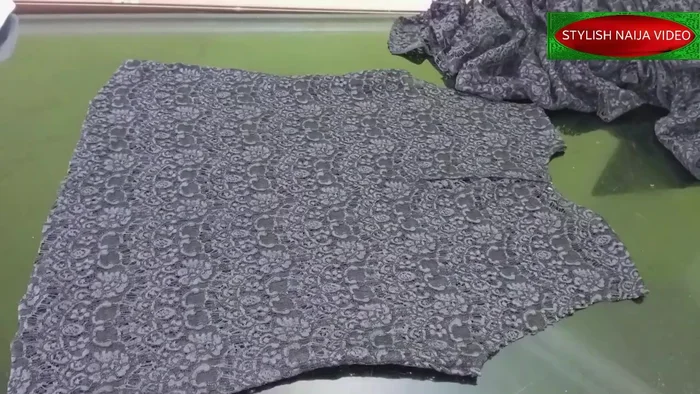
Cutting the Blouse Pieces Creating the Back Slit
- Open up the back neckline and create a slit.
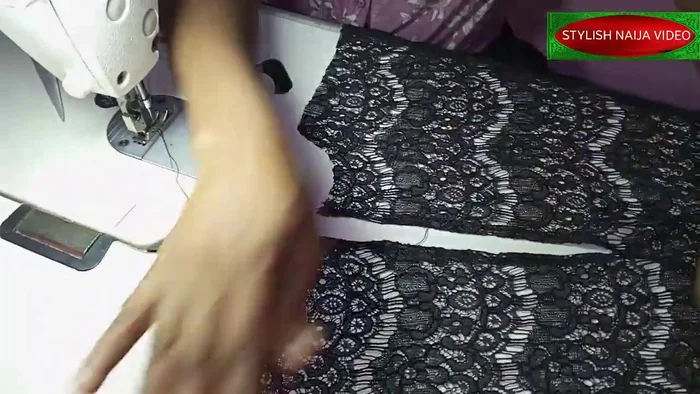
Creating the Back Slit Cutting the Sleeves
- a high part and a low part).
Cutting the Sleeves Constructing the Blouse
- Join the back and front pieces at the shoulder seams.
- Pipe the neckline with black bias tape.
- Join the side seams.
- Hem the neckline.
Constructing the Blouse Attaching Sleeves and Finishing
- Attach the sleeves.
Attaching Sleeves and Finishing


Read more: Raglan Sleeve Sewing Tutorial: A Step-by-Step Guide
Tips
- Use pattern paper to draft the pattern, especially for transparent fabrics.
- Add seam allowances (suggested: 1-2 inches) to all pattern pieces.
- For the slit in the back neckline, the video suggests a 5 inch slit.
- Consider using bias tape for a neat finish on the neckline.