Transform your bedroom from drab to fab with a stunning, custom-made headboard – and without breaking the bank! Forget overpriced furniture stores; creating a luxurious upholstered headboard is surprisingly achievable with a little DIY know-how and readily available materials. Imagine waking up each morning to the plush comfort and elegant style of a headboard perfectly tailored to your taste and existing décor, all crafted by your own hands. This project offers a rewarding blend of creativity and practicality, allowing you to personalize your space with a touch of sophisticated elegance.
This step-by-step guide will walk you through the entire process, from choosing the right materials and measuring your space to the final touches of securing your fabric and adding those finishing flourishes. Prepare to be amazed at how easily you can achieve a professional-looking headboard that will be the envy of your friends and family, all while enjoying the satisfaction of creating something beautiful yourself.
Preparation and Safety Guidelines
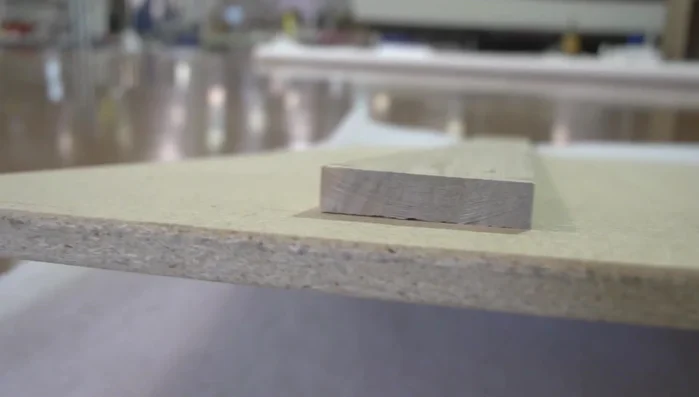
- Medium-density fiberboard (routed edges)
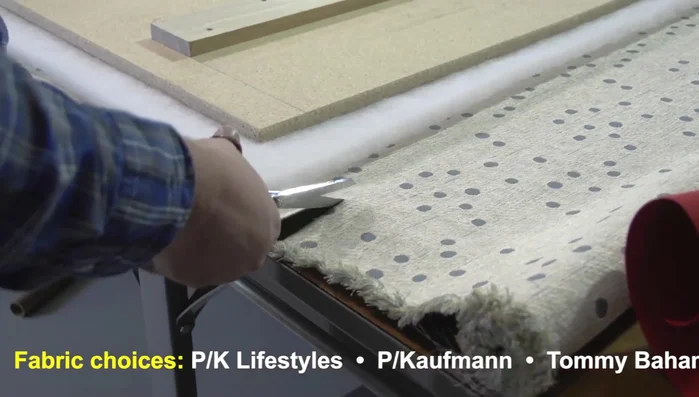
- Fabric (Sailrite PK Lifestyles recommended)
- Batting (Sailrite)
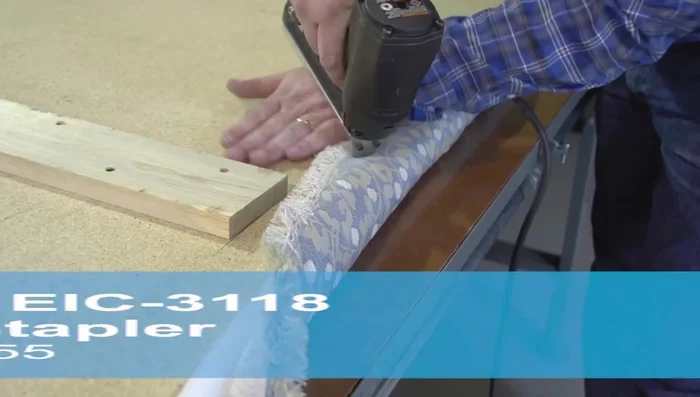
- Electric stapler (Dual Fast or standard aero)
- Screwdriver
- #16 hand needle
- Pre-waxed twine (or heavy-duty twine)
- Button forms (Sailrite)
- Drill (1/8 inch bit)
- Always use appropriate safety glasses and a dust mask when cutting and sanding materials. Wood dust and fabric fibers can be harmful if inhaled.
- Exercise caution when using power tools. Ensure they are properly plugged in and functioning correctly before use. Follow manufacturer's instructions carefully.
- If using a staple gun, be mindful of your fingers and hands. Staples can easily penetrate skin. Work slowly and deliberately.
Step-by-Step Instructions
Prepare the Base
- Use a medium-density fiberboard with routed edges. Other boards can also be used.
- Position the board over the batting and fabric, ensuring enough material to wrap around the edges.
- Cut the fabric and batting to size.

Prepare the Base Upholster the Headboard
- Staple the fabric to the board, using your entire hand to keep the fabric taut and evenly tensioned.
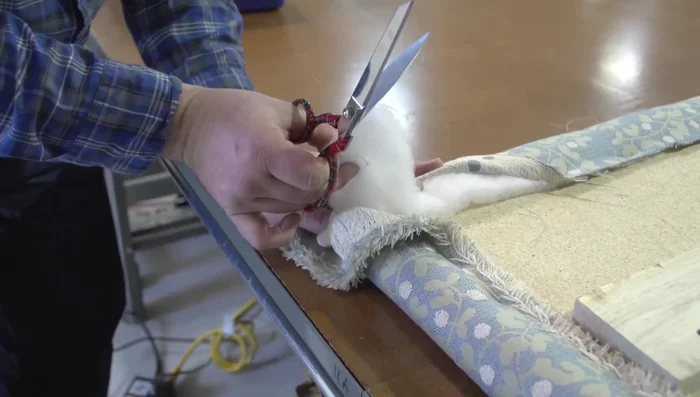
- At corners, trim excess batting, fold the fabric neatly, and staple close to the corner.
- Staple the bottom edge, trimming excess batting and fabric as needed.
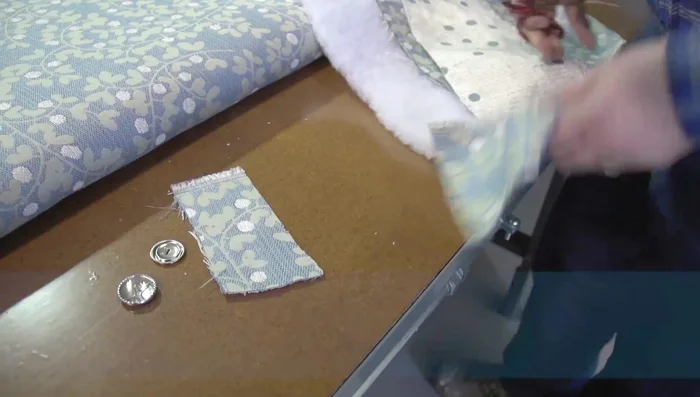
Upholster the Headboard Create and Attach Buttons
- Cut fabric circles with extra material, tuck the fabric behind the button form backer plate, and snap it into place.
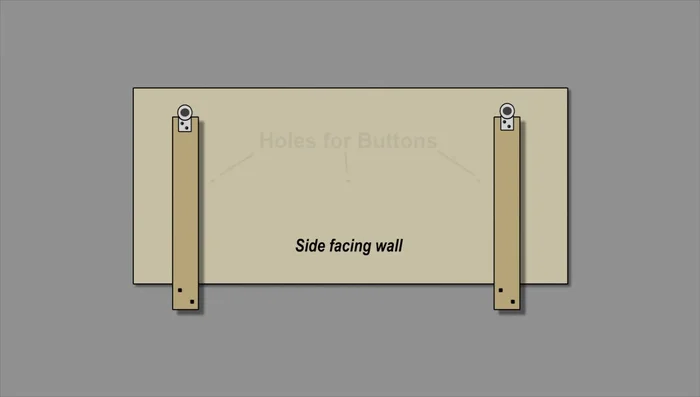
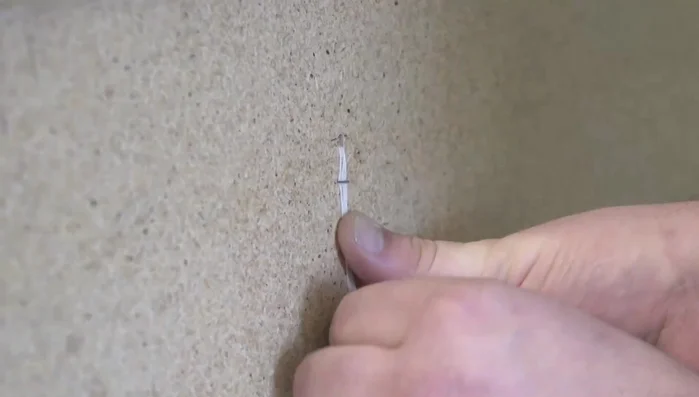
- Pre-drill holes (1/8 inch bit) for the buttons. Insert needle and twine through the hole, thread through the button form loop, and reinsert the needle through the hole. Tension the twine to your desired tightness.
- Secure the twine on the back side of the board with staples.
Create and Attach Buttons


Read more: DIY Super Cute Whale Shower Curtain: A Step-by-Step Tutorial
Tips
- Use your entire hand to tension the fabric, rather than just your thumb and forefinger, for a smoother, tighter finish.
- Work towards yourself when upholstering for easier fabric manipulation and a cleaner result.
- Don't snap the button form backer plate into place until you are happy with how the fabric is tucked behind.
- When drilling for buttons, only drill through the board from the backside to avoid damaging the fabric.